
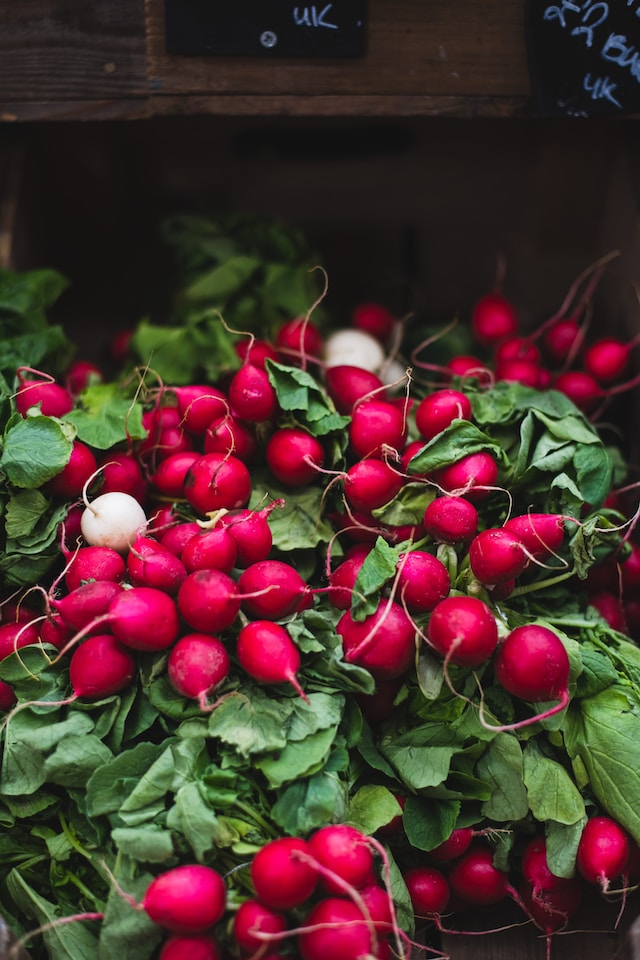
Take your meals to new heights with a burst of colour and tangy goodness with my Quick Pickled Radishes. Radishes, with their pretty hues and crisp texture, are a delightful addition to any dish.This recipe is not only easy to whip up but also adds a zesty kick to salads, tacos, sandwiches, or even as a side dish.

In just a few simple steps, you can transform ordinary everyday radishes into a tangy & vibrant condiment that you can add to almost any meal. They are not only pretty, they also add a pop of colour and texture that can turn the ordinary into the extraordinary.
Ingredients required for quick pickled radishes
You only need a handful of ingredients to make these delicious pickled veggies:
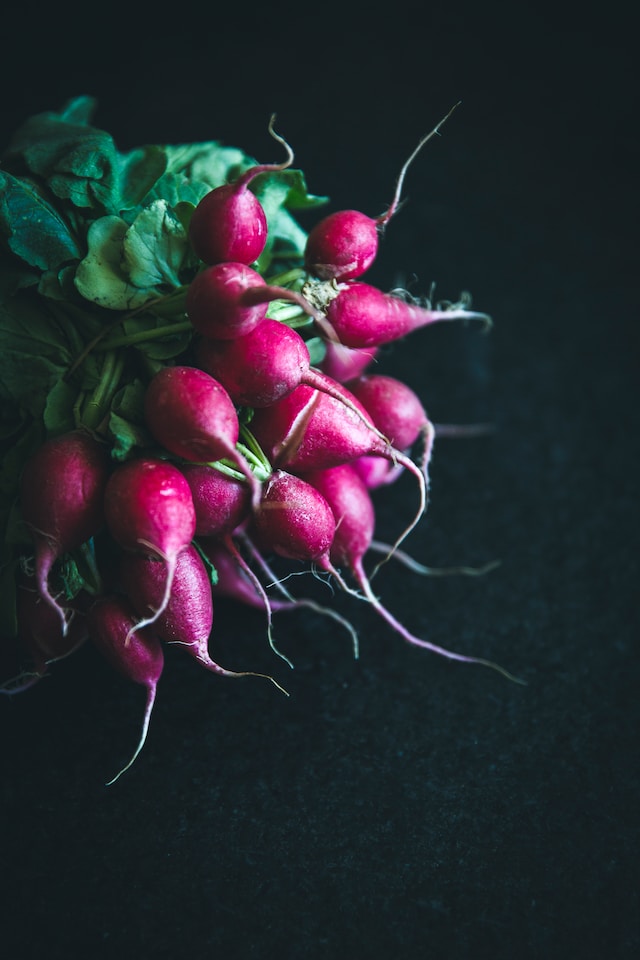
- Fresh radish bunch
- White vinegar – you can also use apple cider or white wine vinegar
- Water
- Sugar
- Salt
- Chillies – optional
- Coriander seeds – optional
- Bay leaf – optional
How to make
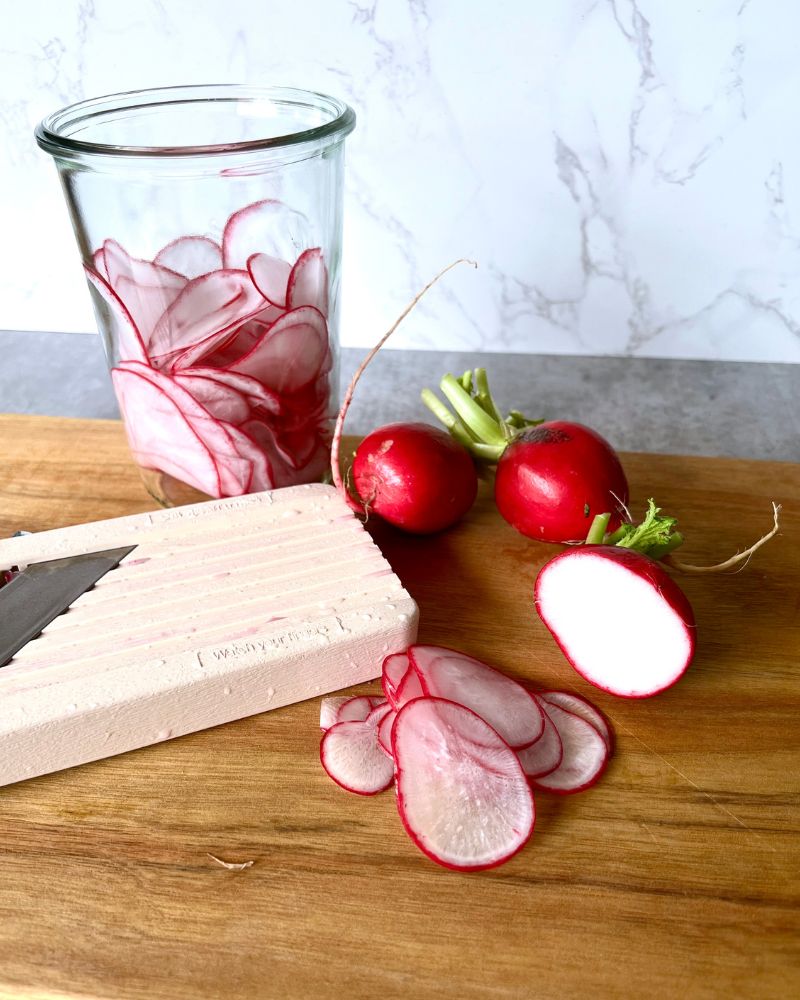
1. Prepare the Radishes:
- Wash and trim the radishes, removing the tail end. The green end makes for a good handle to hold onto.
- Slice the radishes very thinly using a sharp knife or a mandoline for consistent thickness.
2. Make the Pickling Liquid:
- In a saucepan, combine water, white vinegar, sugar, and salt.
- Heat the mixture over medium heat, stirring occasionally until the sugar and salt completely dissolve. Set aside to cool completely.
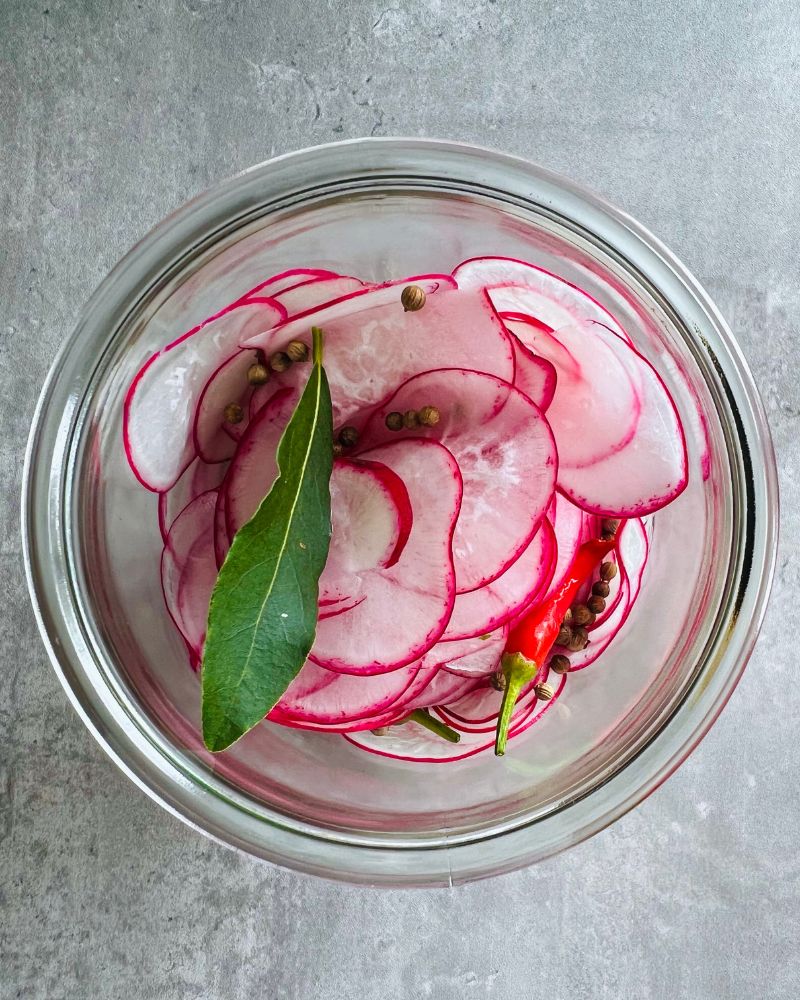
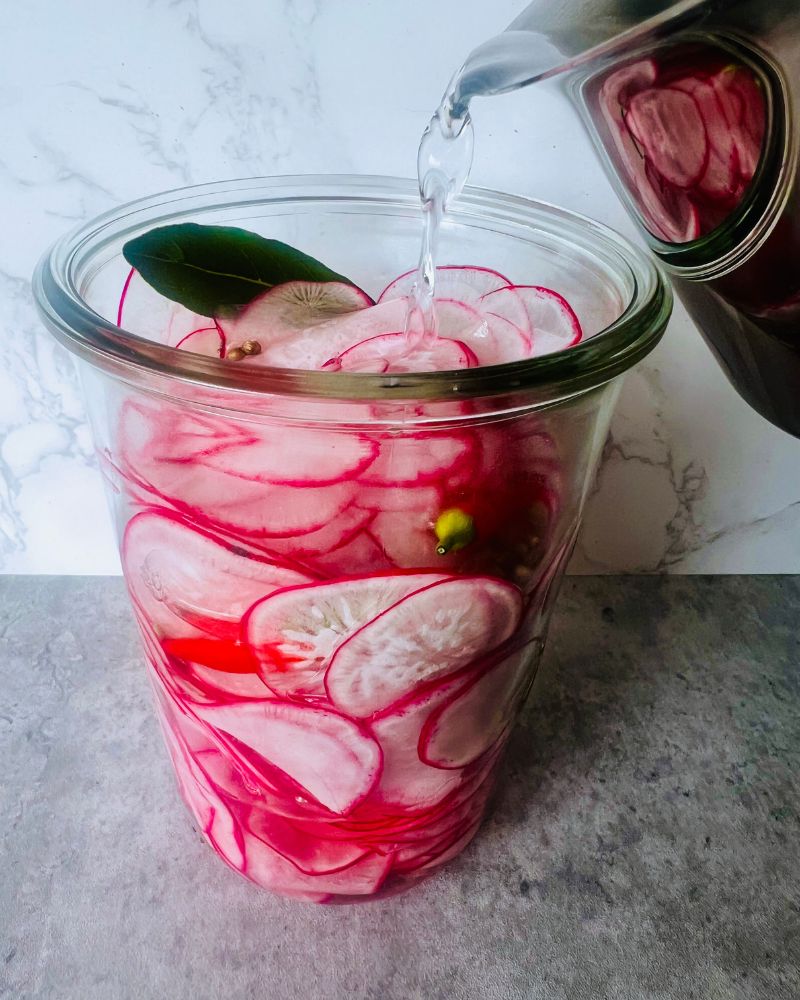
3. Pickle the Radishes:
- Place the sliced radishes in a clean jar or container.
- Pour the pickling liquid over the radishes, ensuring they are fully submerged.
4. Refrigerate and Wait:
- Place the sealed jar in the refrigerator.
- Allow the radishes to pickle for at least 30 minutes to an hour for a quick pickle, or leave them in the refrigerator for a more intense flavour overnight or up to 3 days.
5. Enjoy:
- Your quick pickled radishes are now ready to be enjoyed!
- Serve them as a zesty topping for tacos, salads, or sandwiches. The pickling liquid can also be used as a flavorful vinaigrette.
Storage
To store the pickled radishes and maintain their freshness and flavour, follow these simple steps:
- Refrigeration:
- Always store the pickled radishes in the refrigerator. The cold temperature helps preserve their crispness and prevents spoilage.
- Airtight Container:
- Transfer the radishes along with the pickling liquid into a clean, airtight container or jar. Make sure the radishes are fully submerged in the liquid.
- Seal Tightly:
- Ensure that the container is tightly sealed to prevent air from entering. This helps preserve the quality of the radishes and extends their shelf life.
- Label and Date:
- If you’re making different batches or experimenting with flavours, label the container with the date and any additional ingredients used. This makes it easier to track freshness.
- Refrigerate Promptly:
- After making, refrigerate them promptly so they will retain their crunch and flavour.
- Shelf Life:
- Pickled radishes typically have a shelf life of about 1 to 2 weeks when stored properly in the refrigerator. Over time, they may lose some crispness, but they’ll still be safe to eat.
- Use Clean Utensils:
- When serving or removing radishes from the container, use clean utensils to prevent introducing bacteria that could affect the quality of the pickles.


Serving suggestions
Pickled radishes add a zesty and colorful touch to a variety of dishes. Here are some serving suggestions to make the most of these tangy delights:
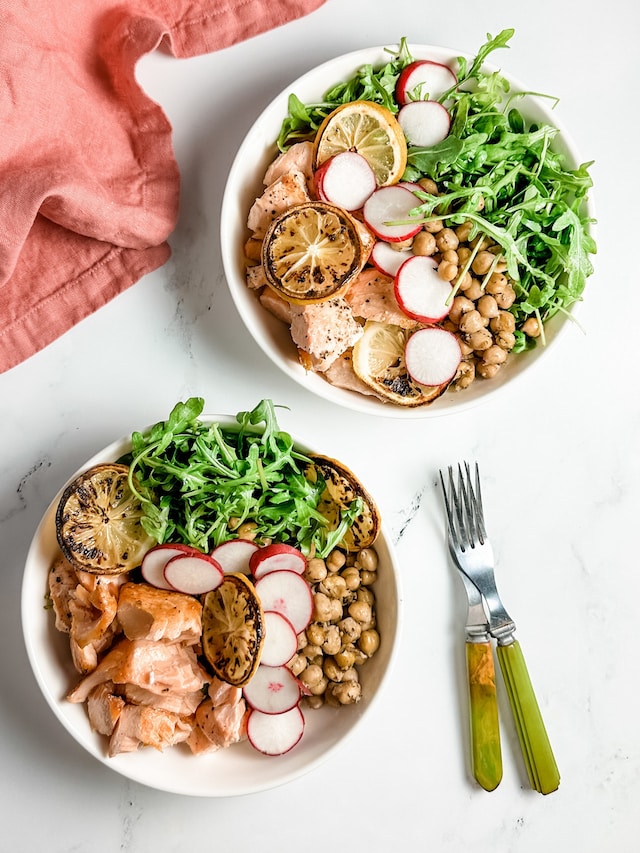
- Salads:
- Toss pickled radishes into green salads or grain bowls for a burst of flavour and colour.
- Tacos and Wraps:
- Use as a crunchy and tangy topping for tacos, wraps, or even in burritos.
- Sandwiches and Burgers:
- Elevate your sandwiches and burgers by adding pickled radishes for a delightful crunch.
- Rice and Grain Bowls:
- Sprinkle over rice or grain bowls to make them look extra pretty.
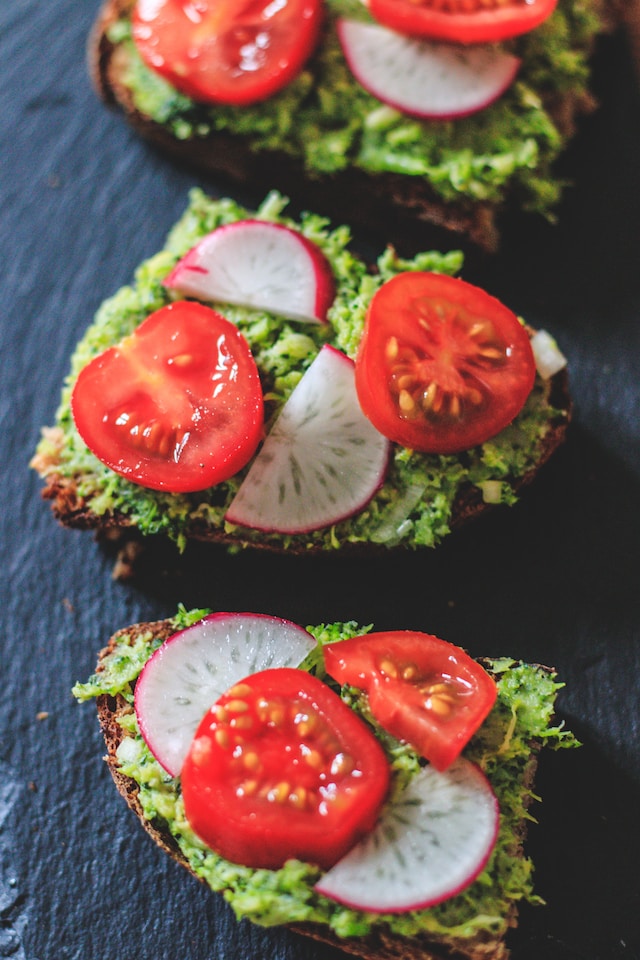
- Avocado Toast:
- Top your avocado toast with radishes for a pop of colour and flavour.
- Charcuterie and Cheese Boards:
- Include on charcuterie or cheese boards to provide a tangy element.
- Asian-inspired Dishes:
- Incorporate into Asian-inspired dishes like sushi rolls, noodle bowls, or alongside teriyaki-glazed chicken.
- Fish Tacos:
- Pair with fish tacos for a delightful contrast of textures and flavours.
- Quinoa or Couscous Salad:
- Mix into quinoa or couscous salads to add a punch of flavour and a crunchy element.
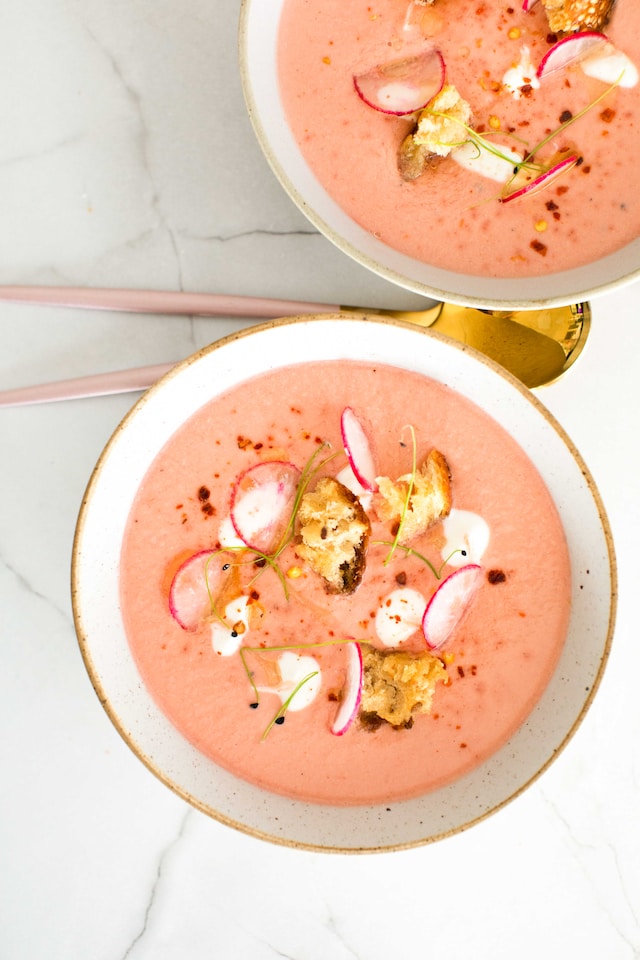
- Garnish for Soups:
- Float slices on top of cold soups like gazpacho for a refreshing garnish.
- Gourmet Appetisers:
- Create gourmet appetisers by placing pickled radishes on crostini with goat cheese, whipped ricotta, labne or cream cheese.
You may also like
If you enjoyed these Quick Pickled Radishes, you may also enjoy these recipes:
- Quick Pickled Asian Cucumbers
- Crispy Pork Belly Bahn Mi – these radishes are an excellent addition to a filling in these Banh Mi rolls
- Pice De Gallo – Fresh Mexican Tomato Salsa recipe

Quick Pickled Radiishes
Equipment
- 1 litre jar or container (or smaller ones adding up this)
Ingredients
- 1 bunch fresh radishes
- 1 cup white vinegar (or use apple cider or white wine)
- 1 cup sugar (See Notes – can be reduced)
- 1 cup water
- ½ teaspoon salt
- 2-6 small fresh chillies (optional)
- 1 bay leaf (optional)
- ½ teaspoon coriander seeds (optional)
Instructions
- In a saucepan, combine water, white vinegar, sugar, and salt. Heat the mixture over medium heat, stirring occasionally until the sugar and salt completely dissolve. Set aside to cool.
- Wash and trim the radishes, removing the tail end. Keep the stems on for ease of slicing (giving you something to hold onto). Slice the radishes as thinly as possible (or however you prefer them) using a sharp knife or a mandoline for consistent thickness.
- Place the sliced radishes into a clean jar or container. Pour the pickling liquid over the radishes, ensuring they are fully submerged. Place the sealed jar into the refrigerator. Allow the radishes to pickle for at least 30 minutes to an hour for a quick pickle, or leave them in the refrigerator for a more intense flavour overnight.
- The quick pickled radishes are now ready to be enjoyed! Serve them as a zesty topping for tacos, salads, or sandwiches. The pickling liquid can also be used as a flavourful vinaigrette. Use within 2 weeks.
Notes
- COOKS NOTES:
Oven Temps: Oven temperatures are for conventional, if using fan-forced (convection), reduce the temperature by 20˚C.
Measurements: We use Australian tablespoons and cups: 1 teaspoon = 5 ml, 1 tablespoon = 20 ml & 1 cup = 250 ml.
Herbs: All herbs are fresh (unless specified) and cups are lightly packed.
Vegetables: All vegetables are medium size and peeled, unless specified.
Eggs: We use extra-large size and eggs are 55-60 g each, unless specified. - SUGAR
You can use caster or white sugar for the pickling liquid. If you prefer you may reduce the sugar to suit your preferences. You may reduce to as little as 2 tablespoons but bear in mind, they will have a much more acidic punch without any sweetness. I prefer my pickled vegetables on the sweeter side of life. - OTHER VEGETABLES
You can use this recipe as a base for many vegetables you may wish to pickle. My favourites to choose from include: thinly sliced red onions, julienned carrots and shredded red cabbage.


Leave a Reply