
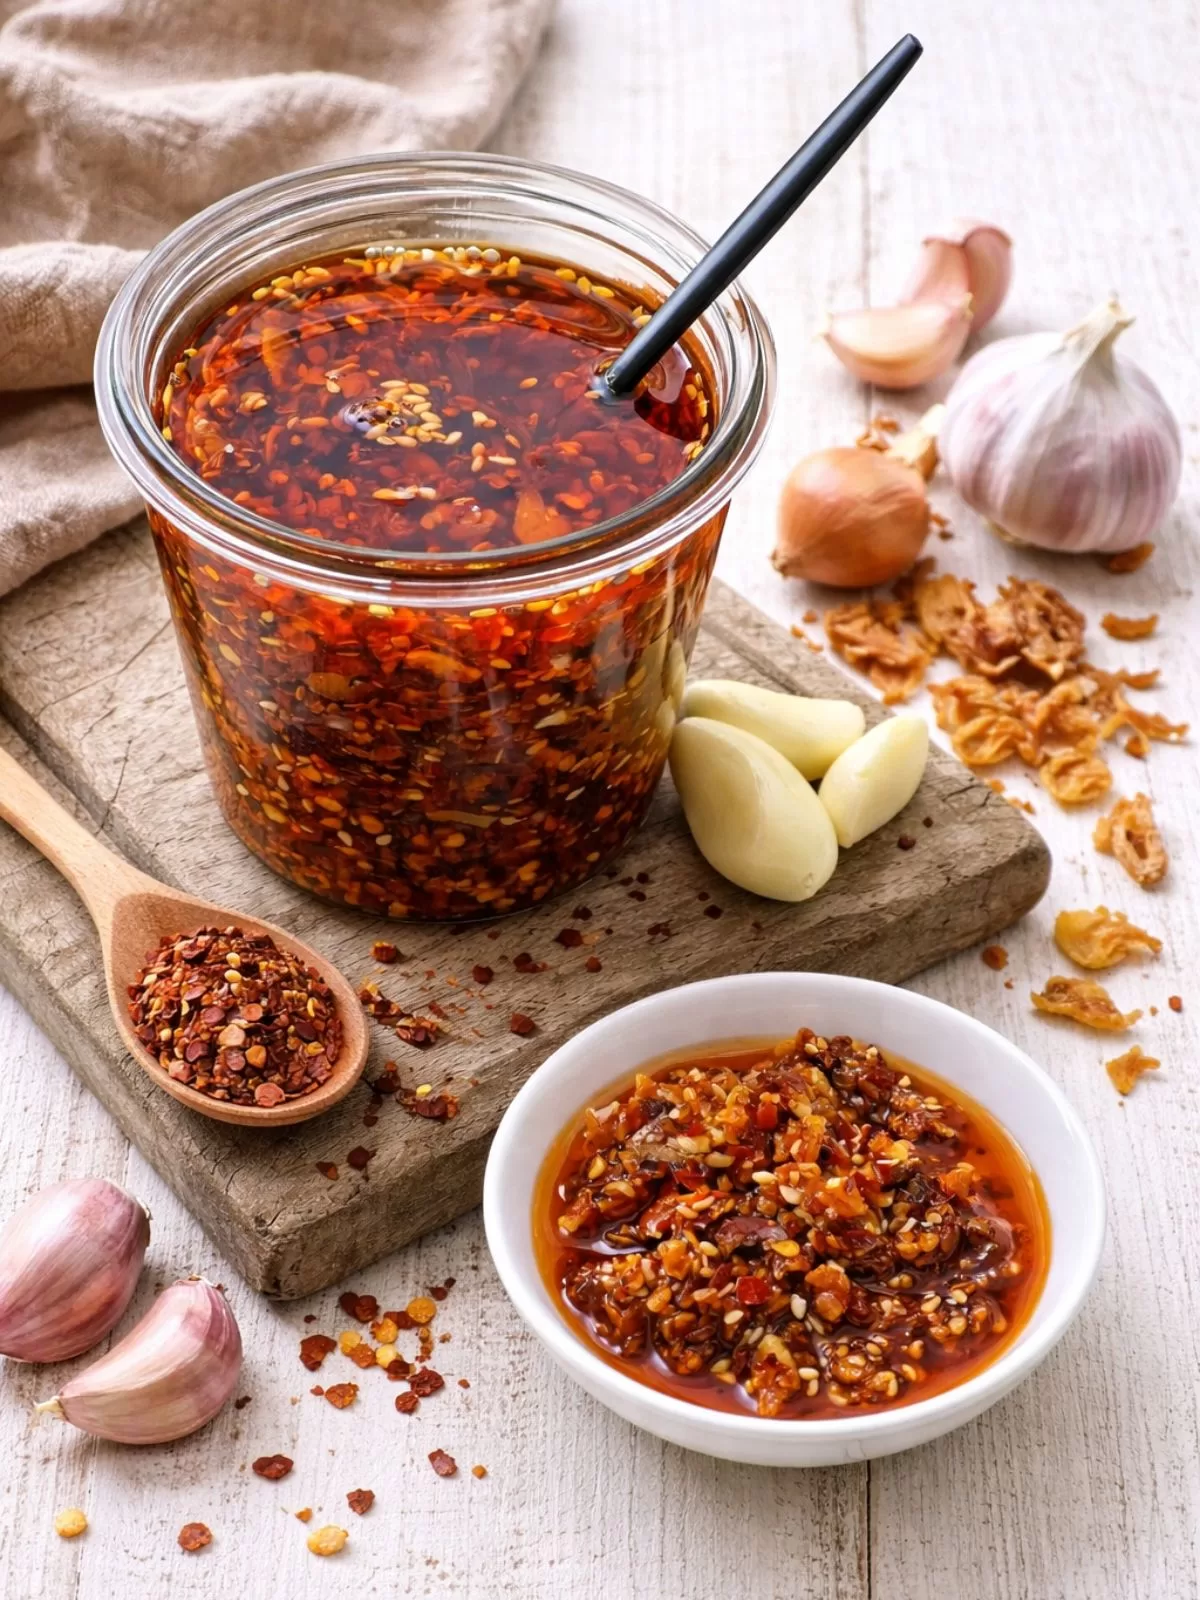
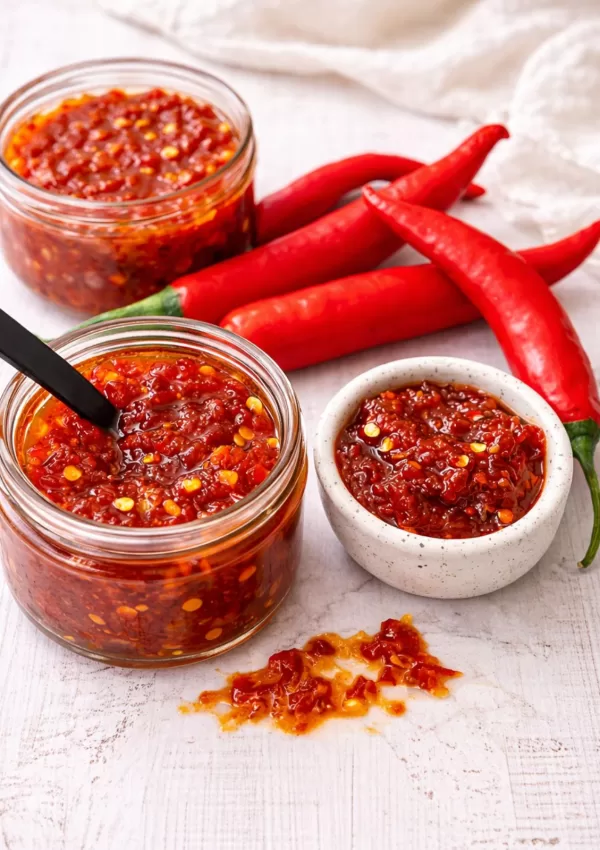
Your New Favourite Pantry Staple – Bold, Crunchy and Addictive
This Chilli Garlic Crisp Oil is a simple homemade condiment that transforms everyday meals into bold, flavour-packed dishes. With sizzling garlic, toasted chilli flakes and a rich, aromatic oil base, this recipe delivers a spicy-crisp punch that lifts noodles, stir fries, eggs, or even toast into something seriously delicious.
Why You’ll Love This
- Easy to make with simple pantry staples (oil, garlic, chilli flakes, a few spices).
- Creates a deeply flavourful, aromatic chilli oil that adds heat and crunch.
- Very versatile — drizzle over noodles, rice, eggs, stir-fries or even avocado toast.
- Keeps well in the fridge, so you’ve always got a flavour-packed finishing touch on hand.
How to Make the Chilli Garlic Crisp Oil
- Gently fry thinly sliced garlic (and optionally shallots) in neutral oil until just golden and crunchy – remove from oil carefully so it doesn’t burn.
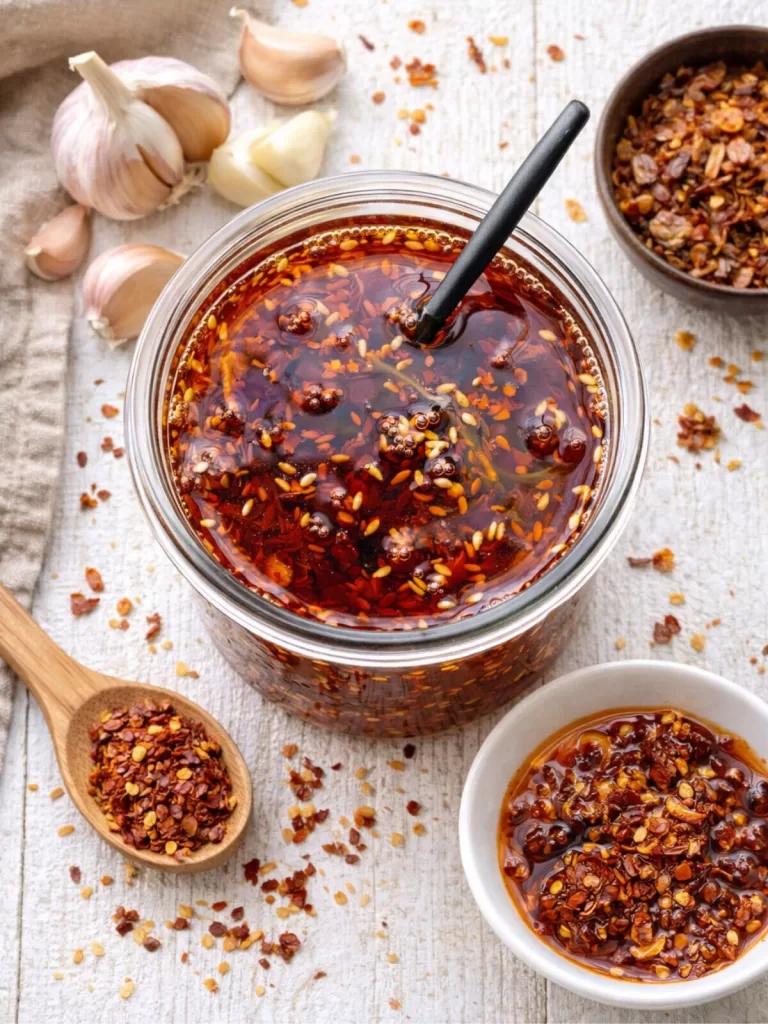
- Combine chilli flakes (or your chosen chillis), salt, sugar and any spices or flavourings in a heatproof bowl.
- Pour the hot oil over the chilli mixture – the sizzling sound lets you know you’re on track. Stir carefully to meld flavours.
- Once the oil mixture cools, add crunchy bits (fried garlic/shallots, nuts or seeds if using). Transfer to a clean jar.
- Let the oil rest at least a few hours (or overnight) to let flavours deepen before using.
Tips for the Best Chilli Garlic Crisp Oil
- Refrigeration is Key: Transfer the oil into a sealed jar or container, and store it in the refrigerator. The cold environment helps preserve the freshness and prevents the oil from becoming rancid.
- Avoid Exposure to Light: Store the jar in a dark area of the refrigerator or use an opaque container. Exposure to light can lead to deterioration of the oil’s quality.
- Check for Signs of Spoilage: While Chilli Garlic Crisp Oil has a relatively long shelf life, it’s essential to periodically check for any signs of spoilage. If you notice an off smell, unusual color changes, or if the oil develops a rancid taste, it’s time to discard it.
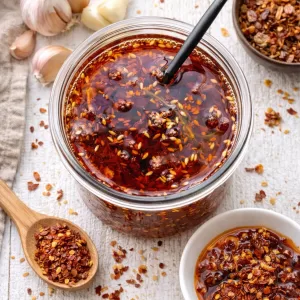
Storage
Once cooled, keep the oil in a clean, airtight jar in the fridge. Properly prepared and refrigerated, it should stay fresh for several weeks. Because the garlic, shallots (if used) and any crunchy bits are fully dry and crisp, the oil keeps stable – making this chilli crisp a brilliant make-ahead pantry staple you can reach for anytime.
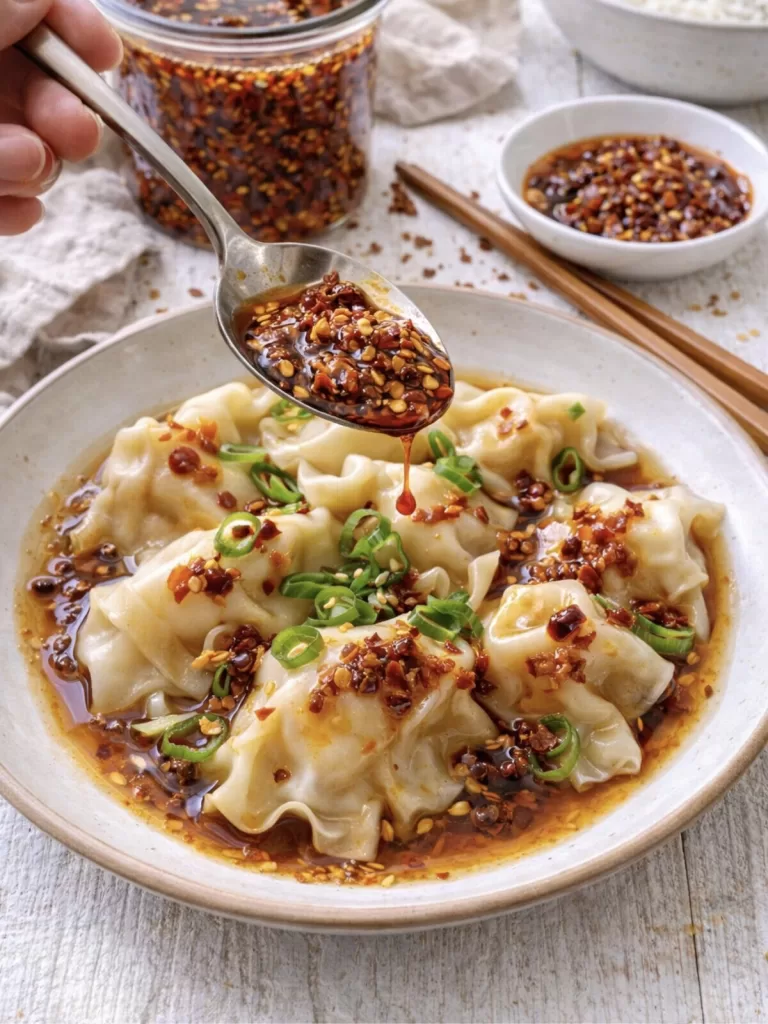
Serving Suggestions
Drizzle this chilli garlic crisp oil over hot noodles or stir-fry for an instant flavour upgrade. It’s incredible on scrambled or fried eggs — perfect for breakfast or late-night snacks. Add a spoon to soups or stews for warmth and crunch, or toss it through rice, drizzle over avocado toast, roasted veggies, chicken wings, pizza, dumplings — really, anything that needs a flavour boost.
More recipes you may like:
- Chilli Jam (The Absolute Best!)
- The Best Dumpling Sauce (4 Ingredients)
- Thai Basil Pesto
- Chinese Sweet and Sour Dipping Sauce
Chilli Garlic Crisp Oil
Ingredients
- 1 cup vegetable oil (or other neutral oil)
- 12 cloves garlic, finely chopped
- 2 whole star anise
- ¼ cup dried red chilli flakes
- ¼ cup store-bought fried shallots (See Notes)
- 2 tablespoons dried garlic granules
- 1 tablespoon toasted sesame seeds
- 1 tablespoon brown sugar
- 2 teaspoons soy sauce
- 1 teaspoon sesame oil
- 1 teaspoon smoked paprika
- 1 teaspoon sea salt
Instructions
- Pour the oil into a small saucepan and add the garlic and star anise. Place over a medium-low heat and bring gently to a simmer, stirring often.
- Once the oil is simmering, reduce heat to the lowest temp possible and continue cooking for a further 5-7 mins or until the garlic just turns light golden brown in colour. Do not let it burn or overcook it as it will taste bitter. Best not to leave it at all during this period as it can happen very quickly.
- Remove from heat and quickly stir in all the remaining ingredients. Allow to cool completely before storing in an airtight jar or container in the fridge. Stir well before using. Serve as desired. Make approximately 1 ½ cups
Notes
- COOKS NOTES:
Oven Temps: Oven temperatures are for conventional, if using fan-forced (convection), reduce the temperature by 20˚C.
Measurements: We use Australian tablespoons and cups: 1 teaspoon = 5 ml, 1 tablespoon = 20 ml & 1 cup = 250 ml.
Herbs: All herbs are fresh (unless specified) and cups are lightly packed.
Vegetables: All vegetables are medium size and peeled, unless specified.
Eggs: We use extra-large size and eggs are 55-60 g each, unless specified. - TO STORE
Once cooled, transfer to an airtight container or clean sterilised jar and store in the fridge for up to 6 months. Stir well before use. - FRIED SHALLOTS
Fried shallots are available from the Asian section of most large supermarkets. Alternately you can also purchase them from your local Asian grocer or online. I use them on loads of dishes as a garnish, they add crunch, flavour and look great sprinkled over dishes!


Leave a Reply