
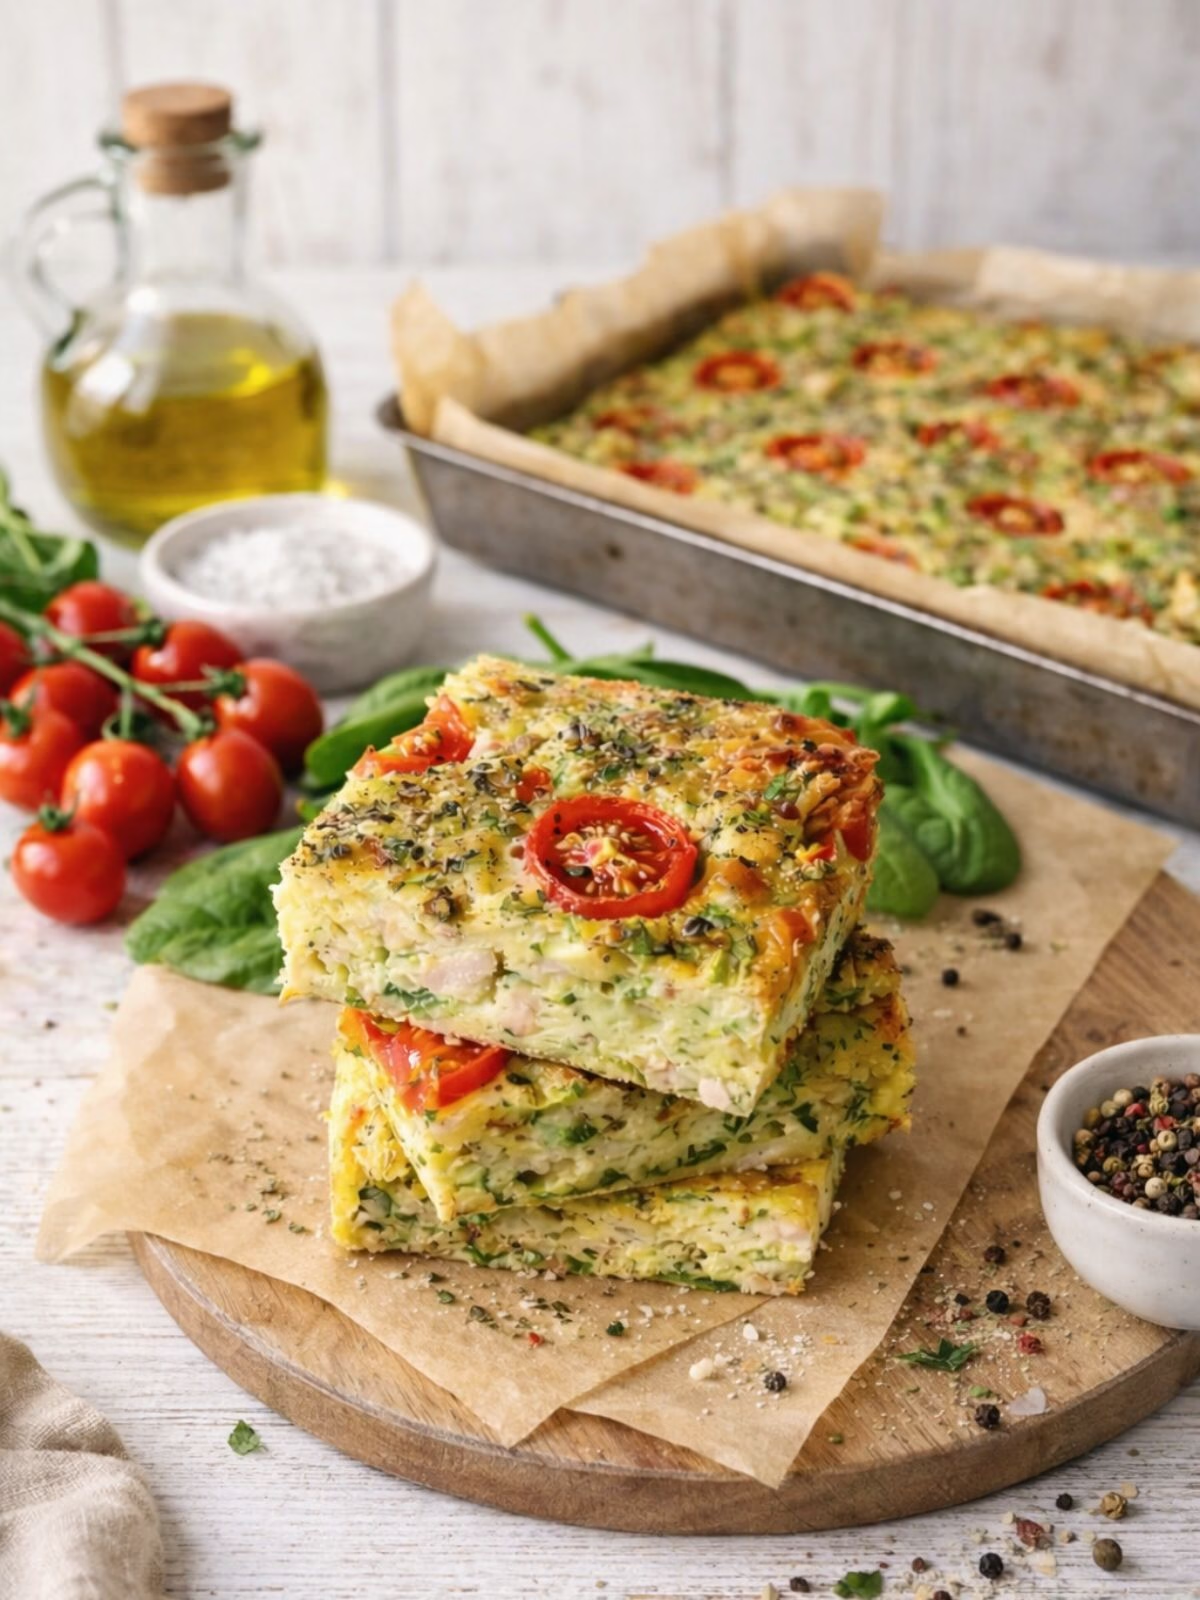
The ultimate savoury slice that’s perfect for lunch boxes, picnics, and easy dinners.
This Easy Zucchini and Bacon Slice recipe is the answer to your “what’s for lunch?” dilemma. It’s a brilliant way to use up garden zucchini, transforming it into a golden, savoury bake that’s packed with flavour from crispy bacon and melted cheese. Wholesome, versatile, and incredibly simple to make, it’s the kind of reliable recipe you’ll turn to for years to come.
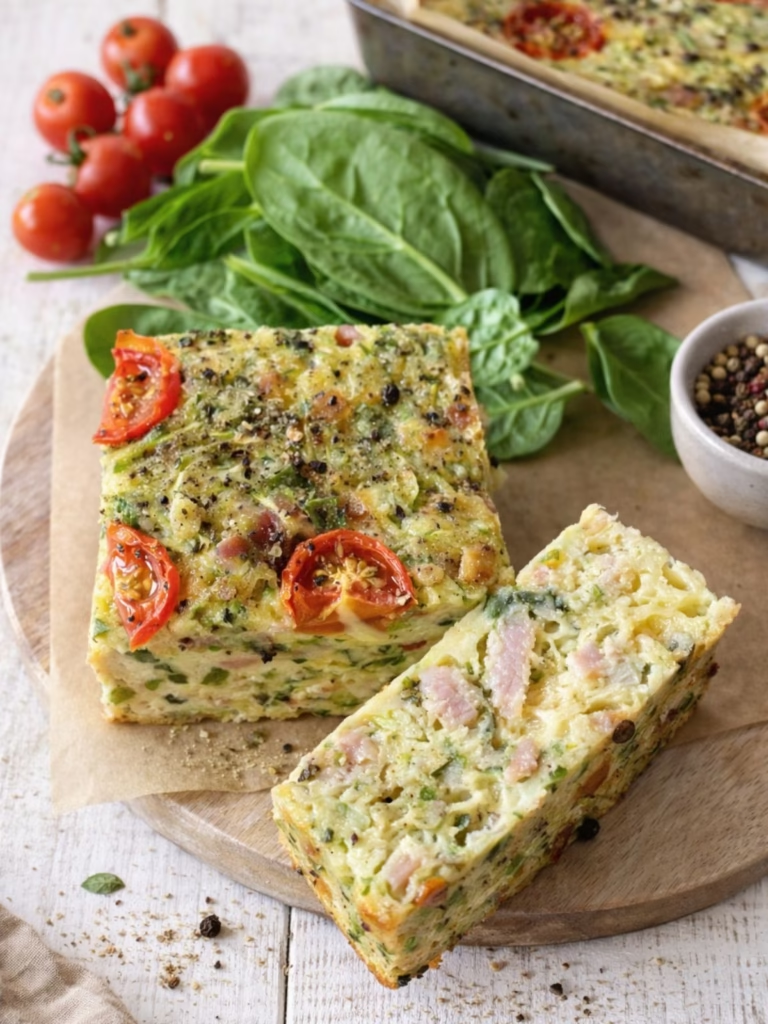
You know those recipes that just work? The ones that are as comfortable on a brunch table as they are in a lunchbox, and that somehow taste even better the next day? This zucchini and bacon slice is exactly that. It’s humble, hearty, and deeply satisfying—the kind of food that feels like a warm hug. The magic is in the simple steps: browning the bacon until it’s irresistibly crispy and fragrant with garlic, then folding it through a batter studded with fresh herbs and zucchini. It bakes into a golden, sliceable meal that promises no fuss and maximum flavour. It’s the definition of easy, crowd-pleasing cooking.
Why You’ll Love This Recipe
This isn’t just another slice; it’s a meal-prep game-changer. Here’s why it earns a permanent spot in your recipe rotation.
- Incredibly Versatile: Enjoy it for breakfast, lunch, dinner, or snacks. It’s perfect hot, warm, or cold.
- Sneaks in the Veggies: The coarsely grated zucchini adds moisture and nutrition, making it a brilliant way to get extra greens into everyone (especially picky eaters!).
- Meal Prep Champion: Bake once, eat all week. It stores and freezes beautifully, making busy days so much easier.
- Simple & Foolproof: No fancy techniques required. Just mix, pour, and bake. It’s a fantastic recipe for beginner cooks.
Key Ingredients & Tips for Success
A few simple choices ensure your slice turns out perfectly every time.
- The Zucchini: Coarsely grate 3 medium zucchinis. There’s no need to squeeze out the moisture—it keeps the slice wonderfully moist.
- The Bacon: The secret to deep flavour is cooking the bacon and garlic first until golden. This step is non-negotiable and adds a savoury, smoky base you can’t get from raw bacon.
- The Herbs: Use ¼ cup of your favourite fresh herbs. A mix of parsley, basil, and chives is lovely, but dill or even thyme works beautifully too.
- The Cheese: Grated tasty cheese provides the perfect melt and salty bite. For extra flavour, try swapping half for grated cheddar or a crumble of feta.
Pro Tip: For the best texture and to prevent sogginess, let the cooked bacon and garlic cool slightly before stirring it into the egg and zucchini mixture.
My Tips for the Best Slice
This recipe is wonderfully forgiving, but a few simple tricks will guarantee perfect results every single time.
- Don’t Squeeze the Zucchini: The natural moisture in the coarsely grated zucchini is crucial. It steams as it bakes, keeping the slice incredibly moist and tender. Squeezing it out will lead to a drier texture.
- Cook the Bacon Until Crisp: This is the flavour foundation. Take the time to cook the bacon and garlic until properly golden and fragrant. That savoury, smoky depth is what sets this slice apart from versions that use raw bacon.
- Let the Bacon Cool: Before adding the cooked bacon and garlic to the wet mixture, let it cool for a few minutes. Adding it piping hot could start to cook the eggs prematurely.
- Use a Light Hand to Mix: Once you add the wet ingredients to the dry, stir gently until just combined. Overmixing can lead to a tough, dense slice instead of a light, tender one.
- Test for Doneness Properly: Ovens vary. The slice is ready when it’s golden on top, pulling away from the sides slightly, and a skewer inserted into the centre comes out clean or with a few dry crumbs.
Serving Suggestions
This slice is the ultimate all-rounder. For a hearty brunch, serve it warm with a dollop of Greek yoghurt and a side of avocado. It’s a star lunchbox filler – just pack a square with some cherry tomatoes. Crumble it over a green salad for a quick, protein-packed lunch, or cut it into small squares to serve as easy finger food with a bowl of tomato relish or chutney for dipping. You can even use it as a savoury sandwich filler in crusty rolls.
Storage
Fridge: Allow the slice to cool completely, then store it in an airtight container (or wrap the whole slab) in the refrigerator for up to 4 days.
Freeze: Individually wrap portions in plastic wrap and place them in a zip-lock bag. Freeze for up to 3 months. Thaw overnight in the fridge.
Reheating: Reheat portions in a 180°C oven for 10-15 minutes until warmed through. You can microwave it, but the oven will keep the texture best.

Frequently Asked Questions
Do I need to squeeze the moisture from the grated zucchini?
No, don’t squeeze it! The natural moisture in the zucchini is essential for keeping the slice lovely and moist. The flour and eggs will absorb it as it bakes.
Can I make this vegetarian?
Absolutely. Simply omit the bacon. For extra flavour, you could add a handful of pan-fried mushrooms or a extra ½ cup of grated cheese.
What can I use instead of self-raising flour?
For every 1 cup of self-raising flour, use 1 cup of plain flour sifted with 2 teaspoons of baking powder.
My slice is still wet in the middle. What happened?
This likely means it needed more baking time. Oven temperatures can vary. Next time, test for doneness by inserting a skewer into the centre—it should come out clean. If it’s browning too quickly on top, cover it loosely with foil for the remainder of the baking time.
Can I add other vegetables?
Yes! Grated carrot, sweet corn kernels, or even some finely chopped spinach are great additions. Just keep the total volume of added veg similar to the amount of zucchini.
This Easy Zucchini and Bacon Slice Recipe truly is a kitchen staple—simple to make, packed with flavour, and endlessly useful. I hope it becomes a trusted favourite in your home, too. If you give it a try, I’d love to hear how you enjoyed it! Leave a comment below and let me know.
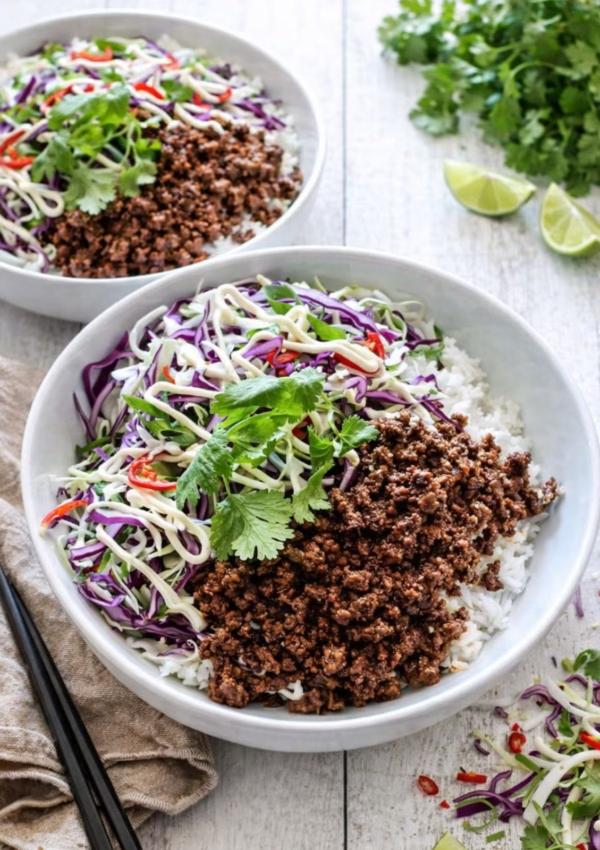
More Recipes To Try:
- Savoury Cheese Crescent
- Zucchini & Sweet Corn Fritters
- Wholesome Spinach & Feta Quiche (with a Flaky Wholemeal Crust)
- Pan-fried Salmon & Potato Cakes with Lemon Aioli
- Deep-Dish Roasted Vegetable Quiche (With Fillo)

Easy Zucchini and Bacon Slice Recipe
Ingredients
- 2 teaspoons olive oil
- 3 rashers bacon, rind removed and finely diced
- 2 cloves garlic, finely chopped
- 3 zucchinis, coarsely grated
- 3 spring/green onions, finely sliced
- ¼ cup chopped fresh herbs
- 1 cup grated tasty cheese
- 1 cup self-raising flour
- 1 teaspoon salt
- ½ teaspoon pepper
- 5 eggs
- ½ cup light olive oil
- 8-10 cherry tomatoes, halved
Instructions
- Preheat oven to 180℃ (160℃ fan forced). Lightly grease and line the base and sides of a 20cm x 30cm slice pan with baking paper.
- Heat the 2 teaspoons olive oil in a frying pan over medium high heat. Add the bacon and cook, stirring often, for 2 minutes. Add the garlic and continue cooking for a further 5 minutes or until the bacon is golden brown in colour. Remove pan from heat and set aside to cool.
- Meanwhile, place the zucchini, spring/green onions, cheese, flour, herbs and salt and pepper into a large bowl. Using clean hands, mix to combine alternately use a spoon (I find it easier to use hands for this step).
- Whisk the eggs and oil in a separate bowl until combined. Pour it over the zucchini mix and add the cooled bacon mixture. Stir well with a spatula or spoon until throughly combined.
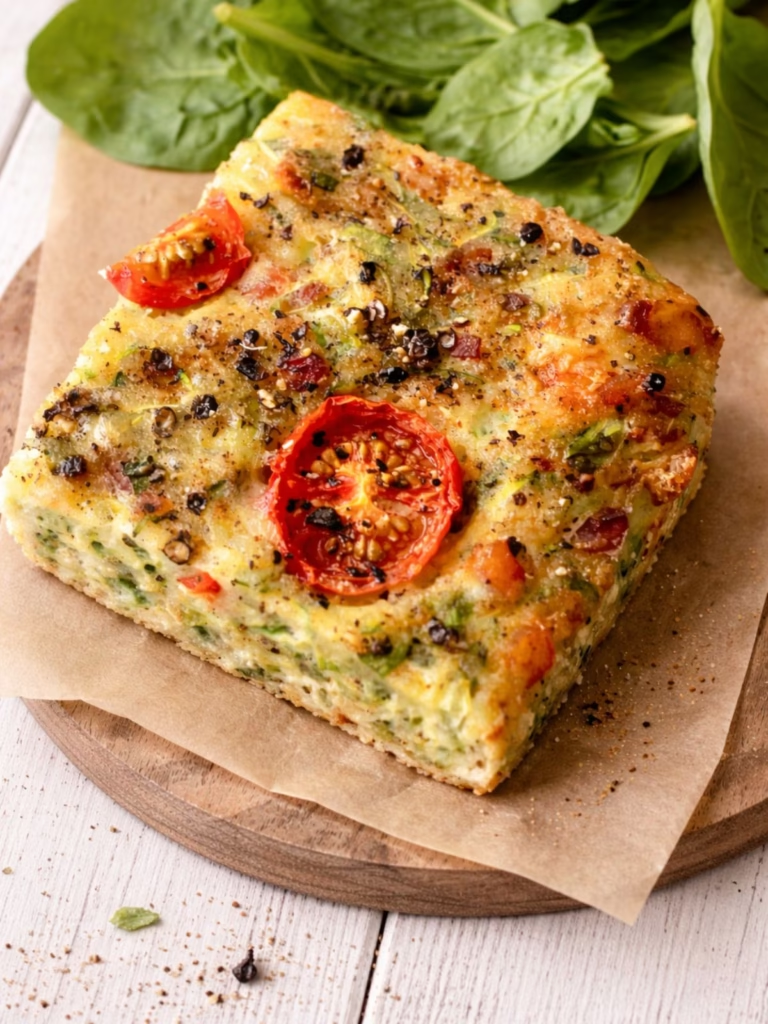
- Pour the zucchini mixture into the prepared slice pan, smoothing the surface with a spatula. Arrange the cherry tomatoes, cut side up, over the surface, pushing in gently to secure. Sprinkle with a little extra salt and pepper.
- Bake in the oven for 35-40 minutes or until lightly golden and cooked through. Set aside on a wire rack to cool before serving. You can serve hot, warm or cool. Cut into squares or bars to serve. Serve as desired (see Serving Suggestions above in the post for ideas).
Notes
- COOKS NOTES:
Oven Temps: Oven temperatures are for conventional, if using fan-forced (convection), reduce the temperature by 20˚C.
Measurements: We use Australian tablespoons and cups: 1 teaspoon = 5 ml, 1 tablespoon = 20 ml & 1 cup = 250 ml.
Herbs: All herbs are fresh (unless specified) and cups are lightly packed.
Vegetables: All vegetables are medium size and peeled, unless specified.
Eggs: We use extra-large size and eggs are 55-60 g each, unless specified. - Bacon: Cooking it first is essential for flavour and texture.
- Herbs: Choose from basil, parsley, dill, chives or a mixture of them.
- Oil: Instead of olive oil, you could also use grapeseed oil, rice bran oil or any neutral flavoured oil you have on hand.
- Zucchini: Do not squeeze out the moisture.
- Storage: Cool completely, then store in an airtight container in the fridge for up to 4 days or freeze for 3 months.


Leave a Reply