
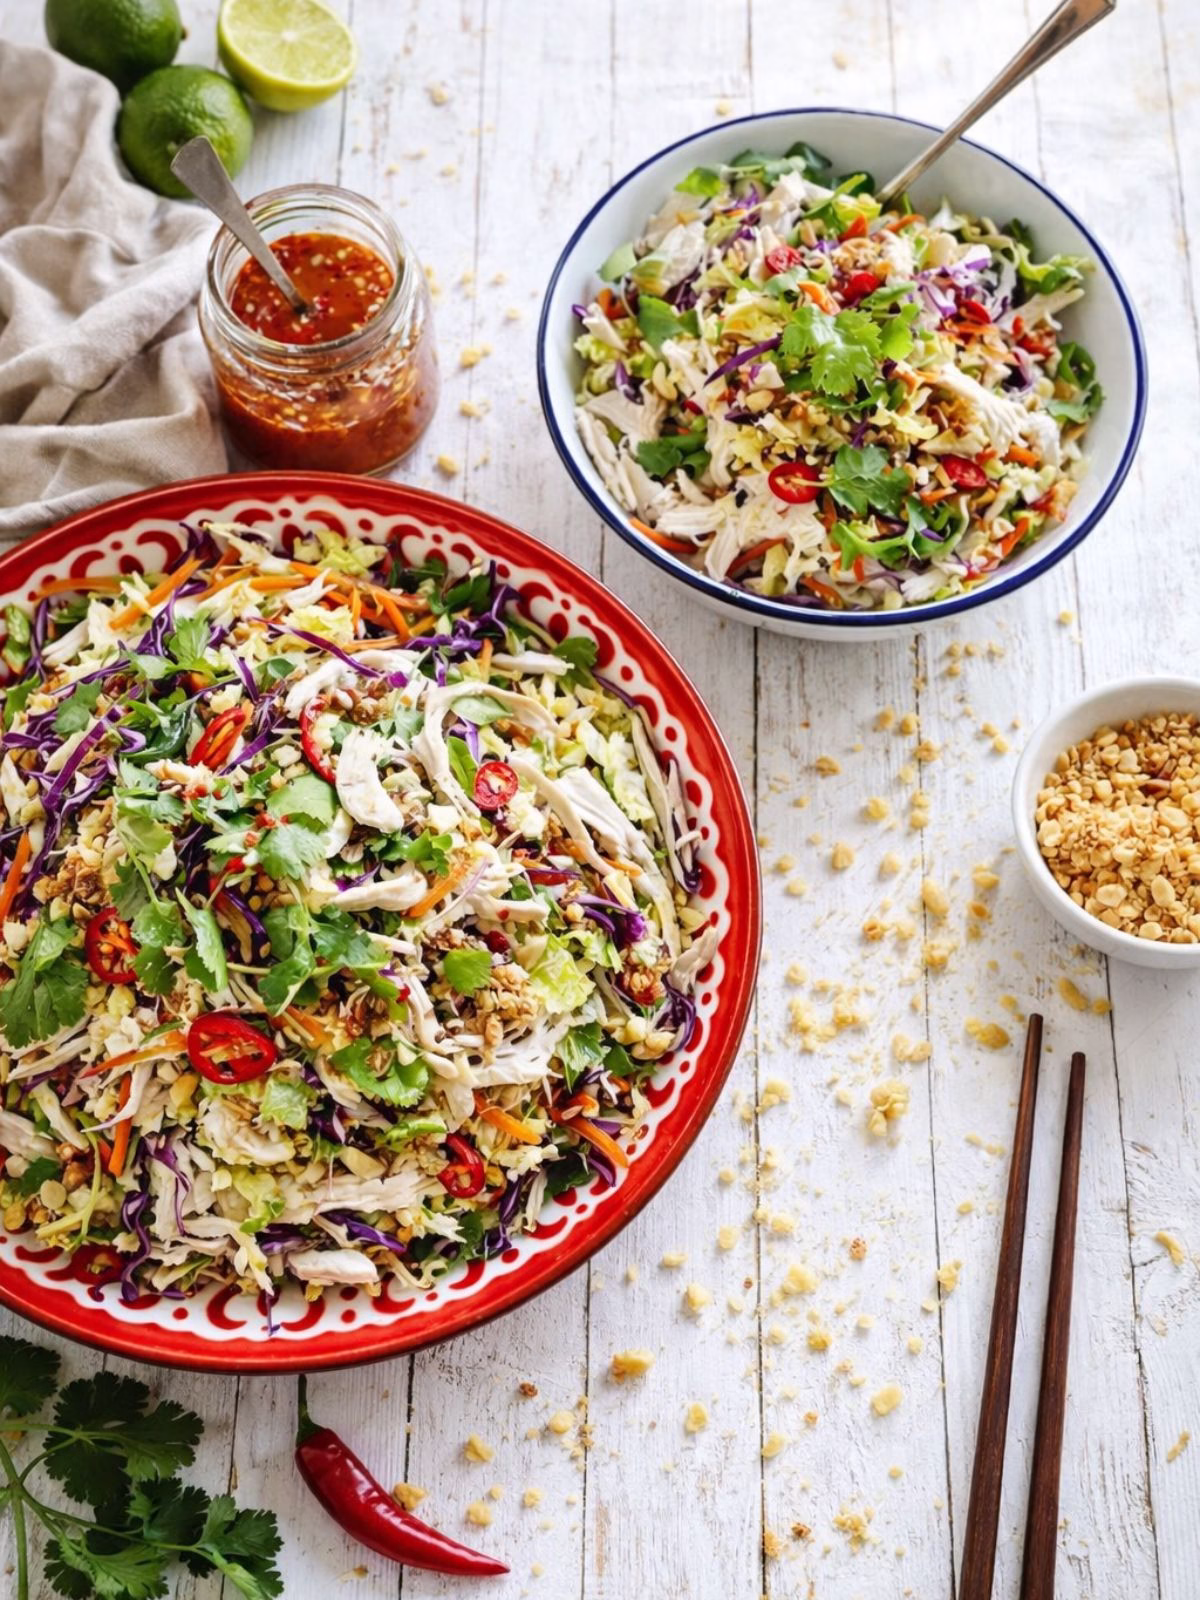
This Vietnamese Chicken Salad is fresh, zesty and full of crunch, everything you love about Vietnamese food in one easy bowl. With juicy poached chicken, crisp cabbage, loads of herbs and a punchy Nuoc Cham dressing, it’s the perfect hot-weather dinner and a brilliant make-ahead meal for lunches.
This is one of those salads I make on repeat every summer. It’s fresh, crunchy and somehow feels indulgent while still being light. The kind of recipe you can throw together after a long day and instantly feel like you’ve made something really good without trying too hard.
Why You’ll Love This Vietnamese Salad
- Big, bold flavours that taste exactly like your favourite Vietnamese restaurant.
- Light, fresh and naturally healthy, without feeling like “diet food”.
- Juicy poached chicken that’s tender every single time.
- Loads of herbs for freshness and crunch.
- Perfect make-ahead recipe for work lunches, camping or picnics.
- Easy to scale up for entertaining.
How to Make The Salad
- Poach the chicken until tender. Let it rest, then shred.
- Add your shredded chicken to a large bowl with the cabbage, carrots and fresh herbs. Toss well so everything mixes evenly.
- Shake the Nuoc Cham dressing in a jar until combined. Pour over the salad. Toss again so every bite is coated.
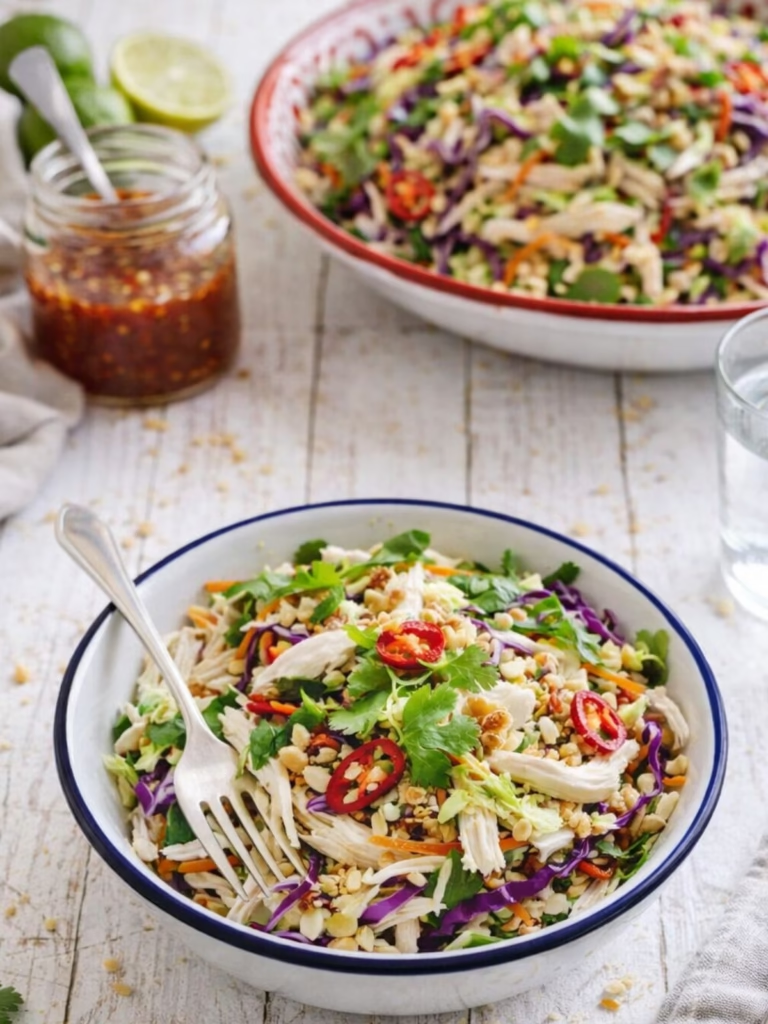
- Top with chilli and crushed peanuts. Serve straight away while the veggies are crisp.
Tips for the best Vietnamese Chicken Salad
- Use poached chicken for soft, tender pieces (leftover roast works too).
- Wombok is ideal for its soft texture and ability to soak up the dressing.
- Julienne carrots for the proper Vietnamese crunch and look.
- Control the heat by deseeding chillies or using milder long red chillies.
- Be generous with herbs, mint and coriander bring the dish alive.
- Choose your crunch, peanuts are traditional, cashews also work.
- Dress just before serving to keep everything crisp.
Serving suggestions
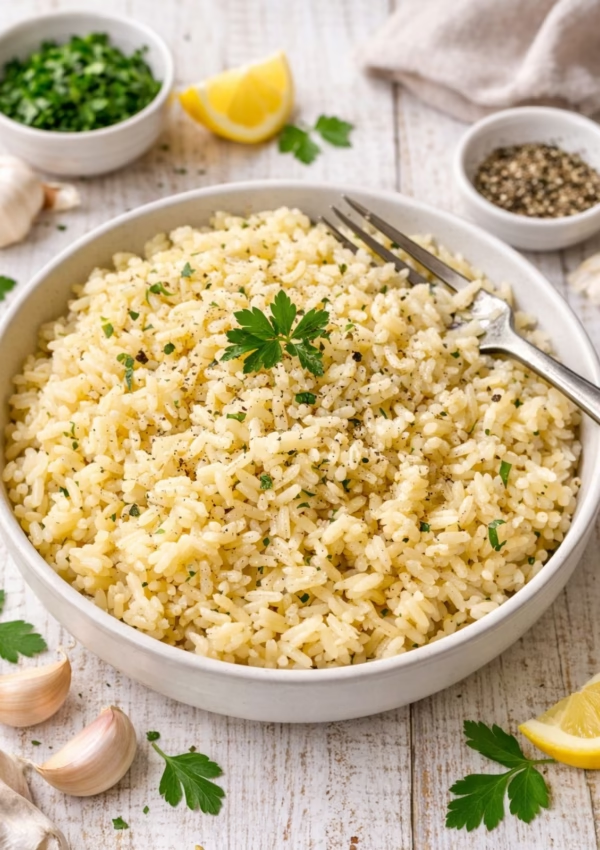
This Vietnamese Chicken Salad is perfect on its own, but if you want to make it more substantial, add a scoop of steamed jasmine rice, vermicelli noodles or serve it as part of a shared spread with spring rolls, grilled chicken skewers or rice paper rolls. It’s a brilliant “everyone helps themselves” kind of dish.
Storage
Keep all the elements separate until you’re ready to serve. The poached chicken will stay fresh for 2–3 days, the chopped salad will keep crisp for 1–2 days, and the Nuoc Cham dressing lasts up to a week in the fridge. When it’s time to eat, just toss everything together for maximum crunch and flavour.
More Recipe You Might Like To Try:
- Crunchy Vietnamese Fried Spring Rolls (Cha Gio)
- Sticky Asian Chicken Wings with Hoisin
- Thai Chicken Larb Salad
- Crispy Pork Belly Bahn Mi
- Red Cabbage Salad with Honey Lime Dressing

Vietnamese Chicken Salad
Ingredients
- 2 large chicken breast fillets
- ½ Chinese wombok or green cabbage, thinly sliced
- ¼ red cabbage, finely sliced
- 2 large carrots, julienned
- 4 spring onions, thinly sliced
- ½ bunch coriander, roughly chopped
- ½ bunch mint leaves, roughly chopped
- 2 long red chillies, thinly sliced
- ⅓ cup unsalted peanuts, roughly chopped, or cashews
- 2 tablespoons store-bought fried shallots or toasted sesame seeds (optional)
NOUC CHAM DRESSING
- ⅓ cup caster sugar
- 2 ½ tablespoons lukewarm water
- 2 tablespoons white vinegar
- 2 tablespoons fish sauce
- 2 cloves garlic, finely chopped
- ½-1 long red chilli, finely chopped
Instructions
SALAD
- Place the chicken breasts in a large saucepan. Add a pinch of salt. Cover with cold water by at least 3 cm. Bring to a gentle boil over medium high heat. Reduce to low and simmer for 10 minutes.
- Turn off the heat. Cover with a lid and leave the chicken in the hot liquid for 10 minutes. Remove and transfer to a plate. Cool for about 20 minutes, or until easy to handle.
- Shred the chicken into rough bite size pieces. Cover and chill if needed. You can prepare the chicken up to 2 days ahead.
- Add cabbage, carrots, spring onions, herbs and chilli to a large bowl. Add half the chicken, half the peanuts, half the fried shallots and some of the Nuoc Cham Dressing. Toss well.
- Transfer to a serving plate. Top with remaining chicken, peanuts and fried shallots. Drizzle with more dressing. Serve straight away.
NOUC CHAM DRESSING
- Add sugar and warm water to a bowl or jar. Whisk or shake until the sugar dissolves.
- Add the vinegar. Whisk or shake again until combined.
- Add fish sauce and garlic. Stir or shake well.
- Add chilli a little at a time. Taste as you go and adjust to suit your heat preference.
Notes
- Measurements: We use Australian tablespoons and cups. 1 teaspoon = 5 ml. 1 tablespoon = 20 ml. 1 cup = 250 ml.
- Herbs: All herbs are fresh unless specified. Cups are lightly packed.
- Vegetables: All vegetables are medium size and peeled unless specified.
- Mint: You can also use Vietnamese mint if you can get it. If using Vietnamese mint though, use less as the flavour is much stronger.
- Chilli: Remove seeds and membrane for less heat. Add chilli gradually to suit your taste.
- Crunch: Fried shallots or toasted sesame seeds are optional but they do add so much texture.
- Dressing: Store Nuoc Cham Dressing in the fridge for up to 1 month. Shake well before using.
- Make Ahead Tips (Meal Prep):
This salad is ideal for making ahead and meal prepping. Simply keep the chicken, chopped salad, nuts, shallots and dressing in separate containers, then toss everything together just before serving. It’s also a great option for picnics or easy lunches.
-
- Poach and shred the chicken 2–3 days in advance.
- Prep and combine the salad ingredients up to 2 days earlier.
- Chop peanuts and store with the fried shallots, they’ll keep for weeks.

Leave a Reply