
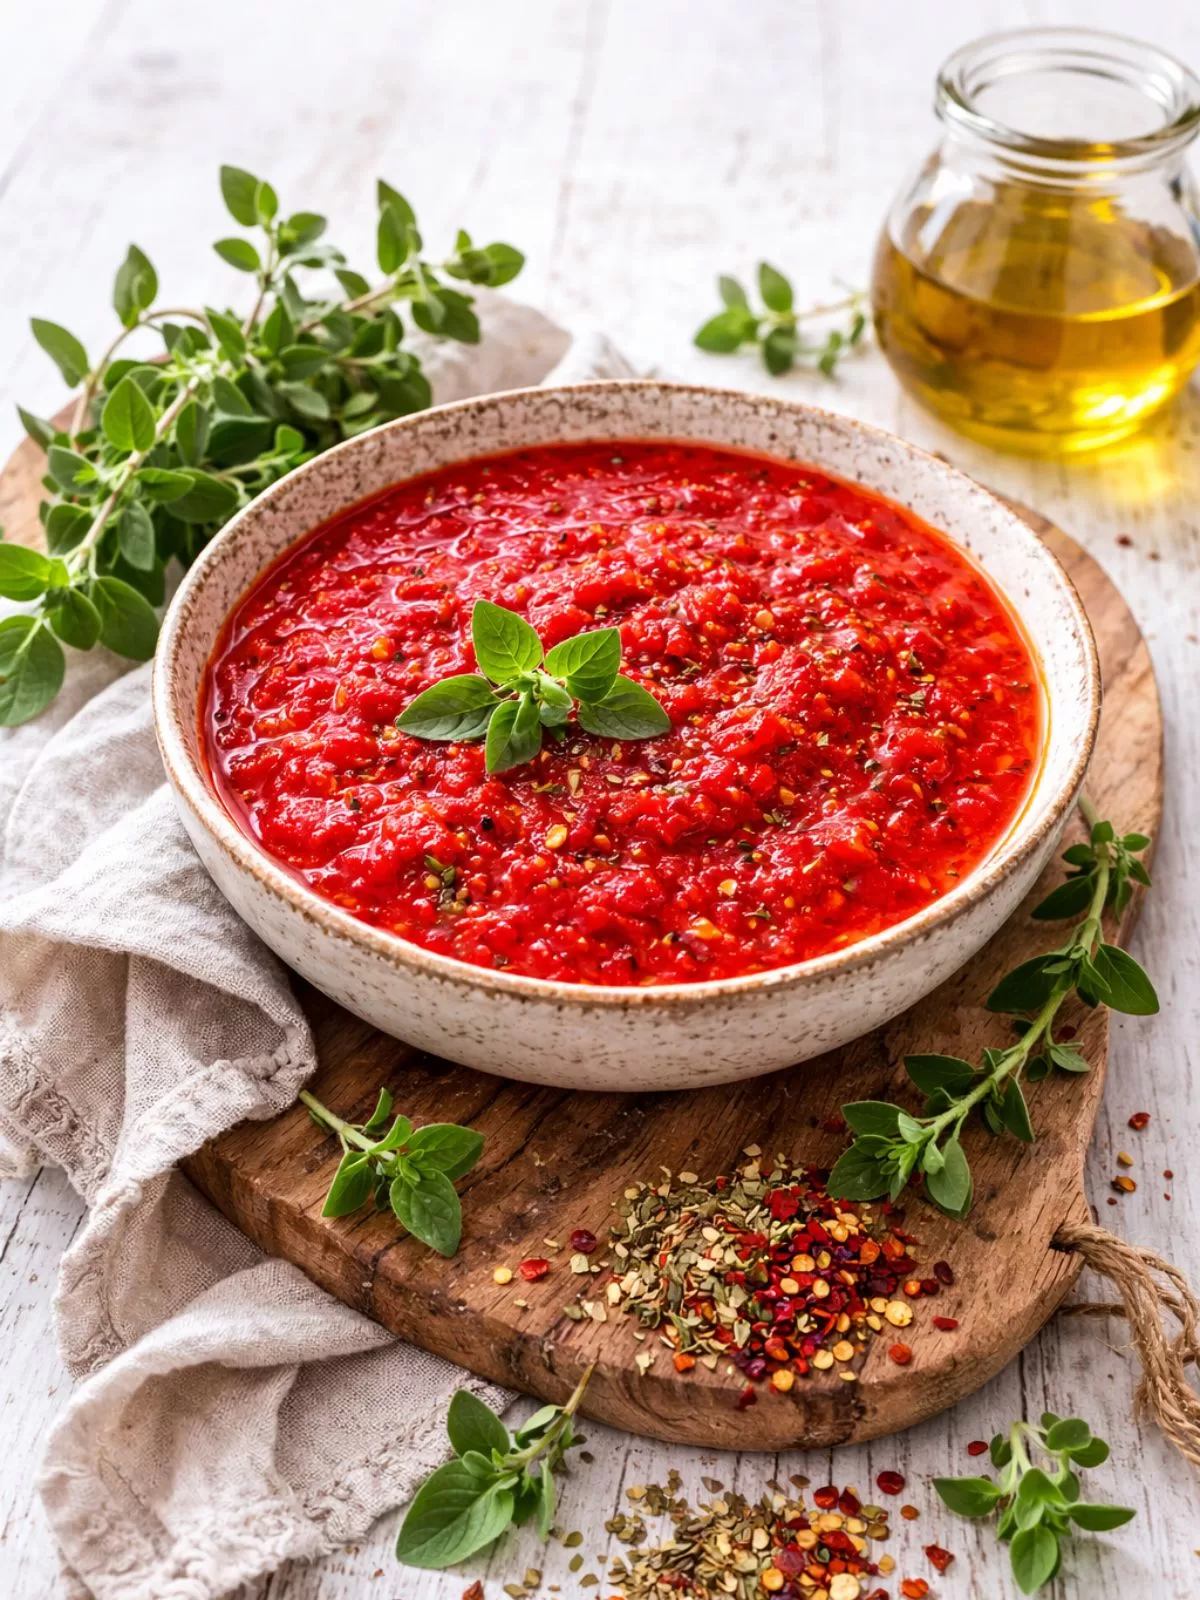
Say goodbye to bland, store-bought jars. The Best 5-Minute Tomato Sauce is your new kitchen staple, delivering a vibrant, rich flavour that transforms pizza night or a quick pasta dinner. With just six pantry staples and a single saucepan, you build a base of fragrant garlic before letting good-quality tomatoes shine. It’s the fastest route from “I’m hungry” to a delicious, homemade meal that genuinely tastes like you spent hours cooking.
I’ll let you in on a secret: this sauce was born out of pure hunger and a serious lack of time. It was one of those evenings where the thought of cooking felt like a chore, but takeaway wasn’t the answer. I stared into the pantry, saw a can of Mutti tomatoes, and decided to experiment. Five minutes later, I was dipping bread into the most surprisingly delicious, fresh-tasting tomato sauce I’d ever made. It was a total “why haven’t I always done this?!” moment. Now, it’s my non-negotiable base for Friday night pizzas and my emergency dinner hero.
Why You’ll Love This Sauce
This recipe earns its “best” title for a few very good reasons:
- Seriously, 5 Minutes: From turning on the stove to finished sauce, it genuinely takes less than five minutes. It’s faster than waiting for delivery.
- Pantry Staples Only: Garlic, canned tomatoes, dried herbs, sugar, oil. That’s it. No fancy ingredients, no last-minute shop required.
- Unbeatable Flavour: The gentle cooking of garlic in oil creates a sweet, aromatic base that makes this sauce taste simmered for hours, not minutes.
- Two Meals, One Sauce: It’s the perfect dual-purpose hero. Use it as a pizza base one night and a quick pasta sauce the next.
- Freezer-Friendly: Make a double or triple batch and freeze it in portion-sized bags for instant, homemade meals on your busiest days.
My Go-To Tomato Tip
I swear by Mutti Finely Chopped Tomatoes for this recipe. They’re sweet, perfectly textured, and break down instantly in the pan, which is key for a no-blender, 5-minute sauce. If you use whole or diced tomatoes, you’ll need to give them a quick blitz in a blender first. The better your tomatoes, the better your sauce—it’s that simple.
How To Make This Sauce
The method is as simple as the ingredient list. Here’s the foolproof process:
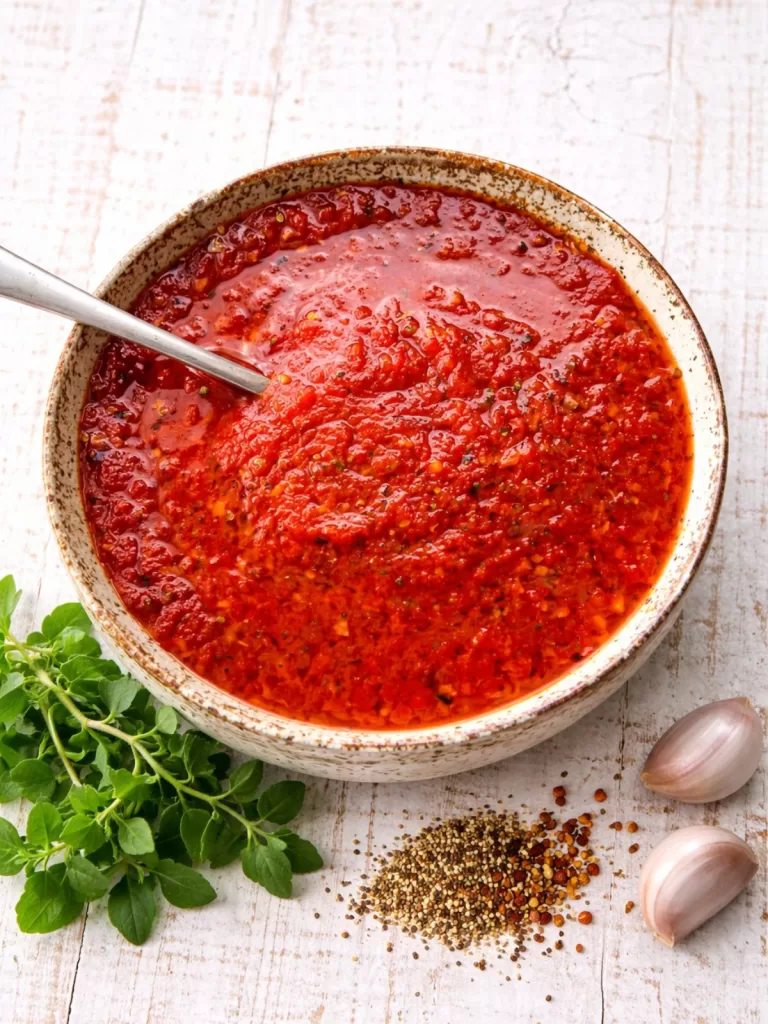
Cook the Aromatics: Start the garlic in cold oil in your saucepan, then heat gently. This slowly infuses the oil and cooks the garlic without browning it, creating a sweet, mellow base.
Combine & Heat: Add the canned tomatoes, oregano, a pinch of sugar (to balance acidity), and optional chilli flakes. Stir and let it heat through for just a minute.
Taste & Use: Season with salt and pepper. Done! Let it cool for pizza, or keep it hot for pasta.

My Top Tips for the Best Sauce
- Start Garlic in Cold Oil: This is the secret! Adding garlic to a cold pan with the oil and then heating it gently prevents burning and creates a sweet, mellow flavour base.
- Don’t Skip the Sugar: Even a teaspoon balances the natural acidity of the tomatoes and rounds out the flavour perfectly, especially important with budget-friendly cans.
- Quality Tomatoes Matter: For the best texture and flavour in just 5 minutes, use a quality brand of finely chopped tomatoes, like Mutti. It makes all the difference.
- Taste & Adjust at the End: Season with salt and pepper after heating. Always taste and adjust—you might want another pinch of sugar or chilli flakes.
How to Use This Sauce
Of course, it’s perfect for pizza and pasta, but its uses don’t stop there! Think of it as your all-purpose Italian-style red sauce. It’s fantastic as a dipper for garlic bread or breadsticks, a base for shakshuka, a simmering sauce for meatballs, or a condiment for arancini or fried ravioli. I’ve even thinned it with a bit of broth for a quick soup!
Storage & Freezing
Fridge: Store cooled sauce in an airtight container for up to 5 days. The flavours meld and get even better.
Freezer: This sauce freezes beautifully for up to 6 months. For ultimate convenience, freeze it in portion-sized zip-lock bags (I do one bag per pizza). Lay the bags flat to freeze—they thaw quickly on the counter or in a bowl of warm water.
FAQ’s
Can I use fresh tomatoes?
For this specific 5-minute method, canned finely chopped tomatoes are essential. Fresh tomatoes require much longer cooking to break down and concentrate their flavour.
What if I only have diced or whole canned tomatoes?
Simply pulse them in a blender or food processor a few times until finely chopped before adding them to the pan. Don’t skip this step, or the sauce won’t come together in time.
Is the sugar necessary?
It’s highly recommended to balance the acidity of the tomatoes, but you can omit it. Start with ½ teaspoon, taste, and add more if needed.
Can I make it ahead?
Absolutely! It stores perfectly in the fridge for 5 days or in the freezer for months, making it an ideal meal-prep staple
Once you see how easy it is to make a truly great tomato sauce from scratch, there’s just no going back to the jar. I hope this 5-minute wonder becomes your new secret weapon for effortless, flavour-packed meals. Give it a try this week and let me know how you use it, leave a comment below!
More Recipes:
- Easy Spinach & Ricotta Ravioli Without Pasta Dough
- Easy Spaghetti & Meatballs
- Brown Butter Garlic Bread (With Sea Salt & + Herbs)
- 5 Minute Bruschetta Bowl
The Best 5 Minute Tomato Sauce For Pizza or Pasta
Ingredients
- 1 tablespoon olive oil
- 3 cloves garlic, finely chopped
- 400g can finely chopped tomatoes
- 1 teaspoon dried oregano
- 1 teaspoon caster sugar
- ½-1 teaspoon dried chilli flakes
- Salt and pepper, to taste
Instructions
infuse the oil
- Place olive oil and finely chopped garlic in a small, cold saucepan. Heat over medium-low until the oil around the garlic begins to bubble gently. Cook for 1 minute – do not let the garlic brown.
combine & cook
- Add the finely chopped tomatoes, dried oregano, caster sugar, and chilli flakes (if using). Stir well and heat through for 1-2 minutes until hot.
season & serve
- Season generously with salt and pepper. Taste and adjust sugar if needed. Use immediately for pasta, or allow to cool for pizza bases.
Notes
- Cooks Notes:
Oven Temps: Oven temperatures are for conventional, if using fan-forced (convection), reduce the temperature by 20˚C.
Measurements: We use Australian tablespoons and cups: 1 teaspoon = 5 ml, 1 tablespoon = 20 ml & 1 cup = 250 ml.
Herbs: All herbs are fresh (unless specified) and cups are lightly packed.
Vegetables: All vegetables are medium size and peeled, unless specified.
Eggs: We use extra-large size and eggs are 55-60 g each, unless specified. -
Tomatoes are Key:
For authentic 5-minute results, use Mutti Finely Chopped Tomatoes. If using whole or diced tomatoes, you must pulse them in a blender first until finely chopped. -
Balancing Act:
The sugar is crucial for cutting the tomatoes’ acidity. Start with 1 teaspoon; you can add an extra ½ teaspoon after tasting if using a sharper, budget-friendly brand. -
Storage:
Cool completely and store in an airtight container in the fridge for up to 5 days, or freeze in portion-sized bags for up to 6 months.

Leave a Reply