
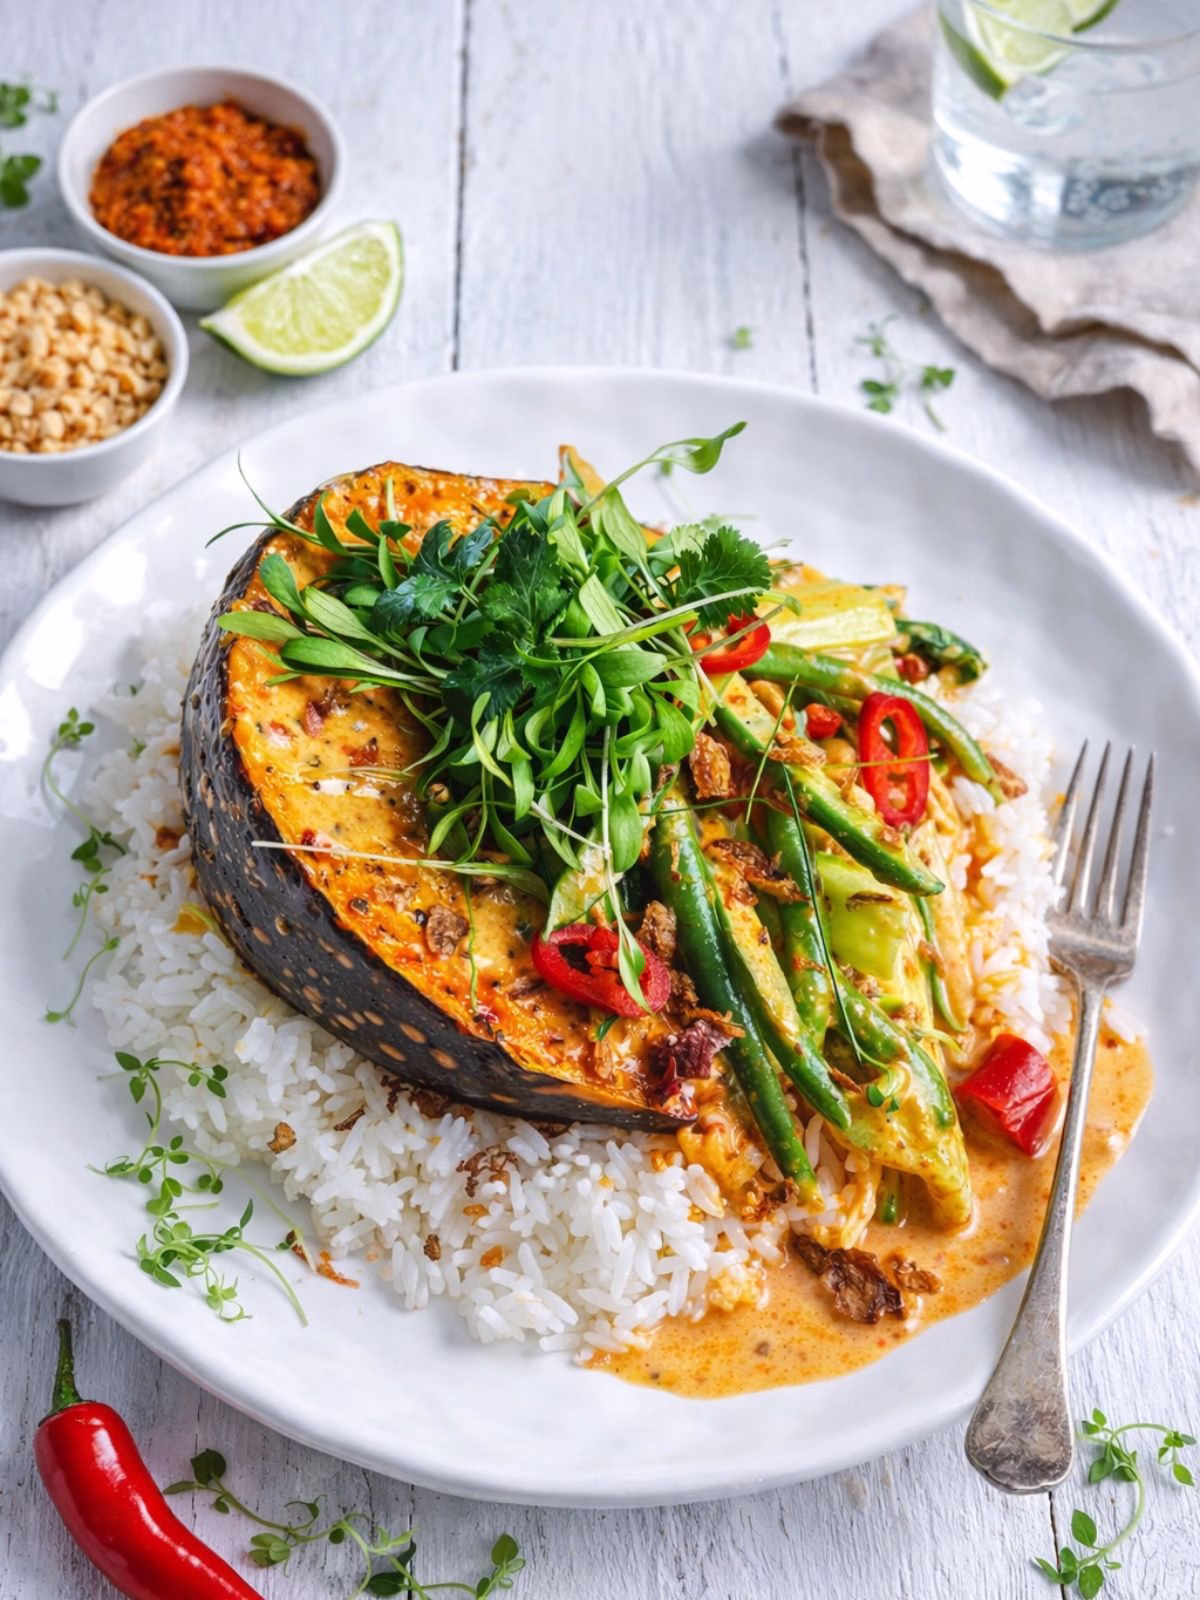
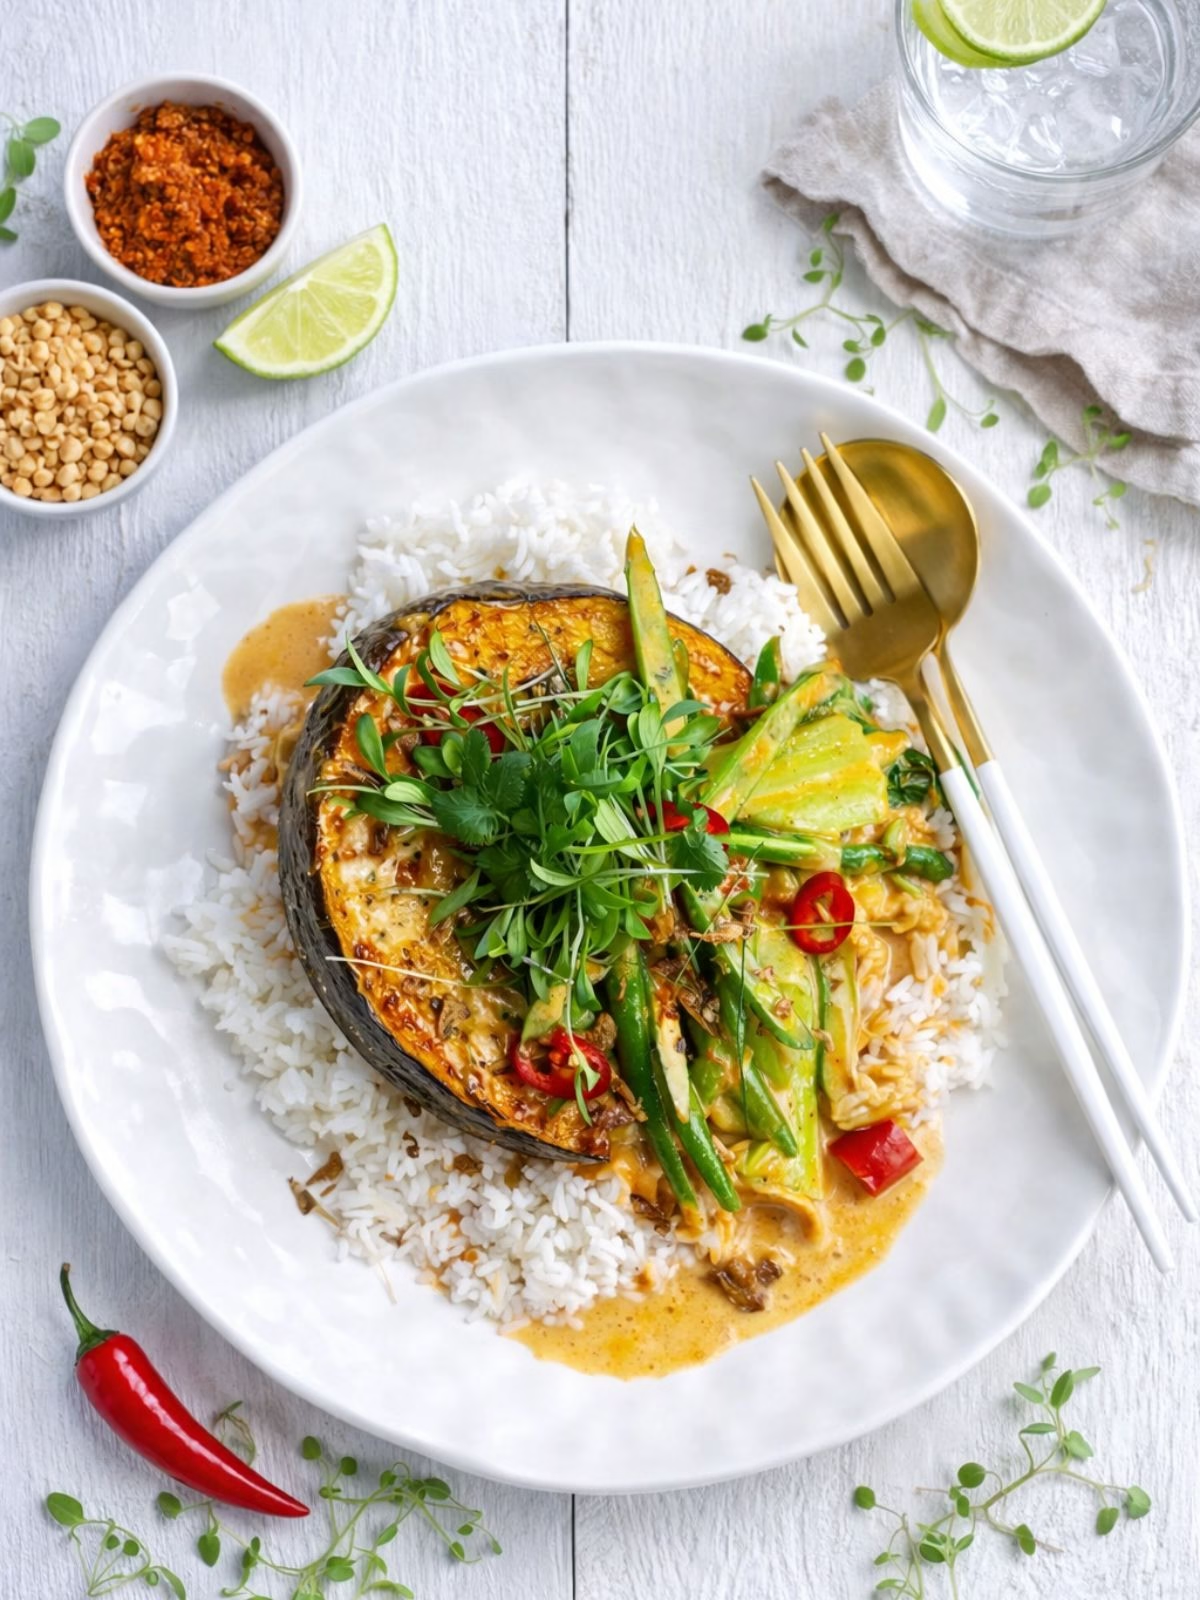
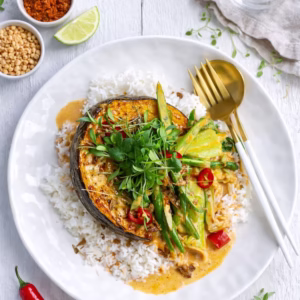
This baked pumpkin Thai red curry is rich, creamy, and full of flavour. Sweet roasted pumpkin and a simple curry sauce come together in one easy dinner that tastes like your favourite Thai takeaway.
You know those recipes that just work? The ones you find yourself making on a random Tuesday because you’re craving something proper, but also pulling out when you have friends coming over because it’s just that impressive? This curry is that recipe for me.
It all started on a cosy, rainy Sunday. I had a beautiful Jap pumpkin on the counter and a serious need for something warming and vibrant. I wanted the deep flavour of a slow-simmered curry, but without the long wait. The solution? Let the oven do the flavour-building work by roasting the pumpkin into sweet, caramelised wedges, while a quick, creamy sauce bubbled away on the stove. The result was an instant favourite, so much so that my partner, who usually eyes a meat-free dish with a hint of suspicion, went back for seconds and declared it a keeper.
It’s become my go-to for so many occasions, and I’m so excited to share it with you.
Why You’ll Love This Curry Recipe
This isn’t just another curry, it’s a guaranteed winner. Here’s why it’s about to become a regular in your rotation:
- A Total Flavour Bomb: Sweet roasted pumpkin meets a creamy, aromatic, and perfectly balanced Thai red curry sauce. Every bite is rich, fragrant, and deeply satisfying.
- Surprisingly Easy & Mostly Hands-Off: The oven does the heavy lifting! While the pumpkin roasts to caramelised perfection, you simply whip up the quick sauce. It’s minimal active time for a maximum payoff.
- A Showstopping Veggie Main: It’s so hearty and substantial that nobody will miss the meat. Perfect for impressing guests or enjoying a special meat-free night.
- Restaurant Quality at Home: Forget takeout. This curry delivers the complex, authentic flavours of a Thai restaurant, but you control the ingredients and freshness (and the cost!).
- Flexible & Forgiving: Got extra veggies to use up? Want to adjust the spice? This recipe is wonderfully adaptable. I’ve included all my favourite swaps and tips below.
My Go-To Curry Paste
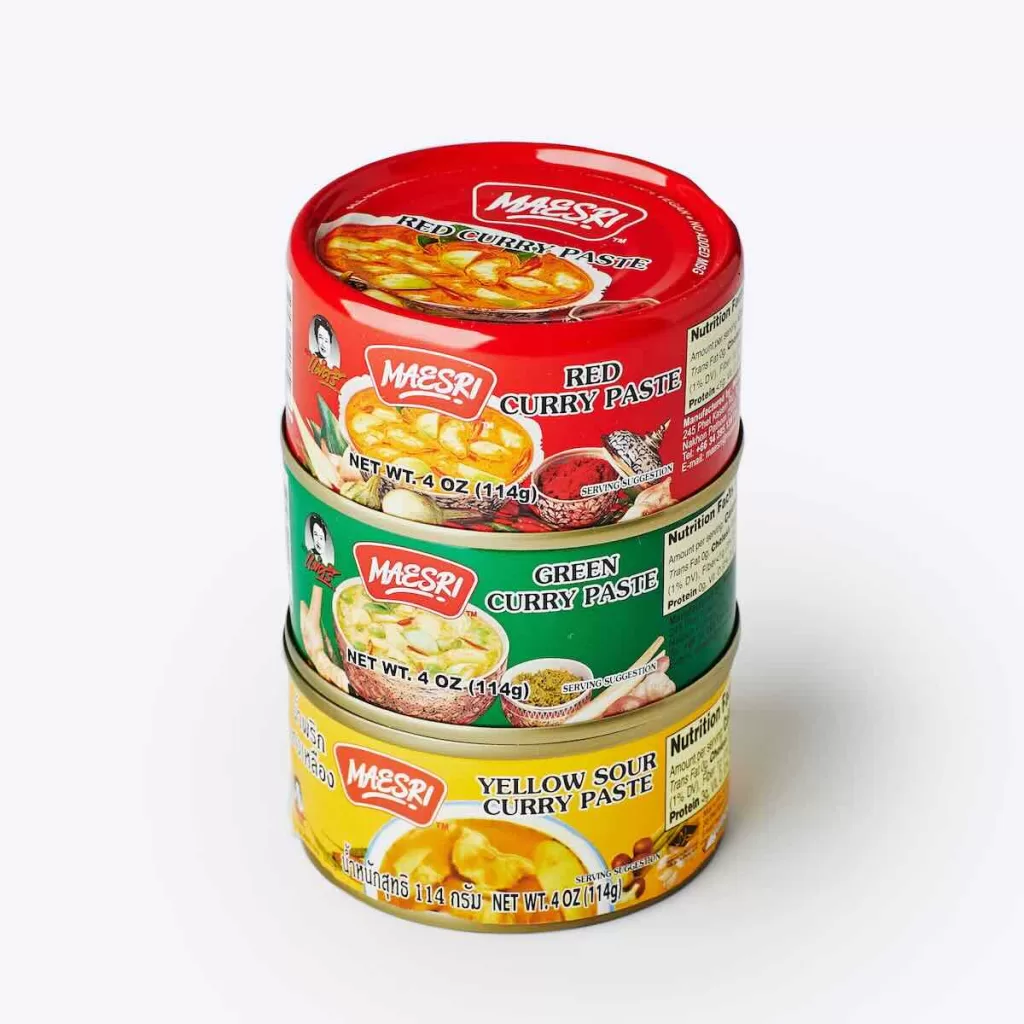
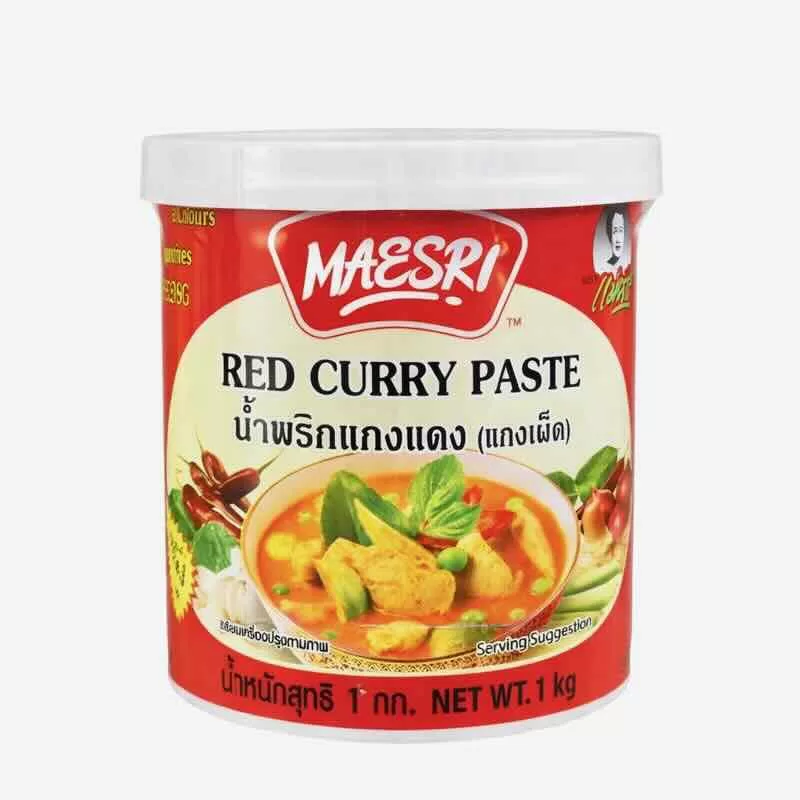
I swear by Maesri brand Thai curry pastes. It’s the little can that makes all the difference, giving this curry an authentic, rich, and complex flavour without any fuss. I find it at Woolworths or my local Asian grocer – it’s affordable, gluten-free, vegan-friendly, and you can freeze any leftovers for next time.
How To Make This Curry
This recipe follows a simple, two-part process that makes it feel effortless.
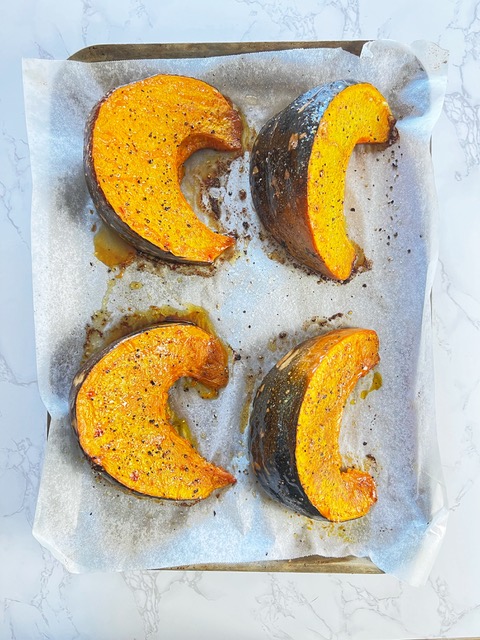
Roast the Pumpkin: Cut your pumpkin into wedges, season them, and let the oven work its magic until they’re golden and tender.
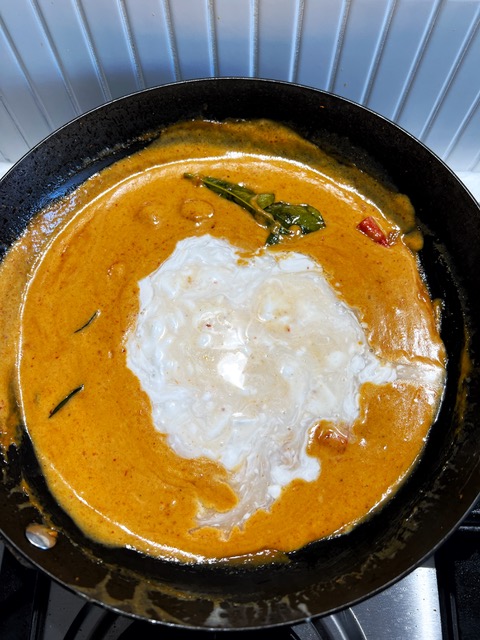
Build the Sauce: While the pumpkin roasts, sizzle the curry paste, then simmer it with coconut cream, aromatics, and seasonings to create a rich, fragrant base.
Finish & Serve: Stir in coconut milk and your fresh greens, then ladle everything over the baked pumpkin and rice. Don’t forget the garnishes for that final fresh crunch!
My Top Tips
A few simple pointers will make sure your curry turns out perfectly every time:
- Don’t Skip the Skin: Leaving the skin on the pumpkin wedges helps them hold their shape beautifully during roasting, and it’s completely edible (and packed with nutrients!).
- Fry Your Paste: Take a full minute to cook the curry paste in the oil before adding liquids. This “blooms” the spices and herbs, deepening the flavour dramatically.
- Simmer for Richness: Let the coconut cream mixture simmer for the full 15 minutes. This reduces and thickens the sauce, giving it a luxurious, concentrated texture.
- Add Greens Last: Toss the beans and pak choy in at the very end. You just want them to wilt and turn bright green, keeping their fresh crunch.
- Garnish Generously: The fresh herbs, chilli, lime, and fried shallots aren’t just pretty, they add essential pops of freshness, heat, and crunch that complete the dish.
What to Serve With Your Curry
While this curry is a complete meal on its own, a few simple sides can turn it into a real feast. Of course, a big fluffy pile of steamed jasmine rice is non-negotiable for soaking up all that amazing sauce. But if you’re feeling fancy, coconut rice is a dreamy match.
Let’s talk about turning this amazing curry into a full-blown Thai feast! If you’re serving this as part of a banquet, it pairs beautifully with other classic Thai dishes. For starters, consider some Thai Prawn & Pork Spring Rolls with dipping sauce or a zesty Thai chicken larb salad to awaken the tastebuds. If you want another main to share, my Thai Green Prawn Curry or some grilled satay skewers would be absolutely perfect alongside it. Honestly, this curry is so satisfying that it can easily stand alone for a simple dinner—but going all out is always fun!
Storage & Reheating
Leftovers keep beautifully! Store any extra curry (sauce, vegetables, and pumpkin) together in an airtight container in the fridge for up to 3 days. The flavours meld and get even better. To reheat, simply warm a portion gently in the microwave or in a saucepan over low heat, adding a tiny splash of water or coconut milk if the sauce has thickened too much. I don’t recommend freezing this one, as the pumpkin wedges can become quite mushy when thawed.
Frequently Asked Questions
Which Thai curry is the spiciest?
Typically, green curry is considered the hottest, followed by red curry as medium-hot, with yellow curry being the mildest. The heat level can vary by brand and recipe.
Can I make this curry less spicy?
Absolutely. For a milder curry, deseed the fresh chilli and start with 1 tablespoon of curry paste instead of 2. You can also add a little more brown sugar to balance the heat.
Can you freeze leftover curry paste?
Yes! Leftover curry paste freezes very well. Scoop any leftover curry paste into a small zip-lock bag. Remove excess air and press down to flatten it out in the bag. Label, date and freeze for up to 3 months. Thaw before use. You can also freeze in ice-cube trays or a small container. I like to use zip-lock bags as they take up less space in the freezer and the paste can leave your containers or ice-cube trays with a curry paste smell to them which is hard to get rid of.
Is this curry vegetarian or vegan?
As written, it’s not, due to the fish sauce. To make it vegan/vegetarian, simply swap the fish sauce for a vegan alternative or use light soy sauce. The curry paste itself (Maesri brand) is naturally gluten-free and suitable for vegans.
Can I freeze leftovers?
The sauce freezes okay, but the roasted pumpkin can become watery and soft when thawed. For the best texture, I recommend enjoying leftovers within 3 days from the fridge.
What can I use instead of pak choy or beans?
This recipe is very flexible! Broccolini, asparagus, zucchini, or capsicum would all be great additions or substitutes.
I hope you love this Ultimate Baked Pumpkin Thai Red Curry as much as we do. It’s the kind of recipe that proves simple ingredients can create something truly spectacular. If you make it, I’d be thrilled to hear how it turned out for you – leave a comment below and let me know!
More Thai Recipes
- Thai Chicken Larb Salad
- Grilled Thai Chicken Skewers (Gai Yang
- Thai Green Prawn Curry (Easy 20 Minute Recipe)
- Thai Basil Chicken Wings (Pad Krapow Gai)
- Thai Pork Cakes with Cucumber Dipping Sauce
- Thai Prawn & Pork Spring Rolls
The Ultimate Baked Pumpkin Thai Red Curry
Ingredients
PUMPKIN
- 1.2kg piece Jap pumpkin
- Oil, for coating
- Salt and pepper, to taste
thai red curry sauce
- 1 tablespoon neutral or coconut oil
- 2 tablespoons red curry paste
- 400ml can good quality coconut cream
- 2 kaffir lime leaves, lightly crushed in your hands
- 1 long red chilli, cut into 2cm pieces
- 1 tablespoon fish sauce
- 1 tablespoon brown sugar
- 165ml can coconut milk
- 150g green beans, trimmed and halved lengthways
- 1 bundle baby pak choy, trimmed
TO SERVE
- Steamed jasmine rice
- Coriander sprigs
- Finely sliced kaffir lime leaves
- Sliced red chilli
- Fried shallots
Instructions
- Roast the Pumpkin: Preheat oven to 200°C (180°C fan-forced). Line a baking tray. Cut pumpkin into 4 wedges (leave skin on). Place on tray, drizzle with oil, rubbing in to coat evenly all over and season well. Bake for 50-60 minutes, turning once, until golden and tender.
- Make the Curry Sauce: About halfway through pumpkin cooking, heat oil in a medium pan over medium heat. Add curry paste and cook for 1 minute, until fragrant. Stir in coconut cream, kaffir lime leaves, and red chilli. Bring to a gentle boil.
- Add fish sauce and brown sugar. Reduce heat and simmer for 15 minutes, until slightly thickened. Pour in coconut milk and simmer for another 5 minutes.
- Finish & Serve: Stir green beans and pak choy into the sauce. Cook for 1-2 minutes until bright green and just tender.
- Divide rice among bowls. Top each with a pumpkin wedge. Spoon the curry sauce and vegetables over the top. Garnish generously and serve immediately.
Notes
- COOKS NOTES:
Oven Temps: Oven temperatures are for conventional, if using fan-forced (convection), reduce the temperature by 20˚C.
Measurements: We use Australian tablespoons and cups: 1 teaspoon = 5 ml, 1 tablespoon = 20 ml & 1 cup = 250 ml.
Herbs: All herbs are fresh (unless specified) and cups are lightly packed.
Vegetables: All vegetables are medium size and peeled, unless specified. - Curry Paste: I highly recommend Maesri brand for the best, most authentic flavour. It’s affordable (around $2.10 for a 114g can at Woolworths) and you can freeze any leftover paste in a zip-lock bag. For more variety, check Asian grocers for larger tubs and other flavours like Penang or yellow curry.
- Coconut Cream | Coconut Milk: Use a good-quality coconut cream, like Ayam brand, it makes the sauce luxuriously thick. Avoid generic “homebrand” options, as they tend to be watery. For a lighter sauce, you can swap the 165ml can coconut milk for vegetable or chicken stock.
- Vegetables: This recipe is very flexible! Swap the beans and pak choy for what you have: zucchini, asparagus, broccolini, or capsicum all work perfectly.
- Chilli: For less heat, deseed the chilli or use less.

This was amazing! So quick and easy. I added some chicken as well. Will definately be making this again! Thank you Kate!
So glad to hear you loved the curry! It is one of my favourites and so easy. Adding some chicken is a great idea.
Thank you
K x