
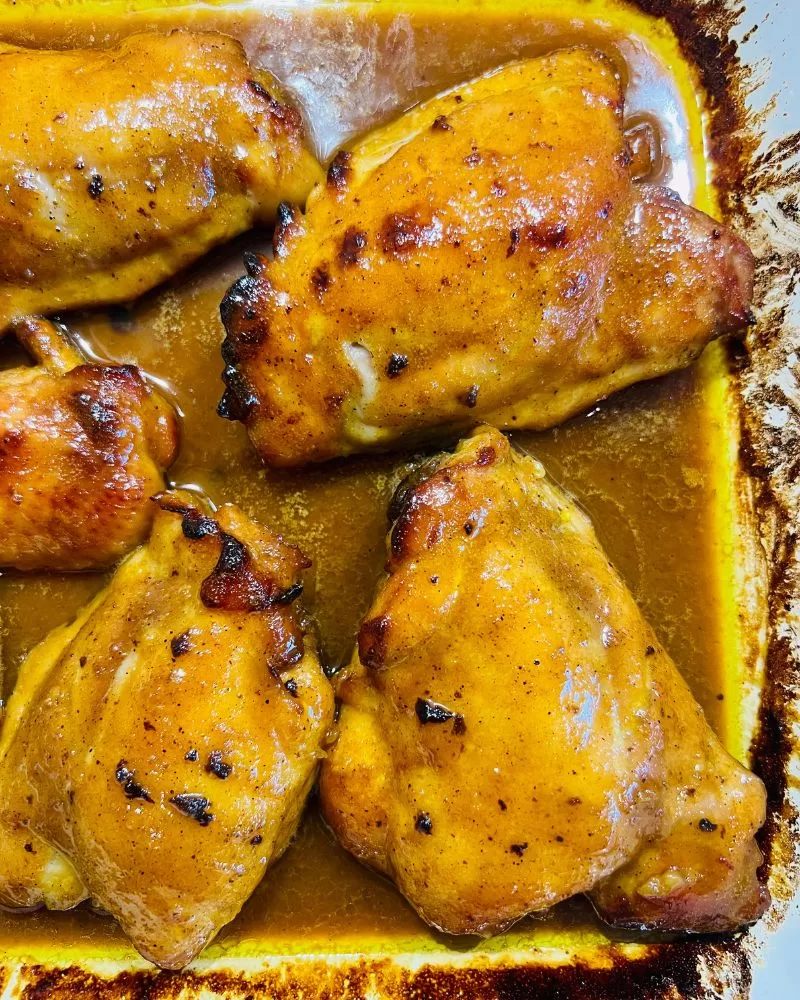
This 5 Ingredient Sticky Curried Honey Chicken is a simple oven baked dinner with sweet savoury flavour and a gentle curry kick. Chicken cooks in a sticky honey and curry sauce that caramelises as it bakes, creating glossy golden pieces packed with flavour. This 5 ingredient sticky curried honey chicken recipe is perfect for quick weeknight dinners.

If you love simple dinners that pack in loads of flavour with hardly any effort, this 5 Ingredient Sticky Curried Honey Chicken will become your new go-to. With its glossy honey-curry glaze, tender baked chicken and rich savoury sweetness, this is the kind of dish that brings comfort, convenience and big flavour to the table, with almost no prep.
The mild curry powder melts into honey, butter and Dijon mustard to create a sticky, golden sauce that caramelises beautifully in the oven. It’s weeknight-friendly, family-approved and perfect for nights when you want something delicious without spending hours in the kitchen.
Why You’ll Love This Easy Chicken Dinner
- Only 5 ingredients – perfect for busy weeknights.
- Sticky, sweet and savoury glaze the whole family loves.
- No marinating required – mix, pour, bake.
- Hands-off oven cooking with minimal cleanup.
- Budget-friendly using affordable chicken thigh cutlets.
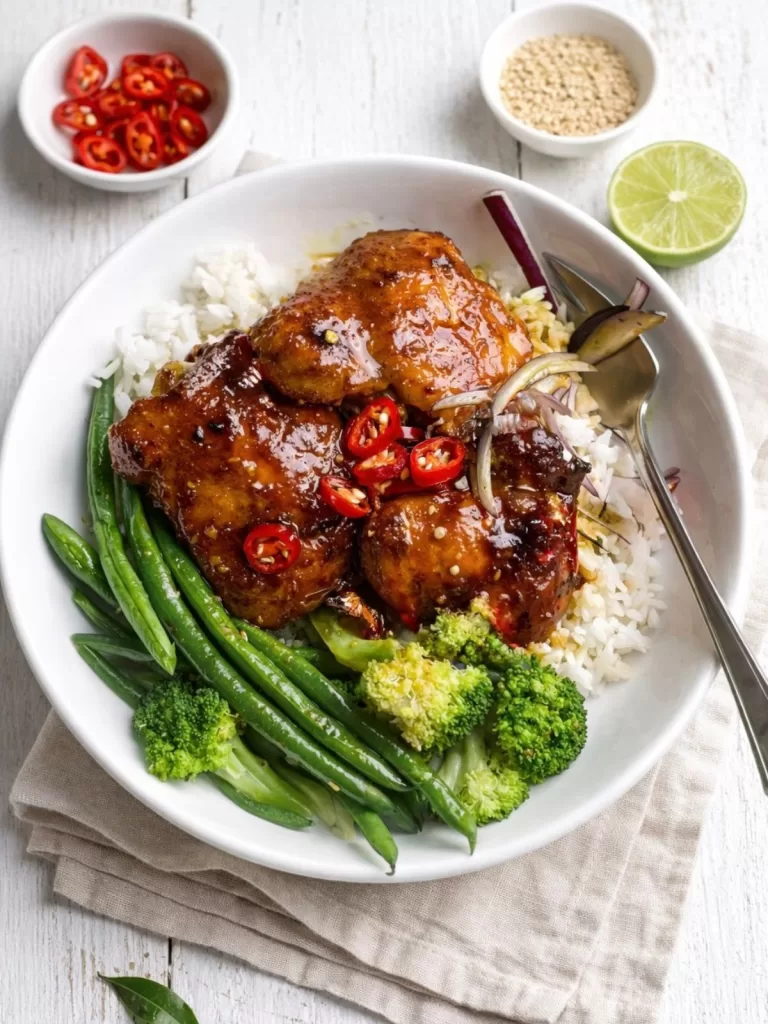
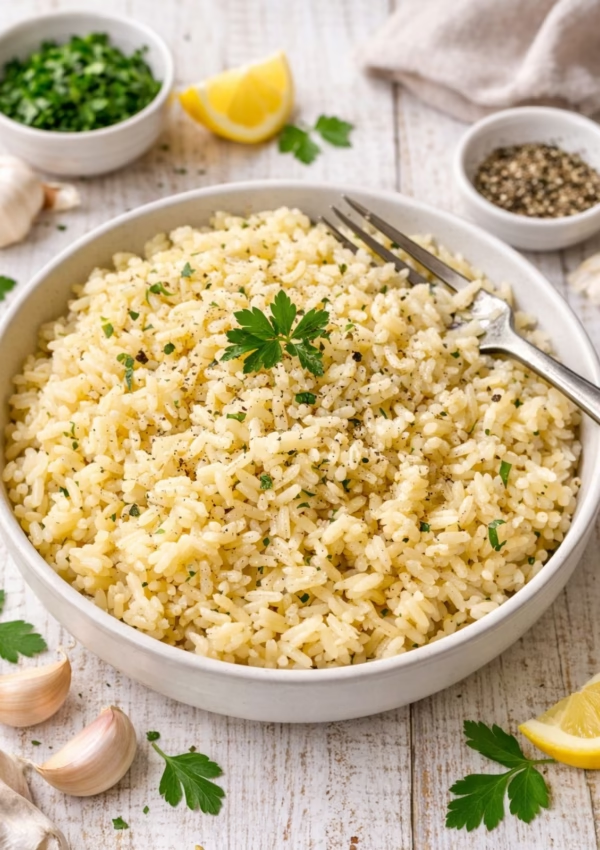
- Versatile – pair with rice, veggies, salad or potatoes.
- Great for meal prep and freezer-friendly.
What Makes This Curried Honey Chicken So Good
This dish nails the balance of flavours: sweetness from honey, warmth from curry powder, buttery richness and just enough tang from Dijon mustard. As it bakes, the sauce thickens into a sticky glaze that clings to every piece of chicken. The aroma alone will have everyone wandering into the kitchen asking what’s for dinner.
It’s a true “set and forget” recipe, ideal for parents, busy professionals, or anyone wanting a quick, delicious dinner without complicated ingredients.
Serving Suggestions
- Steamed or Garlic Butter Rice
- Steamed greens (broccoli, beans, Asian greens)
- Fresh spring/green onions
- Roasted vegetables
- Creamy mashed potatoes
- A crisp garden salad
Storage
Leftover Curried Honey Chicken keeps beautifully. Once cooked, let it cool completely, then store it in an airtight container in the fridge for up to 3 days. The sauce thickens as it chills, making the flavours even richer the next day.
For longer storage, this recipe freezes extremely well. Portion the chicken and sauce into freezer-safe containers and freeze for up to 3 months. Thaw overnight in the fridge, then reheat gently in the microwave or a low oven until warmed through.
More Chicken Recipes
- Slow Cooker Satay Chicken
- Crispy Chicken Schnitzel with Panko and Seeds
- Easy Moroccan Chicken Tagine with Dates & Honey
- Satay Chicken Curry with Jimmy’s Sate Sauce
- Indian Spiced Chicken Breasts in the Air Fryer
- Satay Chicken Wings (Using Jimmy’s Saté Sauce)
- Chinese Chicken with Roasted Almonds
5 Ingredient Sticky Curried Honey Chicken
Ingredients
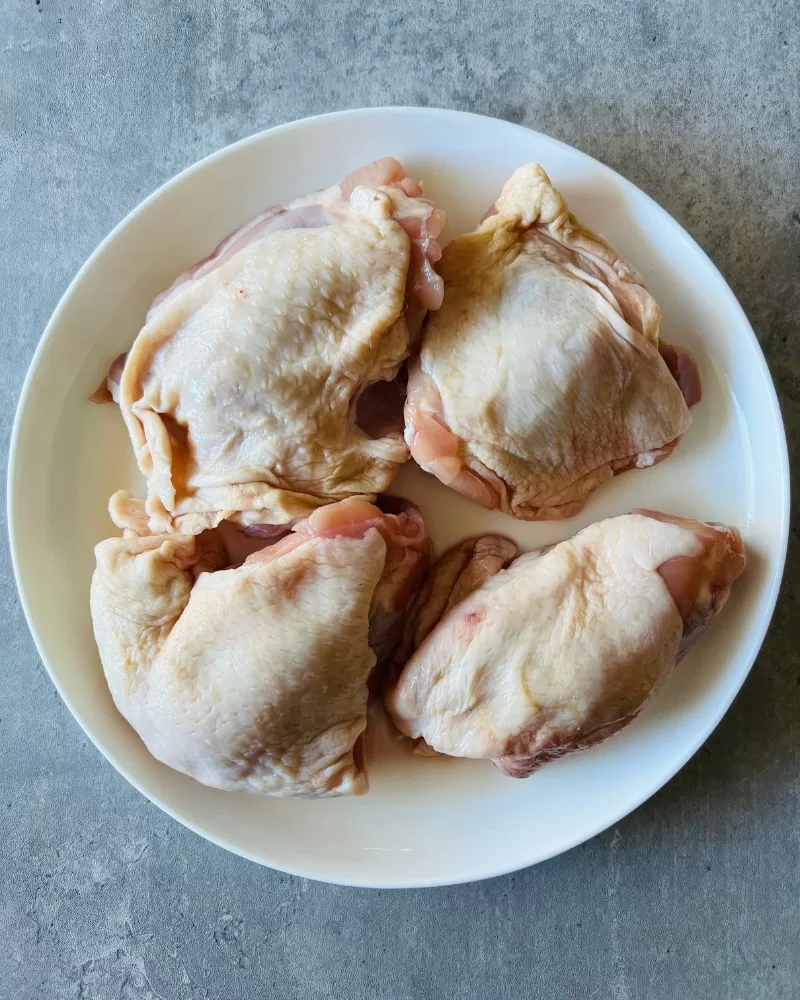
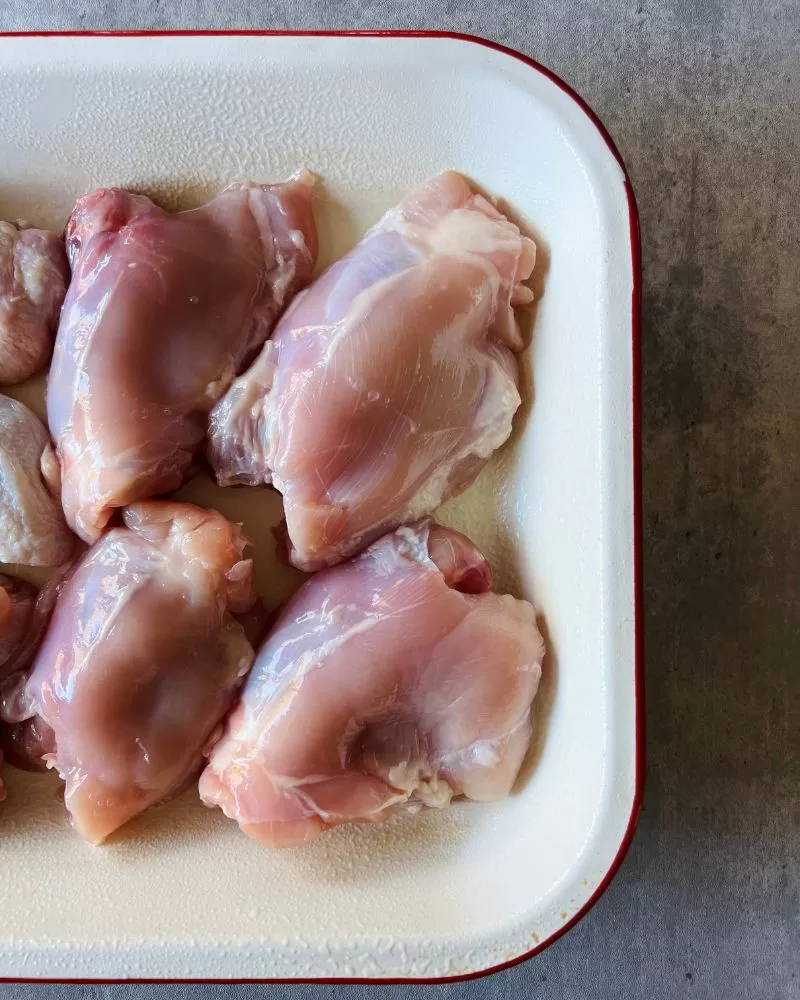
- 8 chicken thigh cutlets, skin removed and trimmed of excess fat (See Note 2)
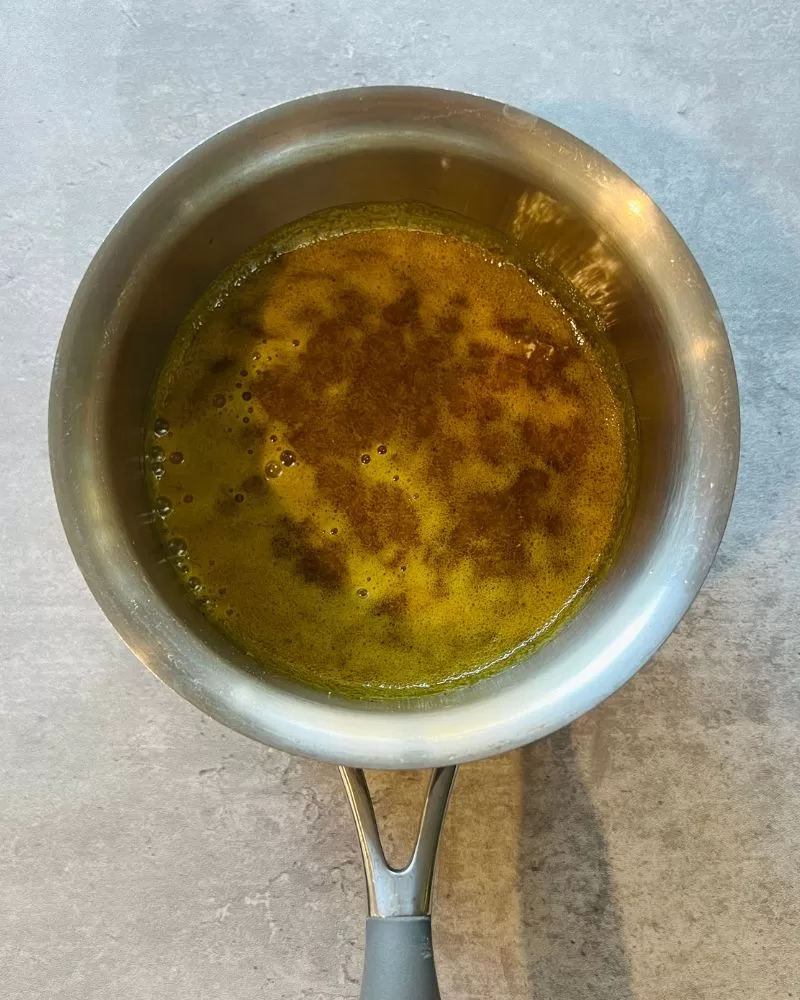
- 60g butter, chopped
- 160g (½ cup) honey
- 2 teaspoons curry powder (See Note 3)
- 2 teaspoons Dijon mustard (See Note 4)
SERVING SUGGESTIONS
- Steamed rice
- Steamed greens (such as broccoli, beans or Asian greens)
- Sliced spring/green onions
- Thinly sliced red onion (optional)
Instructions
- Preheat oven to 180℃ (160℃ fan forced). Lightly grease a large baking/roasting pan with non-stick cooking spray and arrange chicken into pan in a single layer, flesh side up. Set aside.
- Place butter, honey, mustard, curry powder and 1 teaspoon of salt into a small saucepan. Whisk over a medium heat until butter melts and mixture comes to the boil.
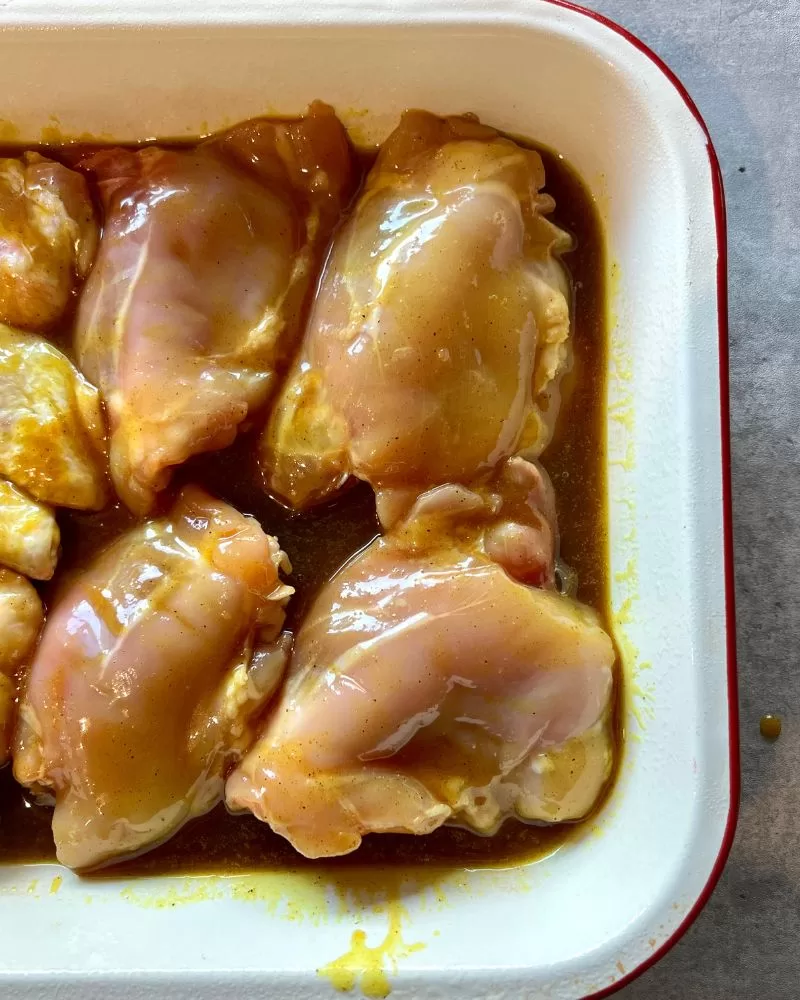
- Carefully pour the hot melted sauce over the chicken and turn to coat.
- Bake in the oven for 1 hour, basting occasionally with a spoon, and more often in the last 20 minutes of cooking time or until chicken is cooked through and is nicely glazed and sticky (See Notes below).
- Serve chicken and sauce, cooked rice and steamed greens of choice. Garnish with sliced spring/green onions and red onion if desired.
Notes
- Cook’s Notes
Oven temperatures listed are for a conventional oven. If you’re using a fan-forced (convection) oven, reduce the temperature by 20°C. Measurements follow Australian standards where 1 teaspoon = 5 ml, 1 tablespoon = 20 ml and 1 cup = 250 ml. Herbs are fresh unless otherwise specified and cups are lightly packed. Vegetables are medium-sized and peeled unless stated. Eggs are extra-large, around 55–60 g each, unless noted otherwise. - Chicken Thigh Cutlets: Chicken thigh cutlets are bone-in, skin-on thighs. You can buy them from the deli counter at most large supermarkets (usually the cheaper option) or in pre-packed trays from the meat department. To remove the skin, grab it where it’s loose and pull it back in the opposite direction. Trim away excess fat with a small sharp knife.
This recipe also works with chicken marylands, lovely legs, wings (skin on), or breast fillets. Keep in mind breast fillets cook faster and won’t be quite as juicy, but they’ll still be tasty. - Curry Powder: A regular supermarket curry powder works perfectly, such as Keens or Clive of India. Two teaspoons gives a nice curry flavour, but you can reduce it to one teaspoon if you prefer a milder taste.
- Mustard: You can easily swap in other mustards you have on hand, like wholegrain or English mustard.
- To Get the Perfect Golden Chicken – The Secret is Basting
For beautifully golden, sticky chicken, baste during cooking. Spoon the pan juices over the chicken at 20, 40, 50 and 55 minutes, then once more when it comes out of the oven. It takes less than a minute each time and makes a big difference to the final colour and flavour.
Leave a Reply