
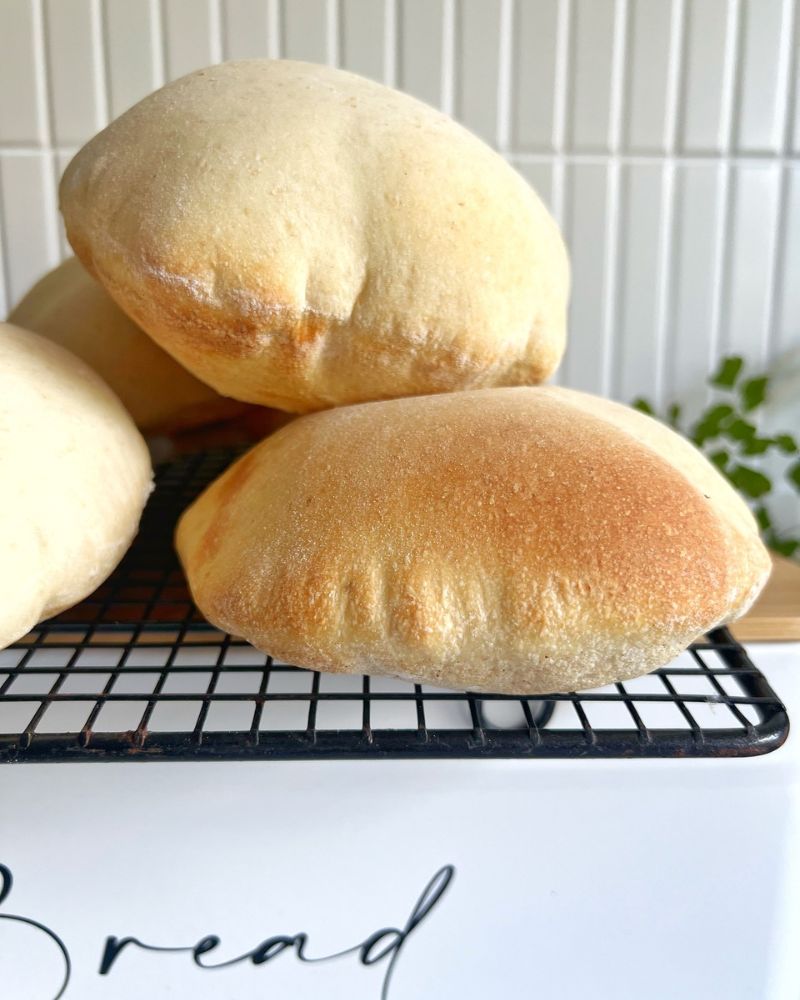
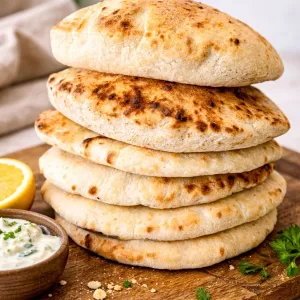
This Homemade Pita Bread recipe creates soft, fluffy flatbreads with classic pockets perfect for stuffing or dipping. This pita bread recipe uses simple ingredients and a hot oven to puff the dough into warm golden rounds. Serve them with dips, fill them with grilled meats, or use them for wraps and sandwiches.
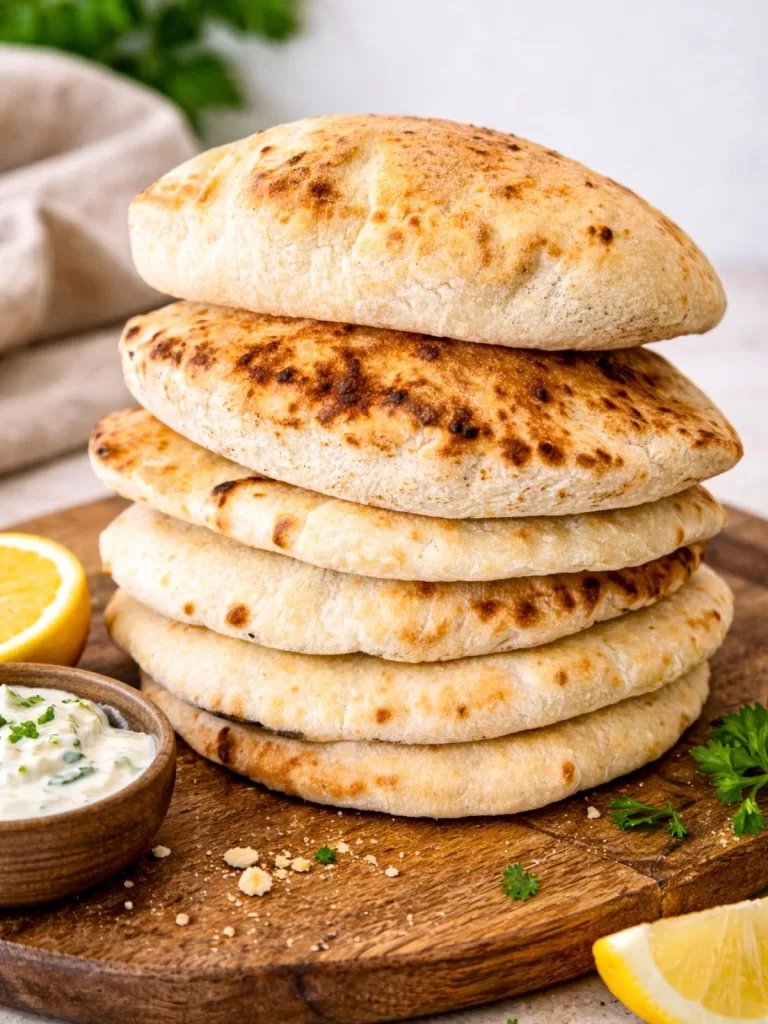
With just pantry staples, a touch of patience and a hot oven, you’ll have pocket bread you’ll want to make on repeat. Once you make your own pitas, you’ll never go back to store-bought.
Why You’ll Love This Homemade Pita Bread
- Soft, fluffy and perfectly puffed
- Uses simple pantry ingredients
- Naturally preservative-free
- Works with any filling – from falafel to cold meats
- Amazing for dips like hummus, baba ganoush or tzatziki
- Doubles as mini pizza bases
- Freezer-friendly and easy to reheat
How to Use Your Pita Bread
Once you’ve got a stack of warm, fluffy pita fresh from the oven, the real fun begins — because these things go with absolutely everything. They’re perfect for stuffing with homemade gyros, falafel, or grilled chicken and lamb, and they make the dreamiest little pockets for dips like hummus or baba ganoush. I love tearing them into pieces and piling them onto a Middle Eastern-style platter, especially alongside my Lamb Koftas or a big bowl of creamy homemade hummus.
They’re also brilliant for mopping up saucy dishes like Moroccan Chicken Tagine or Middle Eastern Chicken & Rice One Pot – that soft, pillowy texture just soaks everything up beautifully. And if you’ve got leftovers, turn them into quick mini pizzas or toast them lightly for dipping into soups and curries. Honestly, once you start using homemade pita, you’ll find yourself reaching for it with everything — tearing it, stuffing it, scooping with it… it just makes every meal better.
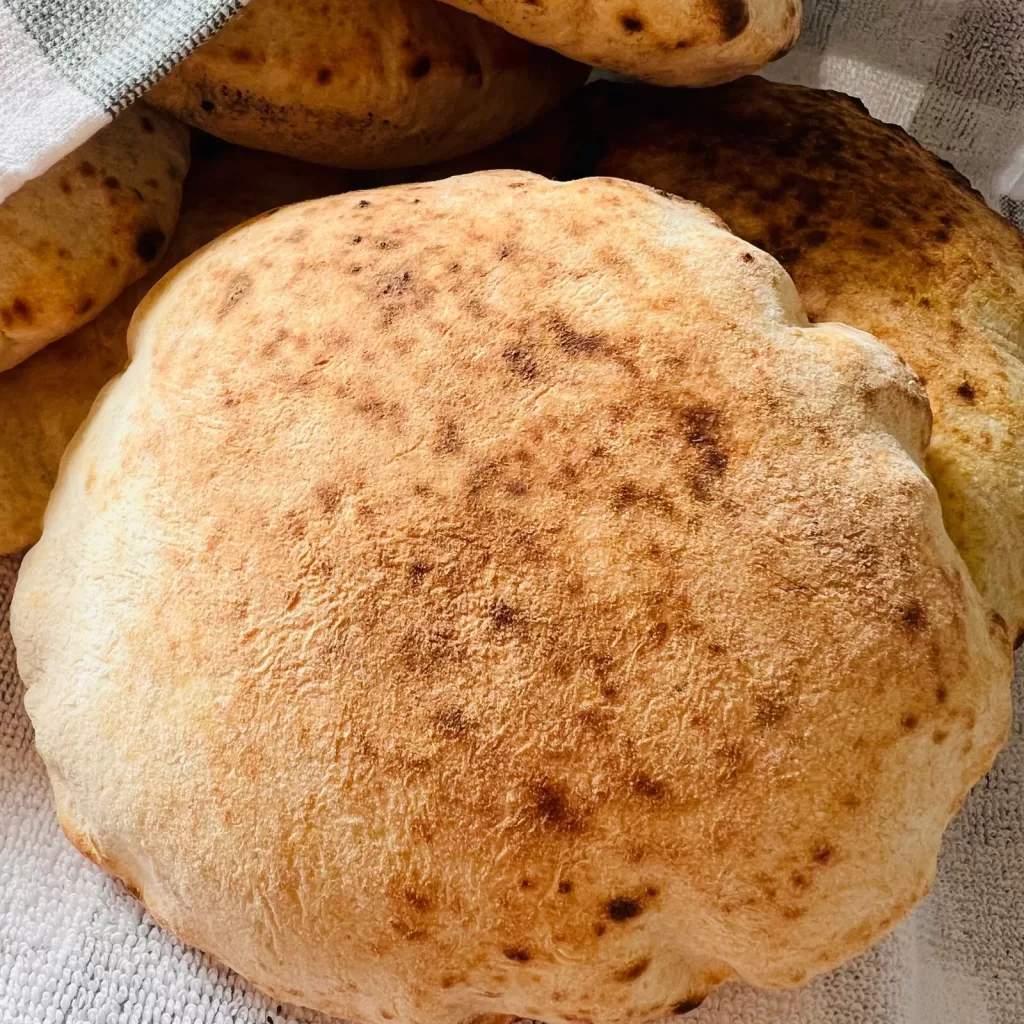
What Makes Them Puff?
That gorgeous little balloon of a pocket feels like magic the first time you see it happen, but it’s really just a mix of a few simple things working together. Rolling the dough evenly gives it the best chance to rise in one clean sweep, and a super-hot oven — along with a fully preheated baking stone, steel or tray — gives it the instant burst of heat it needs. The dough also has to have enough moisture so that, once it hits that heat, steam builds up inside and pushes the two layers apart.
That’s when you get that beautiful pita puff — the big, airy balloon that makes everyone lean over the oven and say, “Ohhh there it goes!” It’s honestly the best part.
Tips for Perfect Pita Bread
- Preheat your oven properly — your stone, steel or baking tray needs to be scorching hot before the dough goes in.
- Roll each piece evenly so it’s not thick in the centre or thin on the edges; uneven dough can stop the puff.
- Use fresh, in-date yeast for the best lift and soft texture.
- Keep remaining dough balls covered while you work so they don’t dry out.
- Bake pitas one at a time so they have space to balloon.
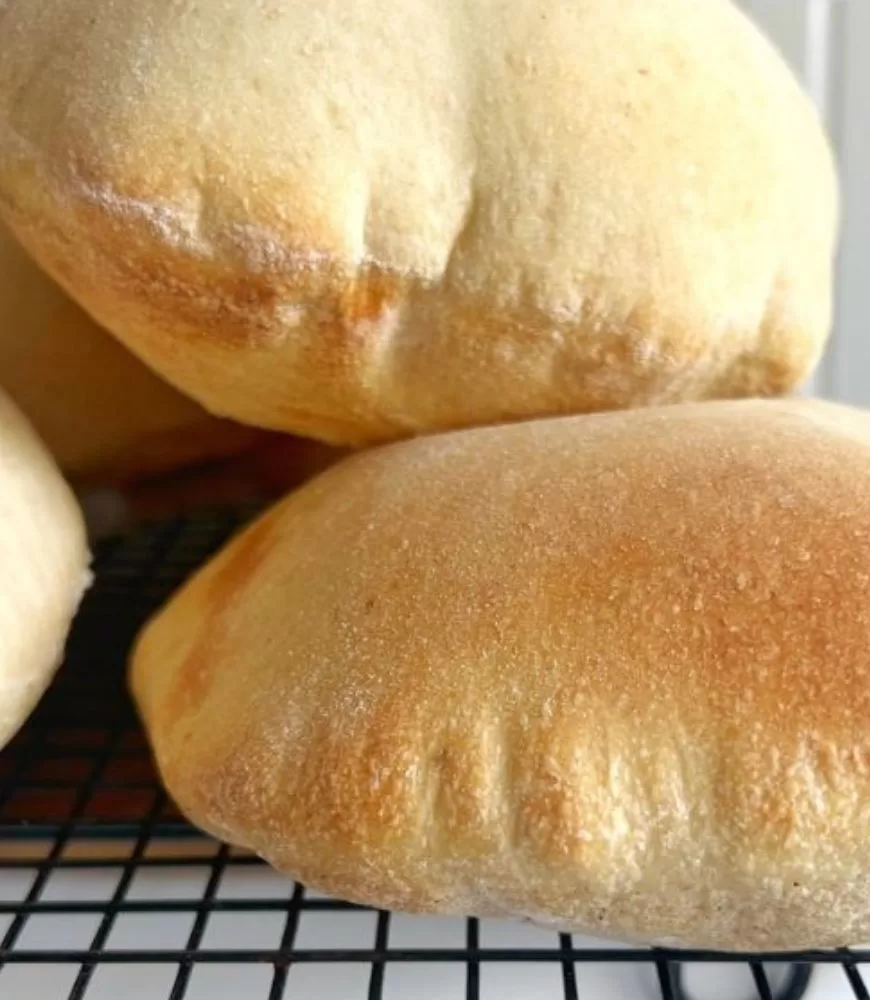
- Don’t overcook them — aim for soft, lightly golden and still pliable pitas that are perfect for stuffing, dipping and tearing.
Storage
For storage, keep your pita at room temperature in a zip-lock bag or airtight container for up to two days. If you want to stash some for later, they freeze beautifully for 2–3 months. When you’re ready to use them, just reheat in a dry pan or a low oven and they’ll soften up perfectly.
Recipes That Go Well with Pita Bread:
- 4-Ingredient Flatbreads (Foolproof, Soft and Quick)
- Crazily Good Hummus
- The Easiest Garlic Naan Bread Ever
- Lamb Kofta (Kafta)
- Fresh Spinach Dip
- Easy Lebanese Fattoush Salad
Pita Bread
Ingredients
- 90g lukewarm whole milk
- 90g lukewarm water
- ½ teaspoon caster sugar
- 7g sachet dry yeast (or 2 teaspoons Instant Dried Yeast)
- 250g bread flour (you can also use regular plain flour/AP flour)
- 50g wholemeal plain flour
- 1 teaspoon salt
- 1 tablespoon olive oil
Instructions
- Place the milk, water and sugar into a jug or small bowl. Add the yeast and stir to combine. Allow to sit for 10 minutes to "bloom" or until mixture is foamy.
- Combine flours and salt in a large bowl or in the bowl of your stand mixer, making a well in the centre. Add the yeast mixture and olive oil, then mix to form a shaggy dough.
- If using a stand mixer, attach your dough hook and knead on low speed for 5-6 minutes or until the dough is smooth and elastic or if kneading by hand, knead for 8-10 minutes or until the dough is smooth and elastic.
- Place dough ball into a large, lightly oiled bowl and cover with a damp tea towel or plastic wrap. Set aside in a warm place and allow it to rise for 1 hour or until doubled in size.
- Lightly dust your work surface with flour. Knock the air out of the dough and divide dough into 6 equal pieces. Roll each into a ball and keep covered with a clean tea towel.
- Lightly flour your work surface then working with one dough ball at a time, flatten it out with the palm of your hand. Using a rolling pin, roll out dough in a circular motion to approximately 15cm in diameter. Set aside and allow to rise to rise again for 20-30 minutes. Repeat with remaining dough balls.
- While dough is resting, preheat your oven with a pizza stone or baking steel to the highest temperature it will go. If you have neither of these, you can use a flat oven tray upside down instead.
- Working with one pita bread at a time, transfer to the stone or tray in the oven and cook for approximately 3-5 minutes or until the bread has puffed up and is lightly golden in colour. (See Note 2). Carefully remove from oven and transfer to a wire rack or clean tea towel. Cover to keep warm if desired. Repeat process with remaining 5 pita breads. Serve.
Notes
- COOKS NOTES:
Oven Temps: Oven temperatures are for conventional, if using fan-forced (convection), reduce the temperature by 20˚C.
Measurements: We use Australian tablespoons and cups: 1 teaspoon = 5 ml, 1 tablespoon = 20 ml & 1 cup = 250 ml.
Herbs: All herbs are fresh (unless specified) and cups are lightly packed.
Vegetables: All vegetables are medium size and peeled, unless specified.
Eggs: We use extra-large size and eggs are 55-60 g each, unless specified. - COOKING THE PITAS
You need to make sure you preheat your oven with the stone, steel or baking tray inside of it at the highest temp it will go. This is usually around the 230C-250C mark.
You can cook more pitas at once if desired but as they don’t take long to cook, I find working with one a time easier and less chance to overcook them. I find also, they puff up quicker and brown more evenly cooking one a time.

Leave a Reply