
Indian Yellow Rice is a simple, fragrant side dish made with basmati rice and warming spices. Cooked in stock with turmeric, garlic and aromatics, the rice turns golden, fluffy and full of flavour. It is the perfect side for curries, tandoori chicken, dhal or grilled meats and comes together with very little effort.
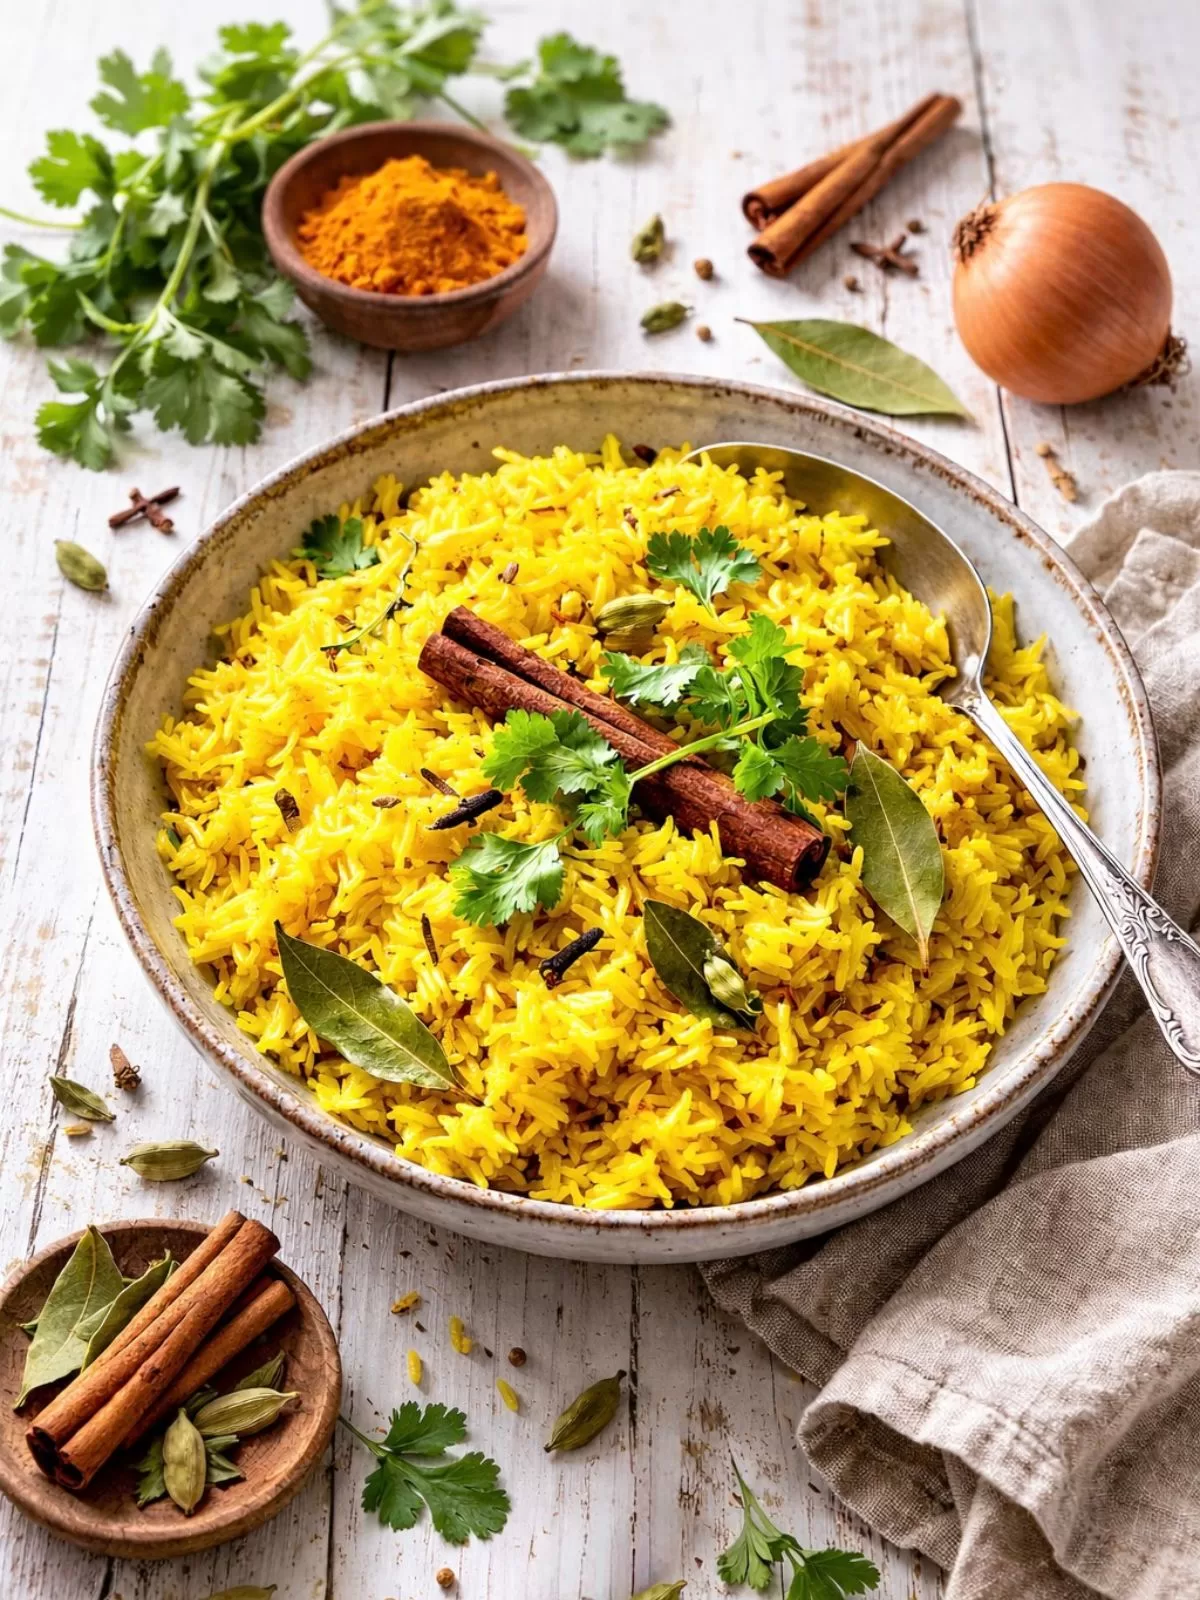
This Indian yellow rice isn’t about strict authenticity, it’s about flavour. A gently sautéed onion forms the base, warming spices are toasted to release their aroma, and basmati rice is coated in all that goodness before being simmered in stock instead of water. The result is fluffy, golden rice that’s fragrant and full of flavour, without being heavy or overpowering, making it the perfect side for curries, grilled meats or dhal.
Why You’ll Love This Indian Yellow Rice
- Fragrant and flavourful – Toasted spices and stock give this rice far more flavour than plain basmati.
- Easy to make – Simple steps and everyday ingredients, with very little hands-on time.
- Perfect with curries – A natural match for butter chicken, korma, dhal and tandoori dishes.
- Light, fluffy texture – Each grain stays separate and tender, not heavy or mushy.
- More interesting than plain rice – A simple way to lift any curry night without extra effort.
Variations and Substitutions
- Vegetarian or vegan: Use oil instead of butter or ghee and swap chicken stock for vegetable stock.
- Milder flavour: Reduce the whole spices slightly for a softer, more subtle rice.
- Extra fragrant: Add a pinch of saffron soaked in warm water with the stock.
- No whole spices: Use ground spices only and skip the cinnamon, cardamom and cloves if preferred.
Tips When Making the Rice
- Rinse the rice well to remove excess starch and keep the grains fluffy.
- Toast the spices briefly so they release their aroma without burning.
- Use stock instead of water for deeper flavour throughout the rice.
- Keep the lid on while cooking and resting to allow the rice to steam properly.
- Rest before fluffing so the grains finish cooking and stay separate.
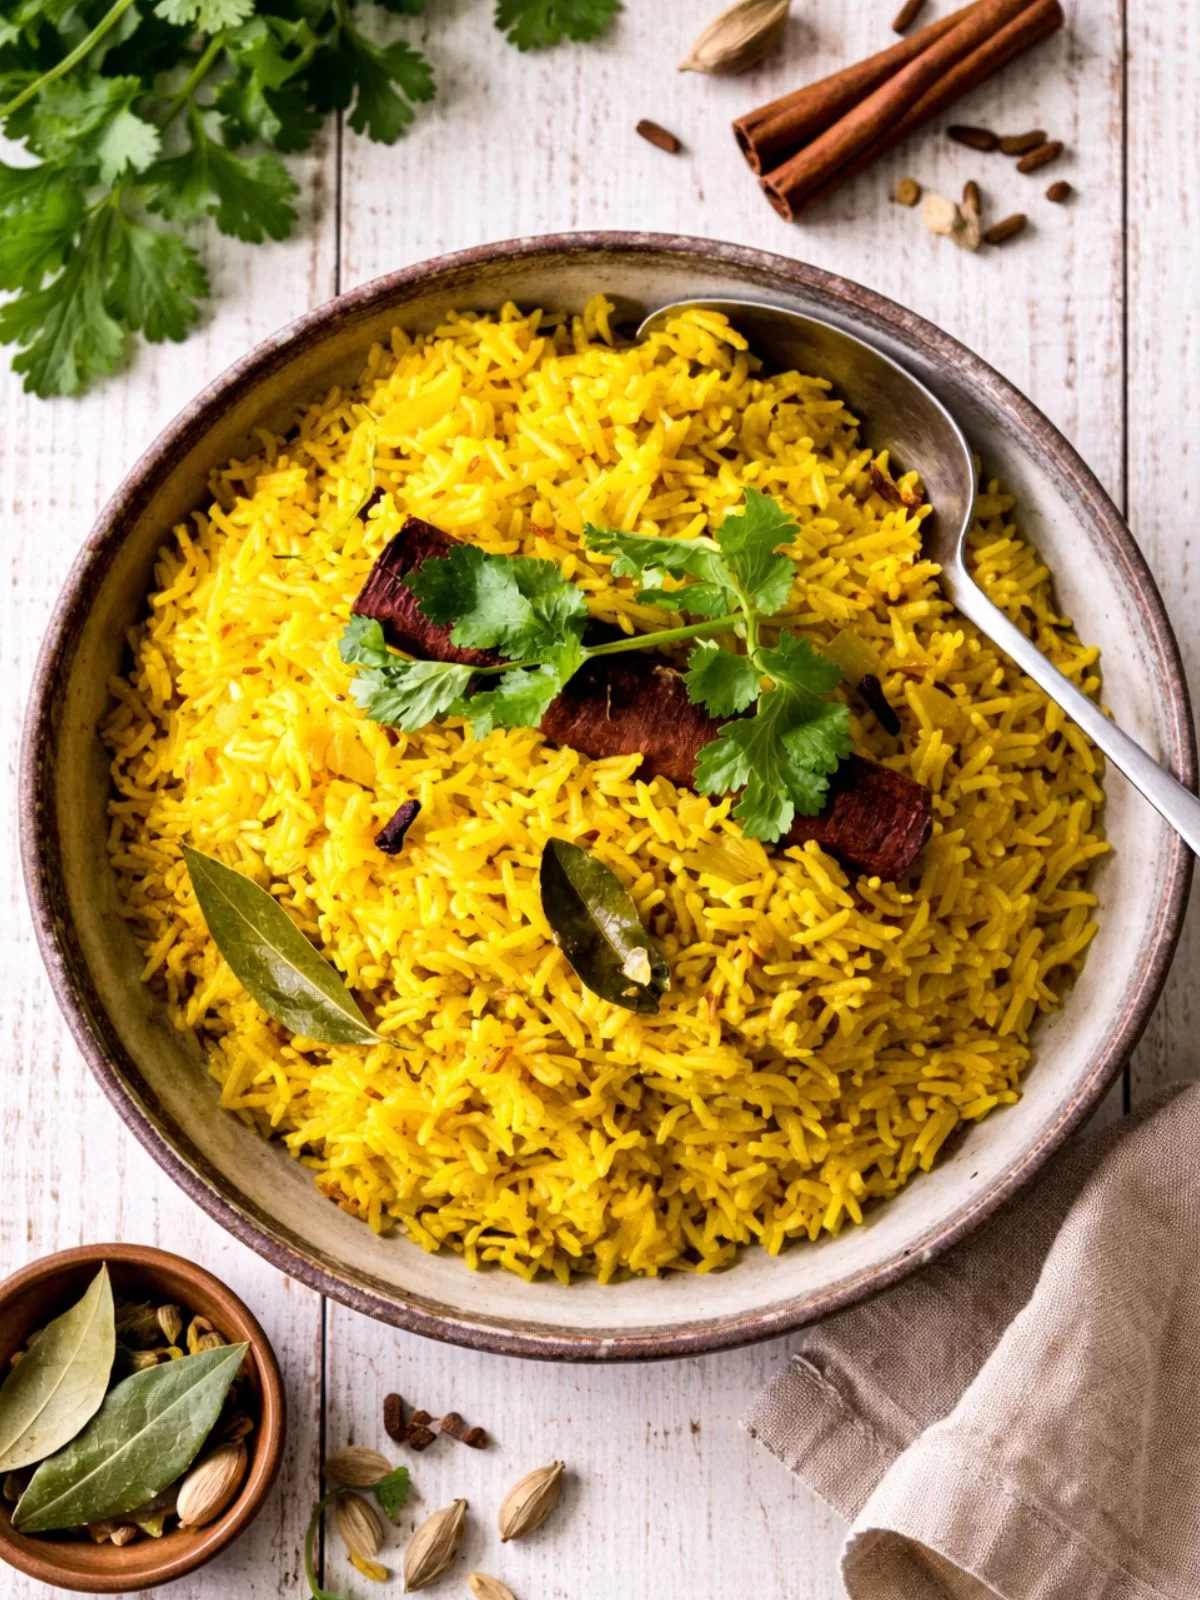
How to Make Yellow Rice
Making this rice is very straight forward and well worth the extra effort, especially if you have someone you want to impress. I tend to make this majority of the time now as it really doesn’t take that much longer than cooking regular basmati rice and the flavour is more superior. A diced onion, a few spices, rice and stock is all that you need.

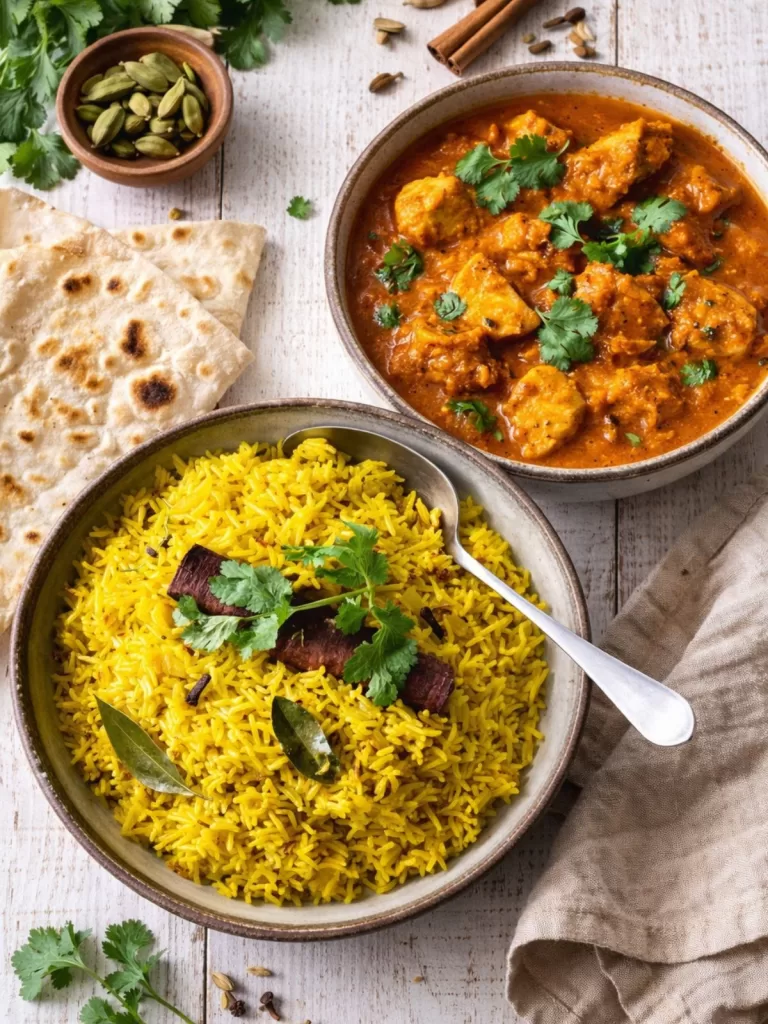
What to Serve with Indian Yellow Rice
This Indian yellow rice is made to be served alongside curry, whether it’s butter chicken, lamb korma, beef vindaloo or a simple vegetable curry. It also pairs beautifully with tandoori-style dishes like grilled or baked chicken, fish or lamb cutlets. For something lighter, serve it with dhal spooned over the top, or alongside raita and chutney. Leftovers are also great used in wraps or flatbreads with spiced meat, salad and yoghurt, or even as a base for a tandoori or butter chicken–style pizza.
How to Store and Reheat
Once cooled, store leftover yellow rice in an airtight container in the fridge for up to 2–3 days. Reheat in the microwave until piping hot, adding a splash of water if needed to loosen the grains.
To freeze, allow the rice to cool quickly, then portion into freezer-safe containers or bags and freeze for up to 2–3 months. Thaw overnight in the fridge before reheating until hot.
Frequently Asked Questions
Can I make Indian yellow rice ahead of time?
Yes. It can be made ahead, stored in the fridge and reheated just before serving.
Can I freeze yellow rice?
Yes. This rice freezes well and reheats easily, making it great for meal prep.
Can I use plain rice instead of basmati?
Basmati gives the best texture and fragrance, but long-grain rice will work if needed.
Why does the rice need to rest after cooking?
Resting allows the rice to finish steaming so the grains stay fluffy and separate.
Can I remove the whole spices before serving?
Yes. The whole spices usually rise to the surface and can be easily removed before serving.
This Indian yellow rice is an easy way to add colour, warmth and flavour to your curry night without any extra fuss. Fragrant, fluffy and incredibly versatile, it pairs beautifully with everything from rich curries to simple grilled meats or dhal. If you give it a try, I’d love to hear how you served it – leave a comment below and let me know what was on your plate.
More Indian Recipes:
- Indian Spiced Yoghurt Chicken Breasts (Air Fryer)
- Lamb Korma Meatball Curry
- Crispy Vegetable Samosas
- The Easiest Garlic Naan Bread Ever
- 30-Minute Kerala Fish Curry with Coconut Cream
- Indian Mint Chutney (Pudina Chutney)
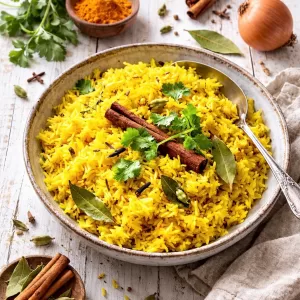
Indian Yellow Rice
Equipment
- Saucepan with a tight fitting lid
Ingredients
- 20g unsalted butter or ghee (you could also use a neutral oil)
- 1 small onion, diced
- Good pinch of salt
- 1 teaspoon cumin seeds
- 1 teaspoon turmeric powder
- ½ teaspoon cracked black pepper
- 1 cinnamon stick
- 1-2 fresh or dried bay leaves
- 4 cardamom pods
- 4 cloves
- 1 cup basmati rice, washed well
- 1 ½ cups prepared chicken or vegetable stock
Instructions
- Melt butter or ghee in a saucepan over medium heat. Add onion and a good pinch of salt, and cook, stirring often, for 6-7 minutes until softened.
- Add cumin seeds, turmeric, pepper, cinnamon stick, bay leaf, cardamom pods and cloves, and cook, stirring for 1 minute. Add the basmati rice, stir for a further 1 minute. Pour in stock and bring to the boil.
- Once boiling, using a metal spoon, stir briefly to loosen any rice from the base of saucepan, cover with a tight fitting lid, reduce heat to very low (I use a simmer mat as well) and cook for 15 minutes, without removing the lid. *DON'T BE TEMPTED TO CHECK IT. DO NOT UNCOVER!
- Remove saucepan from the heat and set aside for at least 10 minutes to finish steaming. DO NOT OPEN LID. Fluff with a fork before serving. If you wish, you may remove the whole spices. They generally come to the surface so this is easy to do. Garnish with coriander if desired and serve with your favourite curry. Enjoy 🙂
Notes
- COOKS NOTES:
Oven Temps: Oven temperatures are for conventional, if using fan-forced (convection), reduce the temperature by 20˚C.
Measurements: We use Australian tablespoons and cups: 1 teaspoon = 5 ml, 1 tablespoon = 20 ml & 1 cup = 250 ml.
Herbs: All herbs are fresh (unless specified) and cups are lightly packed. - Rinsing the rice: Rinse the basmati rice until the water runs mostly clear to remove excess starch and keep the grains fluffy.
- Stock vs water: Using stock instead of water adds depth of flavour and makes this rice far more aromatic.
- Whole spices: Whole spices infuse the rice gently as it cooks. They usually rise to the surface and can be removed before serving if preferred.
- Resting time: Letting the rice rest off the heat allows it to finish steaming and prevents it from becoming wet or sticky.
- Scaling the recipe: This recipe easily doubles. Increase the rice and stock accordingly while keeping the remaining ingredients mostly the same.


Leave a Reply