
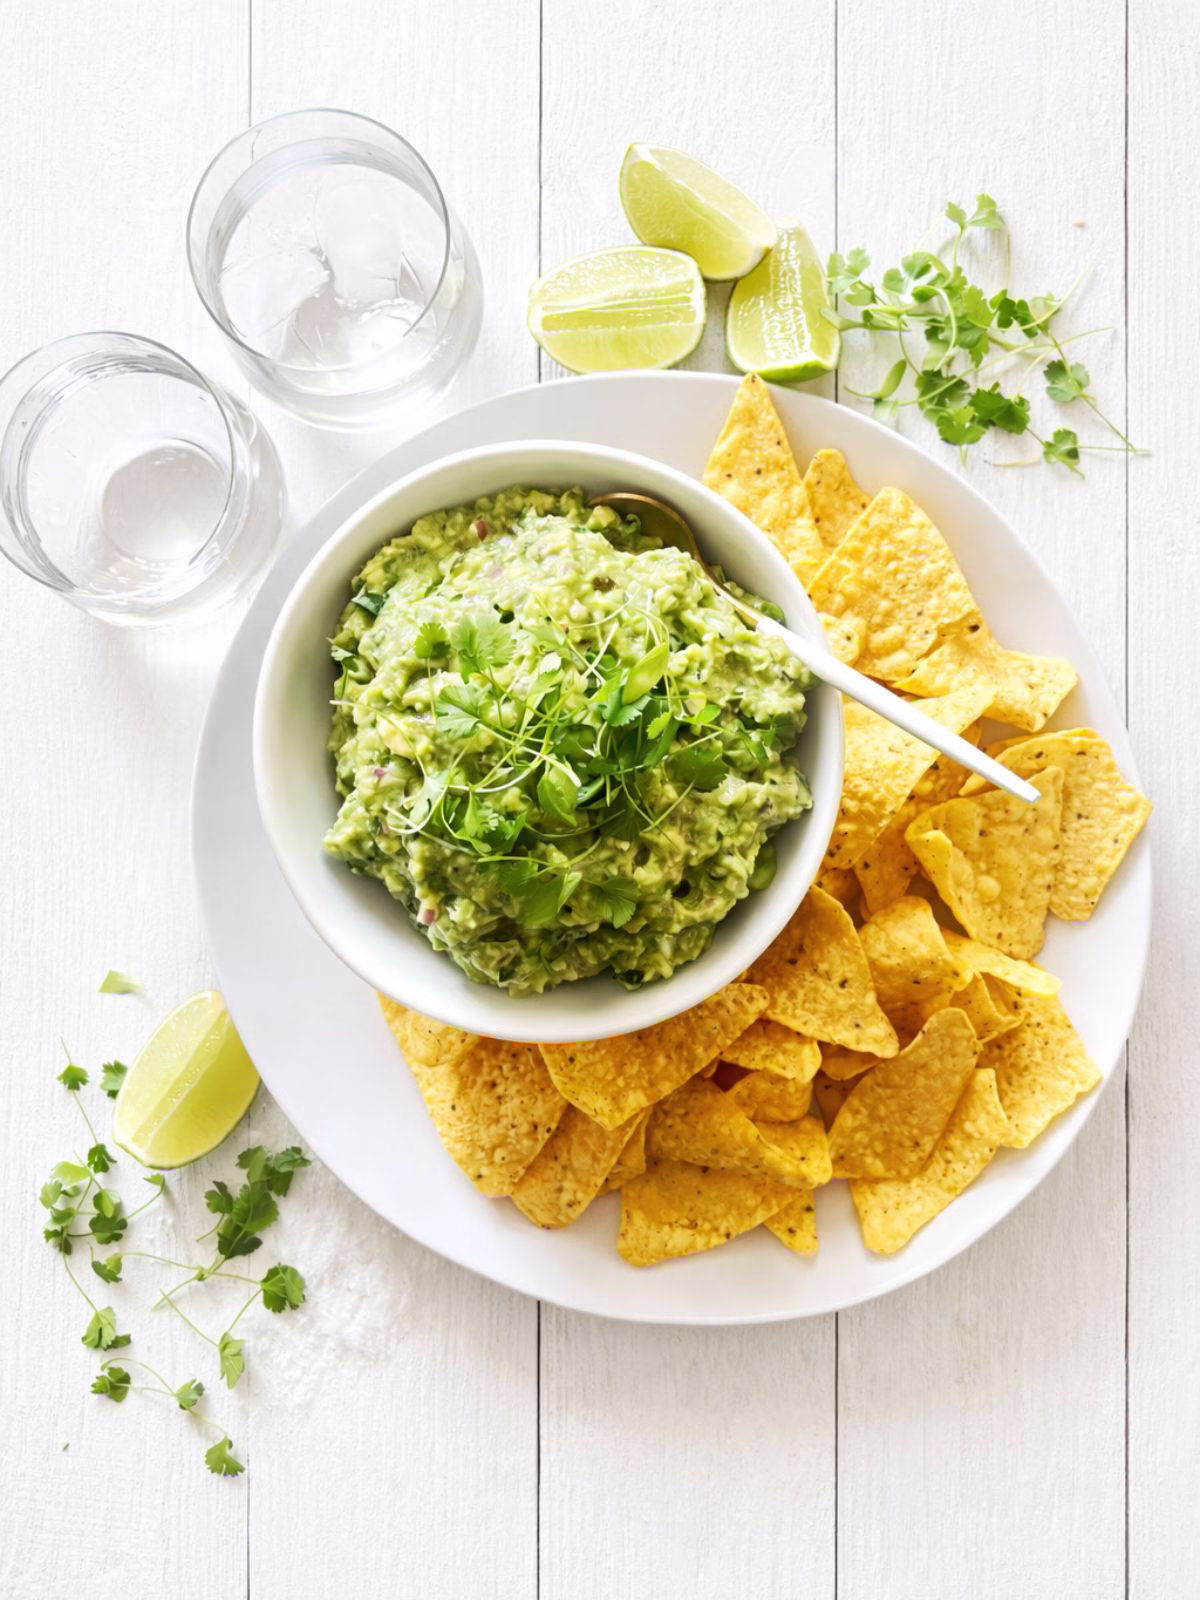
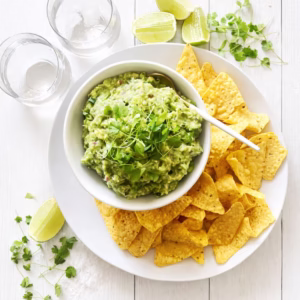
This easy 5 ingredient guacamole is fresh, quick, and packed with flavour. Made with ripe avocados, lime, red onion, coriander, and pickled jalapeños, it comes together in 5 minutes and tastes far better than store bought. The jalapeño brine adds extra flavour and gives this guacamole its edge. Serve it with corn chips, tacos, or grilled meats for an easy appetiser or snack.
What Is This Easy Guacamole Recipe?
This easy 5 ingredient guacamole is a fresh avocado dip made with simple ingredients and no fillers. It combines creamy avocado with lime juice, red onion, coriander, and pickled jalapeños for a balance of flavour and texture. The addition of jalapeño brine adds extra depth and a slight kick. It is a quick homemade alternative to store bought guacamole and works as a dip, spread, or topping.
Why You’ll Love This Easy Guacamole Recipe
- Perfect for entertaining or a quick snack
- You only need 5 ingredients
- Ready in 5 minutes from start to finish
- Tastes fresh and far better than store bought
- Jalapeño brine adds extra flavour with no extra work
- Easy to adjust to your taste
- Works as a dip, spread, or topping
Ingredients for Easy Guacamole
- Hass avocados
- Red onion
- Lime
- Pickled jalapeños, plus a little of the brine
- Fresh coriander
- Sea salt and black pepper
Optional add-ins:
- Tomato, deseeded and finely diced
- Ground cumin
Tip for best results:
Use ripe avocados that give slightly when pressed. This gives you a creamy texture without over-mashing.
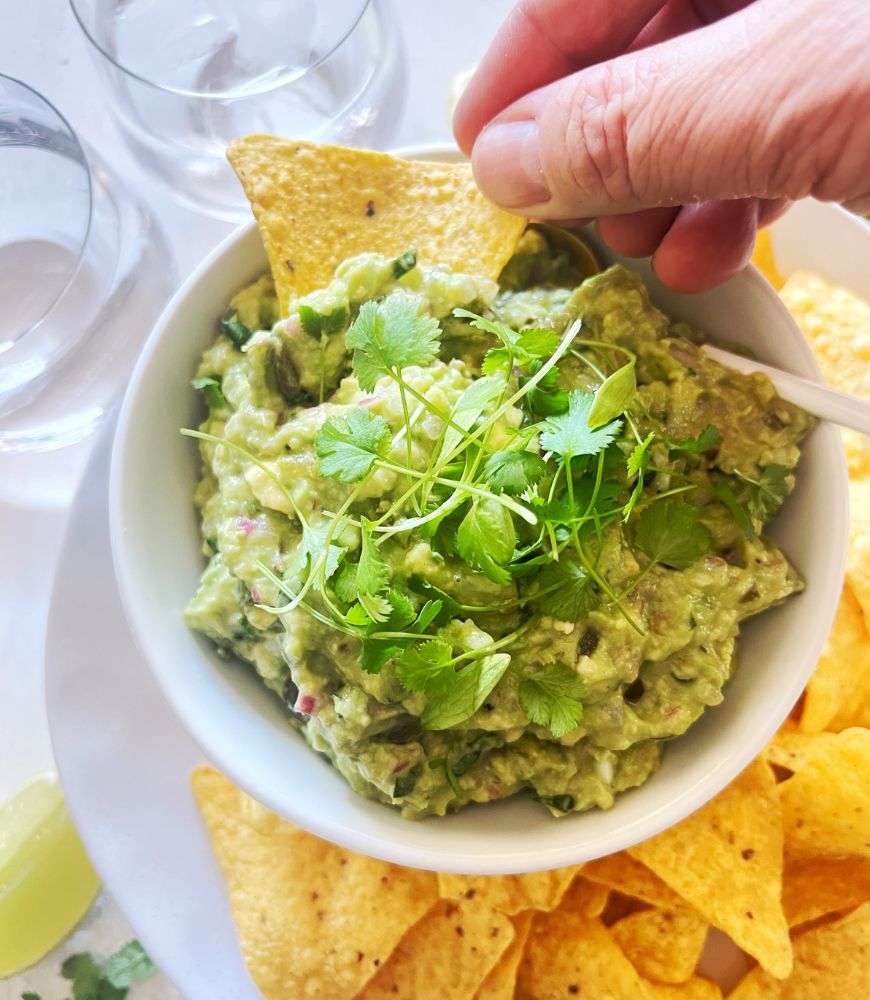
How to Make Guacamole
Start by adding the red onion, lime juice, jalapeños, jalapeño brine, and coriander to a bowl. Cut the avocados in half, remove the stones, then scoop the flesh straight into the bowl. Use a fork to gently mash everything together until combined, keeping it slightly chunky for the best texture. Add any optional extras if you like, then season well with sea salt and black pepper. Serve straight away for the freshest flavour.
Tips for the Best Guacamole
- Serve fresh. Guacamole tastes best straight after making
- Use ripe avocados. They should give slightly when pressed for a smooth, creamy texture
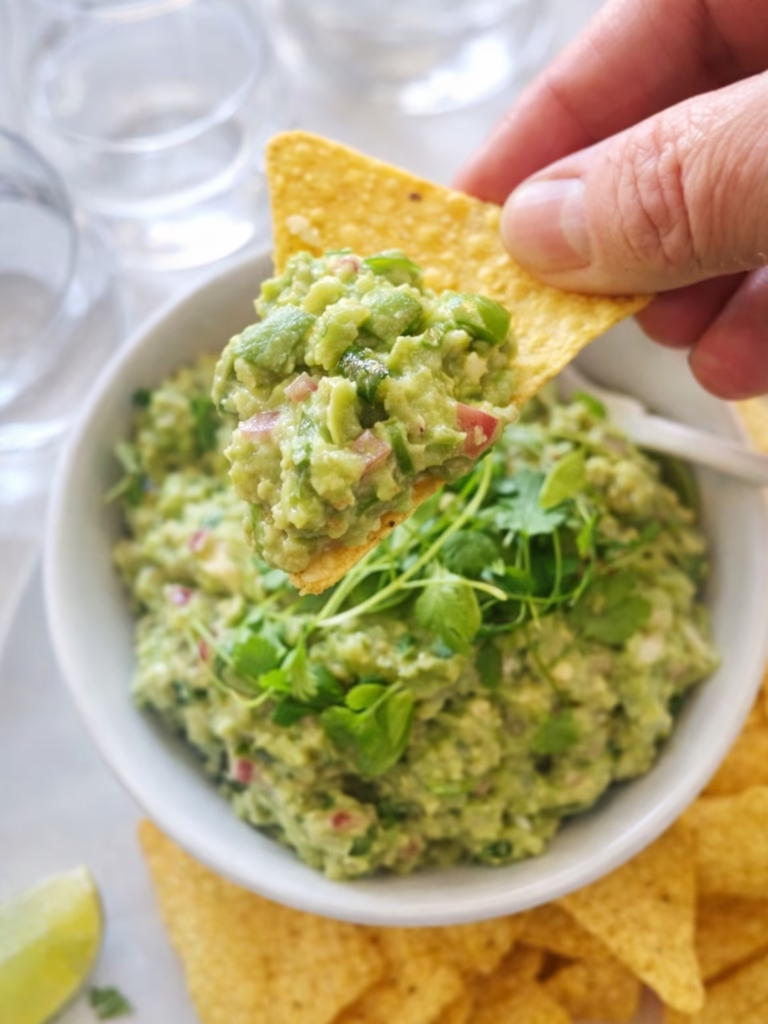
- Do not over mash. Keep it slightly chunky for better texture
- Taste as you go. Adjust lime, salt, and jalapeños to suit your taste
- Use jalapeño brine. It adds extra flavour without extra effort
- Add lime last if needed. This helps balance the flavour before serving
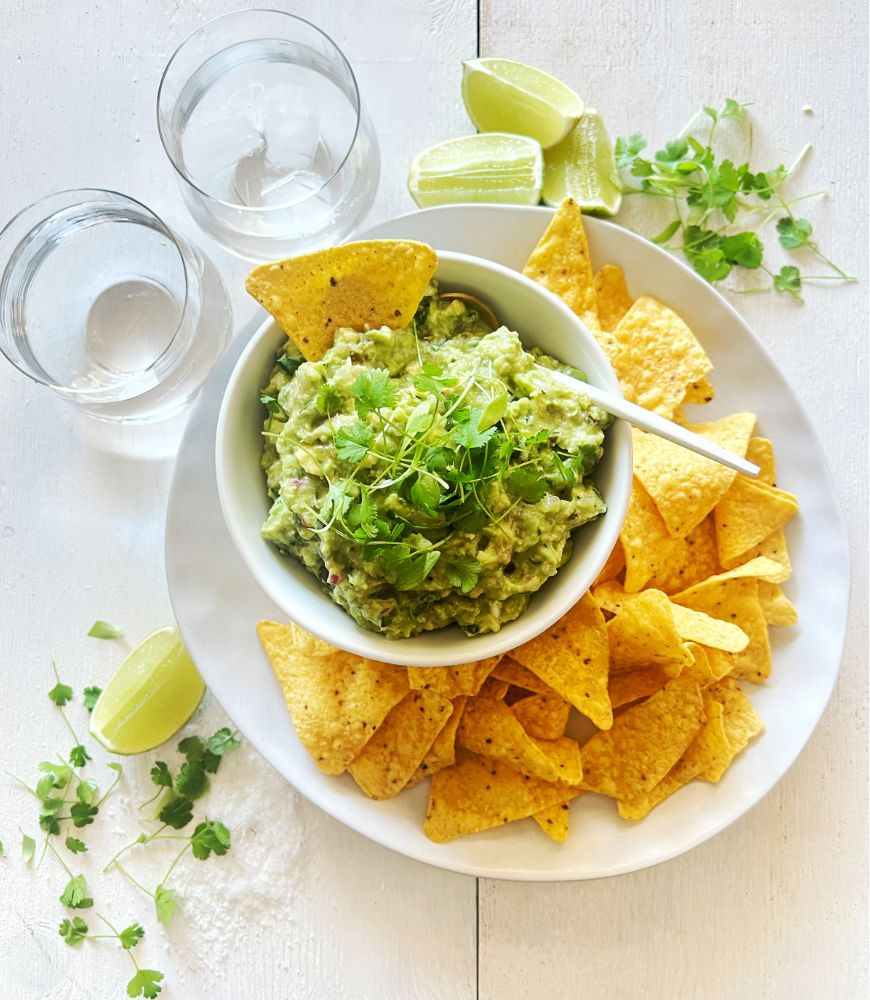
How to Serve Guacamole
Serve this guacamole with corn chips for a classic option, or add it to tacos, burritos, and nachos. Spoon it over grilled chicken, steak, or prawns, or spread it on burgers and sandwiches. For a lighter option, serve it with vegetable sticks. It also works well with eggs for breakfast or as a topping for chilli and soups.
How to Store
Fridge: Store guacamole in an airtight container and smooth the surface to remove air pockets. Press plastic wrap directly onto the surface to limit exposure to air, then seal with a lid. For extra protection, add a thin layer of lime juice over the top before covering. Keep in the fridge and use within 1 to 2 days. If the top layer browns, scrape it off before serving.
Freezer: Transfer guacamole to a zip lock bag and press out as much air as possible. Seal, label, and freeze for up to 3 months. Thaw in the fridge overnight, then stir well before serving. The texture may soften slightly after freezing.
Frequently Asked Questions
Can I make guacamole ahead of time?
Yes. You can make it up to 24 hours ahead. Store it in an airtight container with plastic wrap pressed onto the surface to keep it fresh.
How do I stop guacamole from turning brown?
Limit air exposure by covering it tightly. Press plastic wrap directly onto the surface and add a little lime juice on top to slow browning.
Can I use lemon instead of lime?
Yes. Lime gives a more traditional flavour, but lemon works if that is what you have.
Is coriander required?
No. You can leave it out if you do not like it. The guacamole will still taste great.
Can I use fresh jalapeños instead of pickled?
Yes. Use finely diced fresh jalapeño and add extra lime juice. You will miss the depth from the brine, but it still works well.
This easy 5 ingredient guacamole is quick to make, full of fresh flavour, and perfect for any occasion. Once you try it, you will keep coming back to it. Leave a comment below and let me know how you served yours.
More Recipes To Try:
- Crazily Good Hummus – another fantastic dip you could serve alongside the Easy Guacamole
- Pice De Gallo – Traditional fresh Mexican Salsa recipe
- Mexican Chilli Beef – this guacamole is the perfect topper or side dish to serve with this delicious beef
- Red Cabbage Salad with Honey Lime Dressing – Mexican inspired salad to go with your Mexican Fiesta night!
- 4-Ingredient Flatbreads (Foolproof, Soft and Quick) – perfect to serve with the Guac!
Easy 5 Ingredient Guacamole
Ingredients
- ½ small red onion, finely diced
- Juice of 1 small lime
- 1-2 tablespoons pickled jalapeños, finely diced
- 1 tablespoon of the jalapeno brine
- 2 tablespoons chopped fresh coriander
- 2 large ripe Hass avocados or 3 small
- Sea salt & black pepper, to taste
OPTIONAL ADD-INS
- 1 small tomato, deseeded and finely diced
- ¼ teaspoon ground cumin
Instructions
- Combine red onion, lime juice, jalapeños, brine and coriander in a bowl.
- Slice the avocados in half and carefully remove the stones. Using a spoon, scoop the flesh into the bowl with the onion mixture. Using a fork, gently mash the avocado into the mixture until just combined. Add extra add-ins now if using.
- Season well with sea salt and cracked black pepper to taste. Serve with corn chips or as desired.
Notes
- Measurements: We use Australian tablespoons and cups: 1 teaspoon = 5 ml, 1 tablespoon = 20 ml & 1 cup = 250 ml.
- Ripe Avocados: Use avocados that give slightly when pressed. This gives a smooth, creamy texture.
- Texture: Do not over mash. Keep the guacamole slightly chunky for the best result.
- Flavour balance: Taste as you go and adjust lime, salt, and jalapeños to suit your preference.
- Storage: Store in the fridge with plastic wrap pressed onto the surface and use within 1 to 2 days.
- Freezing: Freeze in an airtight bag for up to 3 months. Thaw in the fridge and stir before serving.
- Pickled jalapeños: Use any brand of pickled jalapeños. You can swap for 1 fresh jalapeño if preferred and use extra lime juice. Adjust the amount to suit your heat preference. The brine adds extra flavour, so include it if using jarred jalapeños.
Leave a Reply