
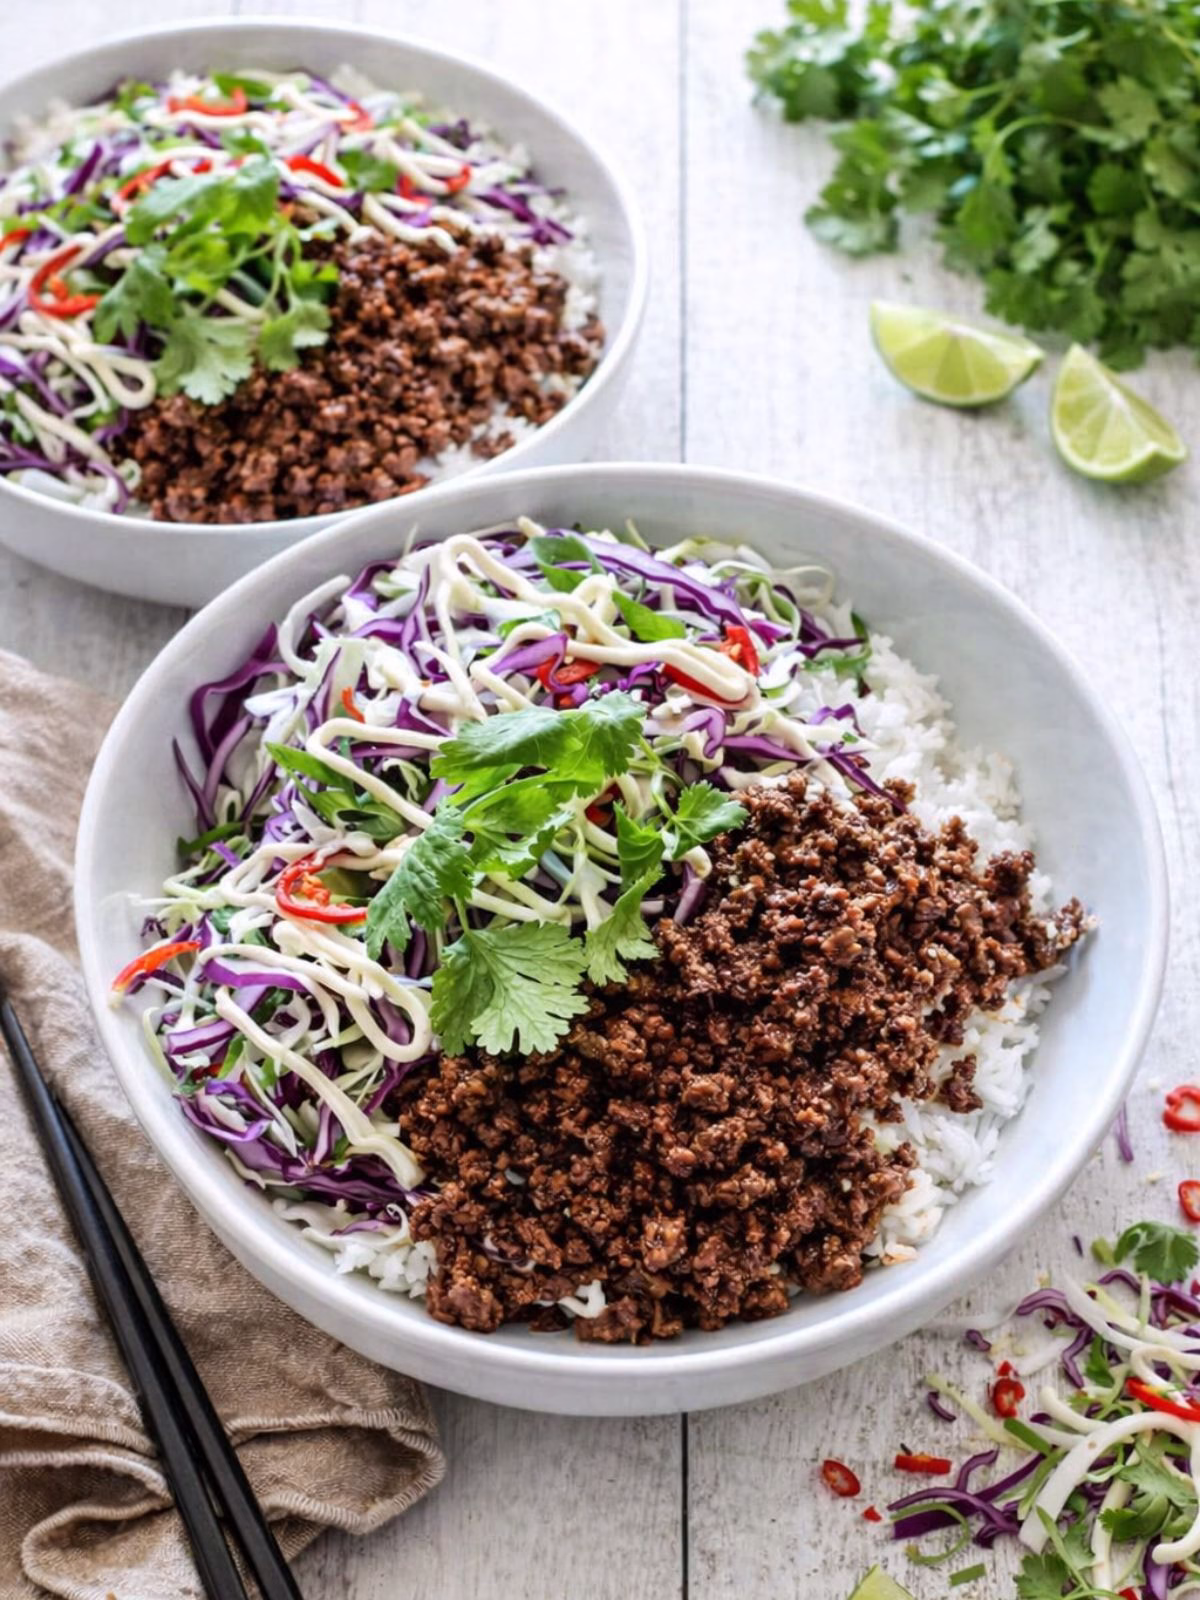
These Crunchy Asian Beef Bowls come together in 20 minutes and deliver big flavour with minimal effort. Savoury beef mince sits on fluffy rice and gets topped with a crisp cabbage slaw, then finished with a drizzle of Kewpie mayo for a creamy hit. This is a quick, budget friendly dinner you will keep on repeat for busy weeknights.
What Are Asian Beef Bowls?
Asian beef bowls are a quick rice bowl made with seasoned beef mince, steamed rice, and a fresh cabbage slaw. The beef cooks in a savoury, slightly sweet sauce using pantry staples like soy sauce, oyster sauce, and kecap manis. Everything gets layered into one bowl and finished with Kewpie mayonnaise and sesame seeds for extra flavour and texture.
Why You’ll Love These Asian Beef Bowls
• Ready in 20 minutes, perfect for busy nights
• Big flavour from simple pantry sauces
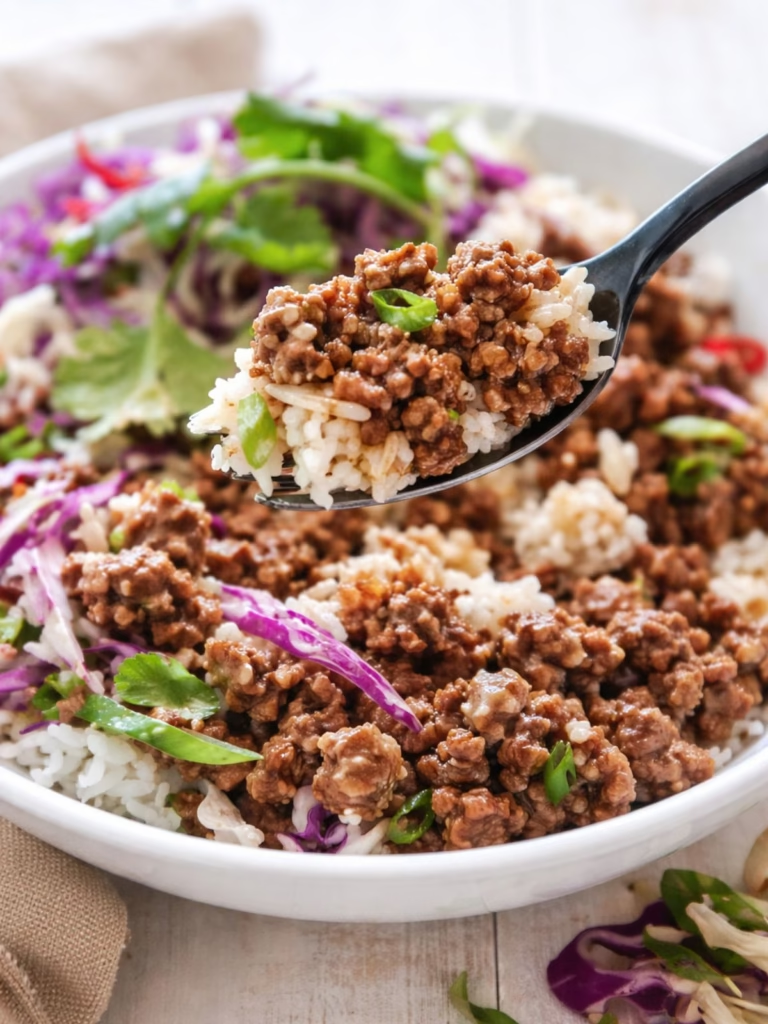
• Great mix of textures with soft rice, savoury beef, and crunchy slaw
• Budget friendly using beef mince
• Easy to swap proteins like chicken, pork, or turkey mince
• Family friendly, mild sweetness makes it a hit with kids
• Flexible, skip the slaw or use a store bought mix to save time
Ingredients for Asian Beef Bowls
You only need a handful of everyday ingredients to pull this together.
• Beef mince, onion, garlic, and ginger
• Simple Asian style sauce with soy, oyster sauce, fish sauce, sesame oil, kecap manis, and Chinese cooking wine
• Cabbage, spring onions, coriander, and chilli for the slaw
• Steamed rice, Kewpie mayonnaise, and sesame seeds to serve
How to Make Asian Beef Bowls
- Mix the sauce ingredients in a bowl and set aside
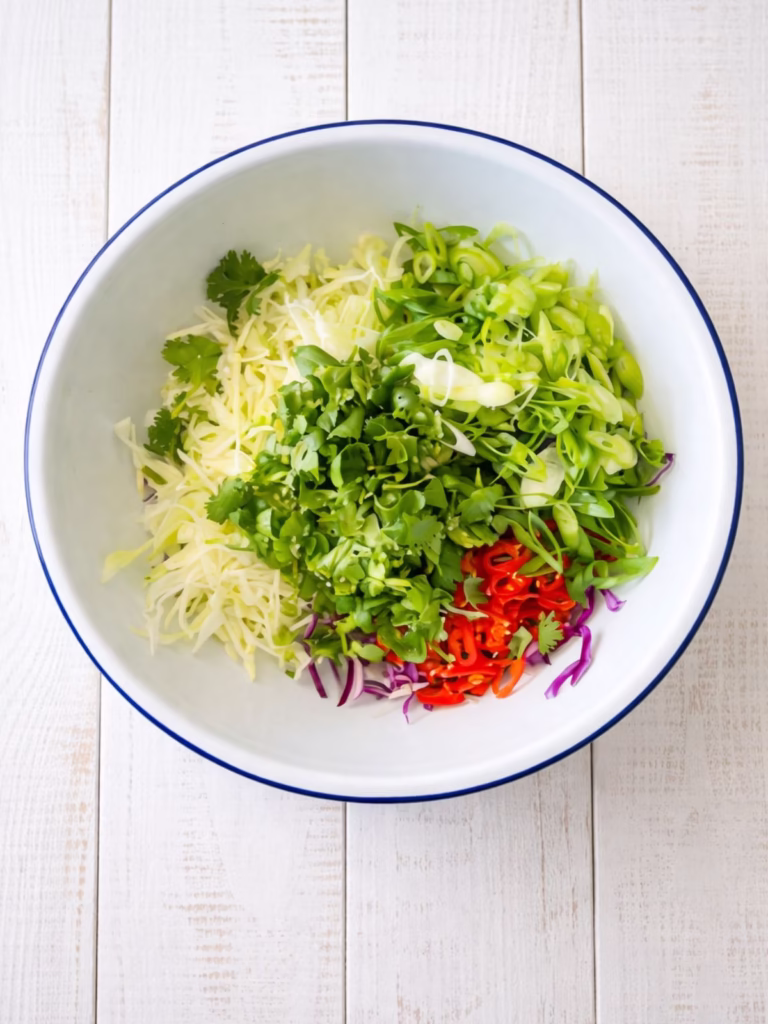
- Toss the shredded cabbage, spring onions, coriander, and chilli to make the slaw
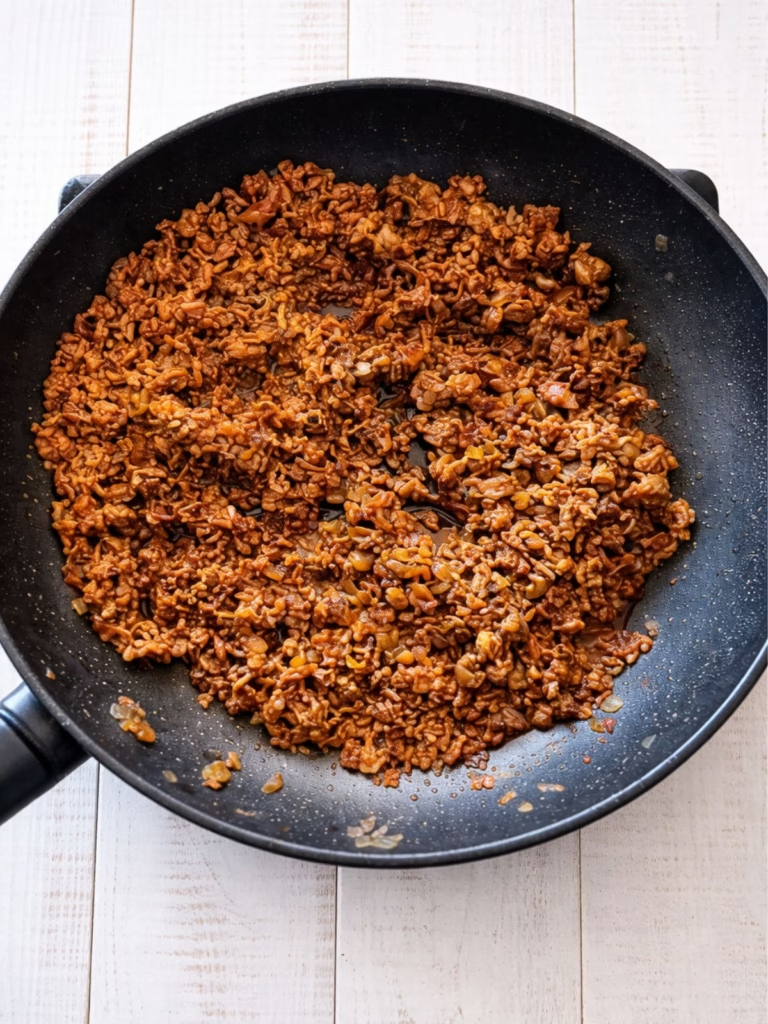
- Cook onion, garlic, and ginger in a hot pan, then add beef mince and brown well
- Pour in the sauce and cook until thick and glossy
- Serve over rice with slaw, then finish with Kewpie mayo and sesame seeds
Tips for the Best Asian Beef Bowls
• Brown the mince well, this builds flavour and gives better texture
• Prep everything first, this cooks fast
• Use finely shredded cabbage for the best crunch
• Taste the sauce and adjust to your liking before adding
• Add chilli to suit your heat preference
• Do not skip the Kewpie mayo, it brings everything together
Serving Suggestions for Asian Beef Bowls
Serve these Asian beef bowls with sliced cucumber or carrot for extra crunch, or add a fried egg to make it more filling. A squeeze of lime adds freshness, while steamed greens like broccoli or bok choy round out the bowl. You can also swap the rice for cauliflower rice or noodles if you want a change.
Storage
FRIDGE: Store the cooked beef and slaw in separate airtight containers for up to 3 days.
FREEZER: Freeze the cooked beef mince only for up to 2 months. Defrost in the fridge overnight and reheat in a pan or microwave. The slaw is best made fresh.
Frequently Asked Questions
Can I use a different protein?
Yes. Chicken, pork, or turkey mince all work well with the same sauce.
What is kecap manis?
It is a sweet Indonesian soy sauce with a thick, syrupy texture. It adds sweetness and depth to the beef.
Can I make it without chilli?
Yes. Leave it out for a mild version that suits kids.
Is this good for meal prep?
Yes. Store the beef and rice together, and the slaw separately. Reheat and assemble when ready to eat.
Can I use store bought slaw?
Yes. A pre cut coleslaw mix saves time and works well in this recipe.
These Asian Beef Bowls with Crunchy Slaw are quick, full of flavour, and easy to make any night of the week. Give them a try and leave a comment to let me know what you think.
More Mince Recipes To Try:
- French Onion Sausage Rolls
- Easy Homemade Wonton Noodle Soup
- Thai Chicken Larb Salad
- Easy Asian Inspired Dinners Using Supermarket Sauces
- Beef Mince & Cabbage Stir Fry
- Beef and Veggie Rissoles

Asian Beef Bowls with Crunchy Slaw
Ingredients
- 500g lean beef mince
- 1 tablespoon vegetable oil
- 1 onion, finely diced
- 2 teaspoons crushed garlic
- 2 teaspoons grated ginger
SAUCE
- 2 tablespoons kecap manis
- 2 tablespoons Chinese cooking wine
- 1 tablespoon light soy sauce
- 1 tablespoon oyster sauce
- 2 teaspoons fish sauce
- 1 teaspoon sesame oil
SLAW
- 4 cups finely shredded cabbage (I used a mixture of red & green)
- 3 spring onions, thinly sliced
- ½ cup coriander, chopped
- 1 long red chilli, thinly sliced or 1 teaspoon dried chilli flakes
TO SERVE
- Cooked rice
- Kewpie mayonnaise
- Toasted sesame seeds
Instructions
- Make Sauce: Combine all ingredients into a bowl and set aside.
- Make Slaw: Combine all ingredients in a large bowl, tossing well. Set aside.
- Cook Beef: Heat oil in a large frying pan over medium-high heat. Add the onion, garlic and ginger and cook, stirring often, for 2 minutes. Add the beef mince and cook, breaking up large lumps with a spoon, for 6-7 minutes or until well browned and lightly caramelised.
- Add Sauce: Pour in the prepared sauce and cook, stirring, for a further 1-2 minutes or until thick and glossy.
- Serve: Divide rice between serving bowls and top with mince and slaw. Drizzle with Kewpie mayonnaise and garnish with toasted sesame seeds.
Notes
- Measurements: We use Australian tablespoons and cups: 1 teaspoon = 5 ml, 1 tablespoon = 20 ml & 1 cup = 250 ml.
Herbs: All herbs are fresh (unless specified) and cups are lightly packed.
Vegetables: All vegetables are medium size and peeled, unless specified. - Browning the Mince: Cook the beef until well browned and lightly caramelised. This builds flavour and improves texture.
- Save Time: Use a pre cut coleslaw mix to speed things up. Look for a finely shredded mix.
- Heat Level: Adjust the chilli to suit your taste or leave it out for a mild version. Replace fresh chilli with a sprinkle of dried chilli flakes instead if desired.
- Kewpie Mayo: This adds a creamy, tangy finish that ties the whole dish together.


Leave a Reply