
You have been searching for the perfect chilli jam recipe. Stop. You’ve just found it. It’s sweet, sticky, ridiculously easy, and ready in under an hour with everyday ingredients. Slather it on burgers, drizzle it over a cheese board, or spoon it into stir fries. One jar is never enough. It’s that good.
What is Chilli Jam?
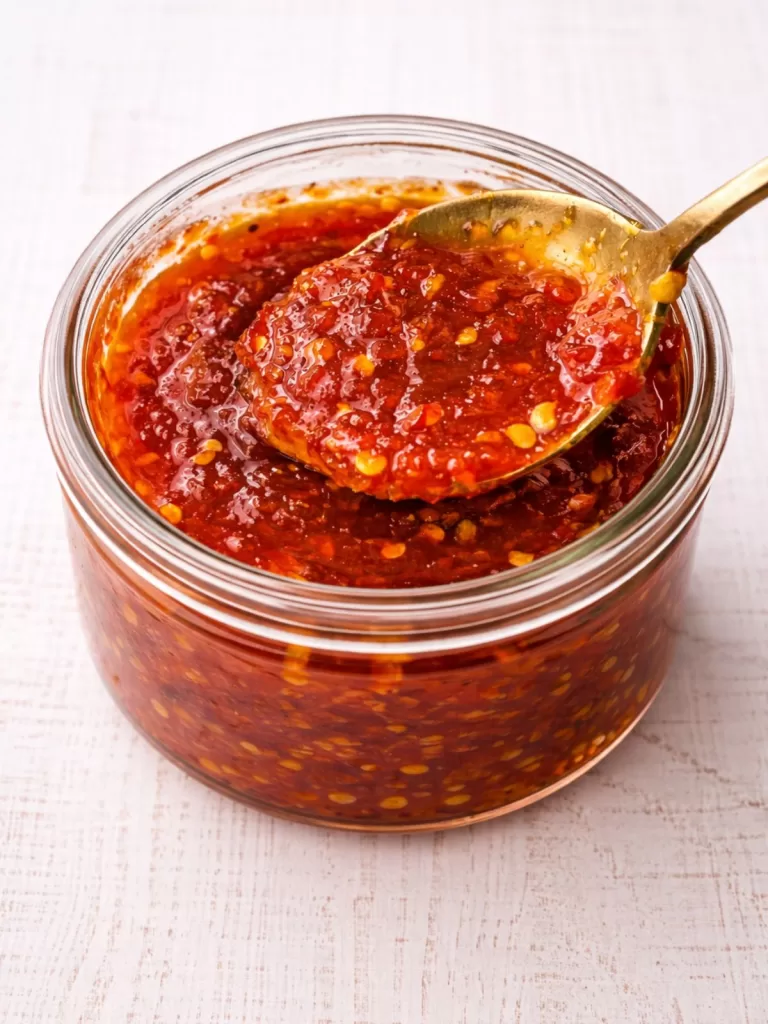
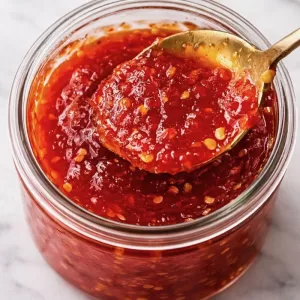
Chilli jam is a sweet and spicy condiment made with red chillies, sugar, and vinegar. It cooks down into a thick glossy jam with a balance of heat and sweetness.
Unlike sweet chilli sauce, chilli jam is thicker and more concentrated. It has a spoonable texture rather than a pourable consistency.
Why You’ll Love This Chilli Jam Recipe
- Perfect balance of sweet and spicy
- Easy chilli jam recipe ready in under one hour
- Uses a food processor to chop the chillies and garlic
- Made with everyday supermarket ingredients
- Keeps for up to 6 months when sealed properly
- Adjustable heat level
- Works in a saucepan or Thermomix
- Great for gifting or keeping a jar in the fridge
If you enjoy the sticky sweet heat of this chilli jam, try my Tomato Bacon and Chilli Jam. It brings the same chilli warmth with rich tomatoes and crispy bacon.
Ingredients for Chilli Jam
This chilli jam recipe uses simple ingredients which cook down into a glossy sweet and spicy jam. Each one plays a role in building flavour and balance.
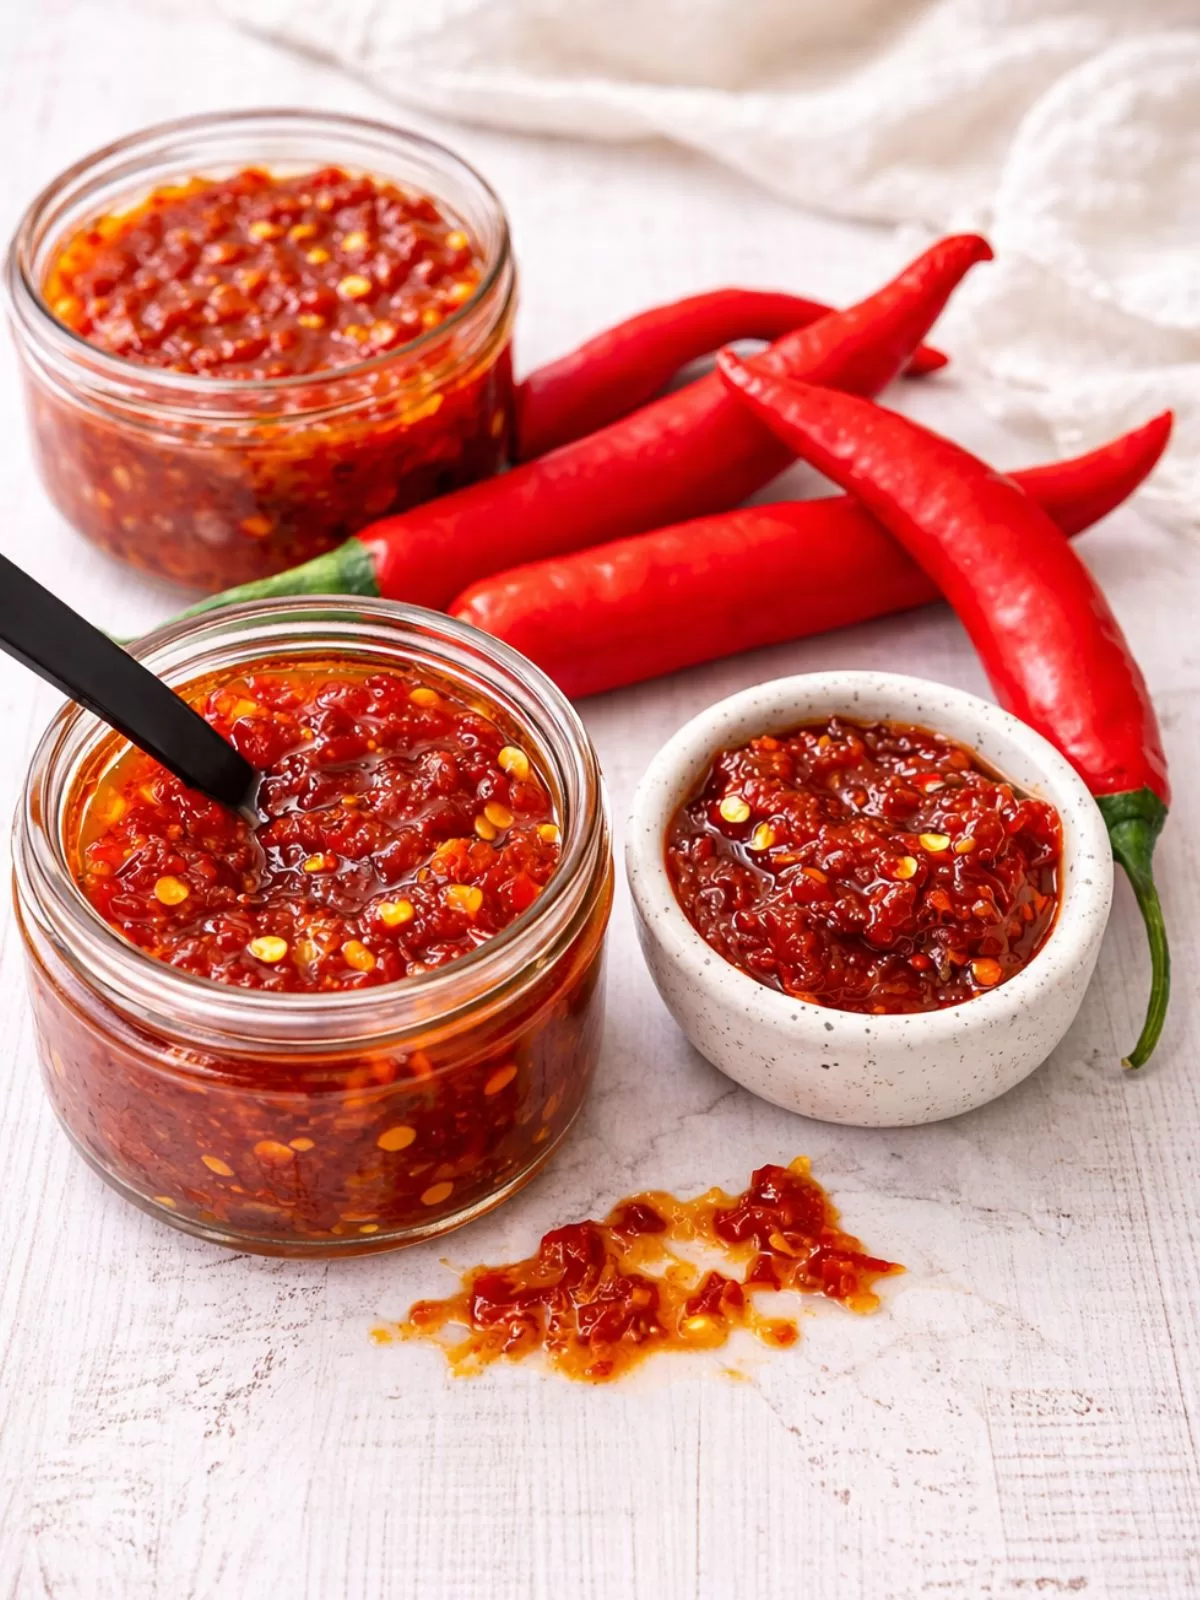
- Long Red Chillies: These form the base of the chilli jam, giving colour, heat and fresh chilli flavour. Adjust the quantity depending on how spicy you want the jam.
- Red Onion: Adds sweetness and depth as the jam cooks down and helps build the savoury base of the jam. Brown or white onion also works well if that is what you have.
- Garlic: Brings sharp savoury flavour which balances the sweetness of the sugar.
- Fresh Ginger: Adds warmth and a gentle spice which lifts the flavour of the jam.
- White Sugar: Sugar creates the glossy jam texture and balances the heat of the chillies.
- White Wine Vinegar: Adds acidity and helps preserve the jam while balancing the sweetness.
- Balsamic Vinegar: Adds richness and a deeper flavour to the jam.
- Fish Sauce: A small amount adds deep umami flavour and rounds out the sweetness of the jam. You will not taste fish sauce in the finished chilli jam.
- Lime Juice: Brightens the jam and balances the sweetness and spice.
How to Make Chilli Jam
Making this chilli jam recipe is simple and uses a handful of everyday ingredients. The key is letting the mixture simmer long enough to reduce and thicken into a glossy jam.
- Blitz the chillies, onion, garlic, and ginger in a food processor until finely chopped. Transfer the mixture to a large saucepan. Add the sugar, vinegars, fish sauce and lime juice.
- Place the pan over medium heat. Stir until the sugar dissolves.
- Increase the heat and bring the mixture to a gentle boil.
- Reduce the heat to medium-low and simmer for 35 to 40 minutes, stirring occasionally, until thick and jammy. The jam thickens further as it cools.
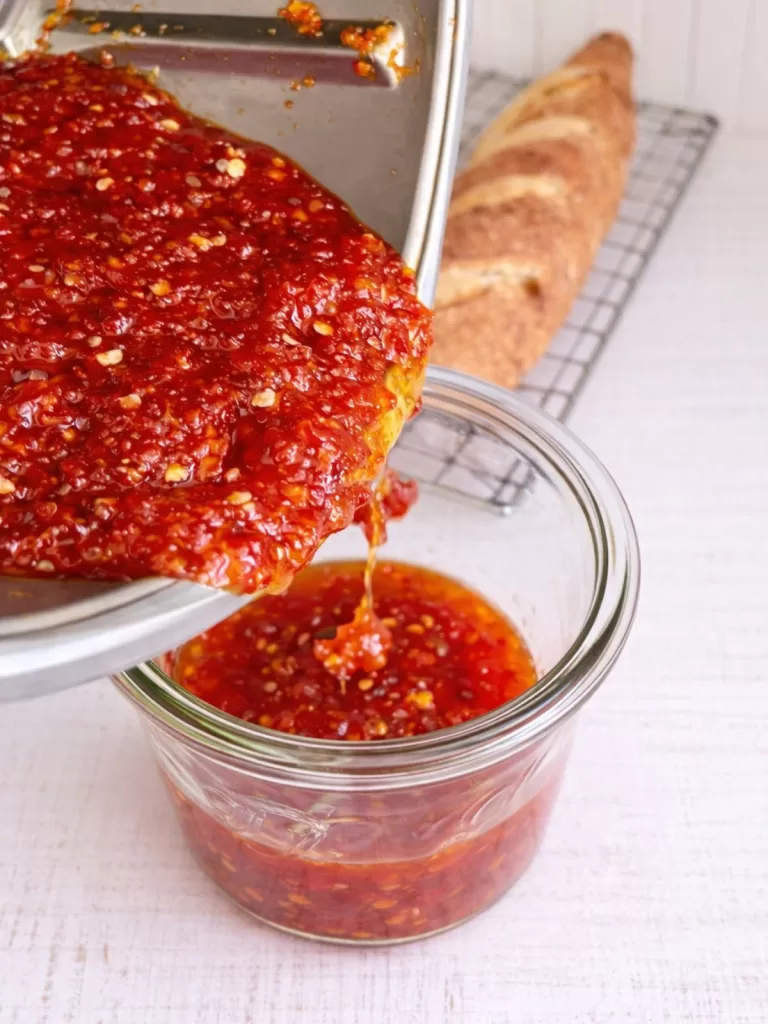
- Spoon the hot jam into sterilised jars. Seal immediately and allow to cool completely before storing.
How Spicy Is This Chilli Jam Recipe?
The heat level in this chilli jam recipe is completely customisable. It depends on how spicy your chillies are and whether you leave the seeds in.
You have full control over the spice level. The final heat depends on the natural intensity of the chillies. I always taste a small piece first to check how hot they are. This makes it easy to adjust the balance of sweetness and heat before the jam starts simmering.
How to Make Your Chilli Jam Recipe Mild or Spicy
- EXTRA SPICY: Leave all the seeds in and add one or two small hot chillies such as bird’s eye.
- SPICY: Leave all the seeds in the long red chillies
- MEDIUM: Remove the seeds and membrane from half of the chillies.
- MILD: Remove the seeds and membrane from all the chillies.
- SUPER MILD: Replace half of the chillies with one or two deseeded red capsicums for a gentler flavour.
How to Sterilise Jars for Chilli Jam
Properly sterilising jars is essential when making chilli jam. It helps extend shelf life, prevents mould and keeps the jam fresh for months.
- Wash: Wash jars and lids thoroughly in hot soapy water. Rinse well.
- Sterilise the Jars: Choose one of the following methods:
- Oven: Place jars on a baking tray and heat at 120°C for 20 minutes.
- Boiling: Submerge jars in boiling water for 10 minutes.
- Dishwasher: Run jars on a hot cycle without detergent.
- Microwave: Half fill jars with water and microwave until boiling. Carefully empty and allow them to steam dry.
- Sterilise the Lids: Boil the lids in water for 5 minutes. Allow them to air dry on a clean tea towel.
- Fill While Hot: Spoon hot chilli jam into hot jars and seal immediately.
- Check the Seal: Once cooled, press the centre of the lid. It should feel firm and not pop.

Chilli Jam Recipe Tips
- To test if your chilli jam is ready, place a spoonful on a chilled saucer and freeze for 1 minute. Push the surface with your finger. If it wrinkles, the jam has reached setting point.
- Properly sealed jars of chilli jam keep for up to 6 months in a cool, dark cupboard. Once opened, store in the fridge and use within 2 months.
- Always wear gloves when handling fresh chillies. The oils can linger on your skin long after washing.
- Chilli jam is incredibly versatile. Serve it on cheese boards, stir it through dressings, glaze grilled meats or seafood, spoon it over schnitzels or add it to sandwiches and stir-fries.
- You can double or triple the batch, but cook one batch at a time in the Thermomix to prevent it boiling over.
Frequently Asked Questions
How long does chilli jam last?
Unopened jars of properly sterilised chilli jam will keep for up to 6 months in a cool, dark cupboard. Once opened, store in the fridge and use within 2 months.
Does chilli jam thicken as it cools?
Yes. Chilli jam continues to thicken as it cools. If it looks slightly loose while hot, allow it to cool completely before deciding if it needs further cooking.
Why is my chilli jam runny?
If your chilli jam is runny, it likely needs more simmering time. The mixture must reduce properly to reach setting point. Continue simmering gently until it coats the back of a spoon and falls in thick drops.
Can you freeze chilli jam?
Yes. Chilli jam freezes well in airtight containers for up to 3 months. Leave space at the top of the container for expansion. Thaw in the fridge overnight before using.
Do you need pectin for chilli jam?
No. This chilli jam recipe does not require added pectin. The sugar and natural reduction during cooking help it thicken.
What can you use chilli jam for?
Chilli jam is versatile. Use it on cheese boards, burgers, grilled meats, seafood, dumplings and sandwiches. Stir it through stir fries or use it in dressings and glazes.
Is chilli jam spicy?
The heat level depends on the chillies used and whether the seeds are included. You can easily adjust the spice level by removing some or all of the seeds and membrane before cooking.
Why didn’t my chilli jam set?
If your chilli jam did not set, it likely did not reduce long enough. Simmer until thick and jammy, then allow it to cool fully before checking the consistency. It will firm up as it cools.
How to Use Chilli Jam (Serving Ideas)
This homemade chilli jam is one of the most versatile condiments to keep in your fridge. It adds sweet heat to everyday meals and works with everything from breakfast to dinner.
On Cheese Boards
Spoon chilli jam over baked brie, serve alongside sharp cheddar or creamy goat’s cheese, or add it to grazing platters with crackers and cured meats. Try my Baked Brie with Chilli Jam for an easy entertaining favourite.
With Meat and Seafood
Glaze chicken, pork or salmon during the last few minutes of cooking for a sticky finish. Serve it with grilled steaks, schnitzels or sausages, or use it as a dipping sauce for prawns and dumplings.
In Everyday Meals
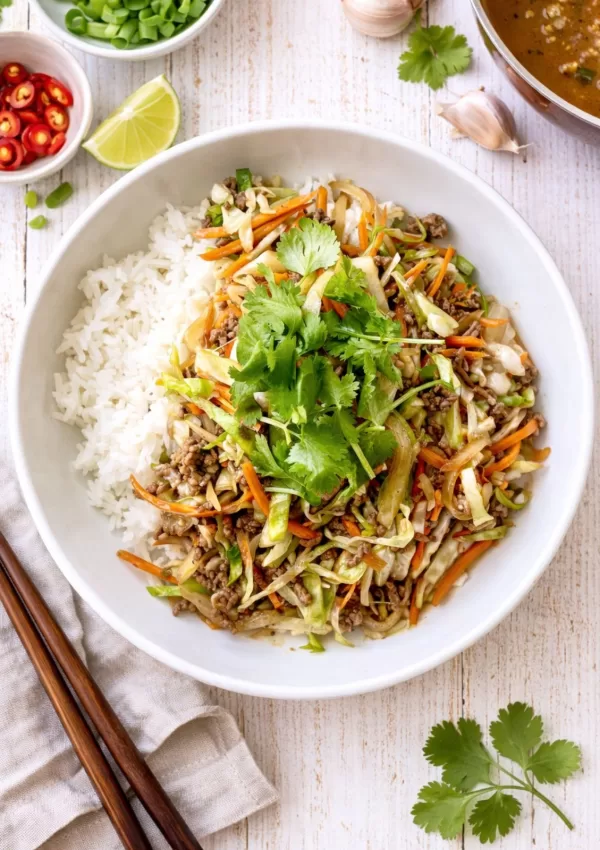
Spread chilli jam on burgers and sandwiches, swirl it through stir-fries and noodle bowls, or whisk it into salad dressings for a sweet, spicy kick.
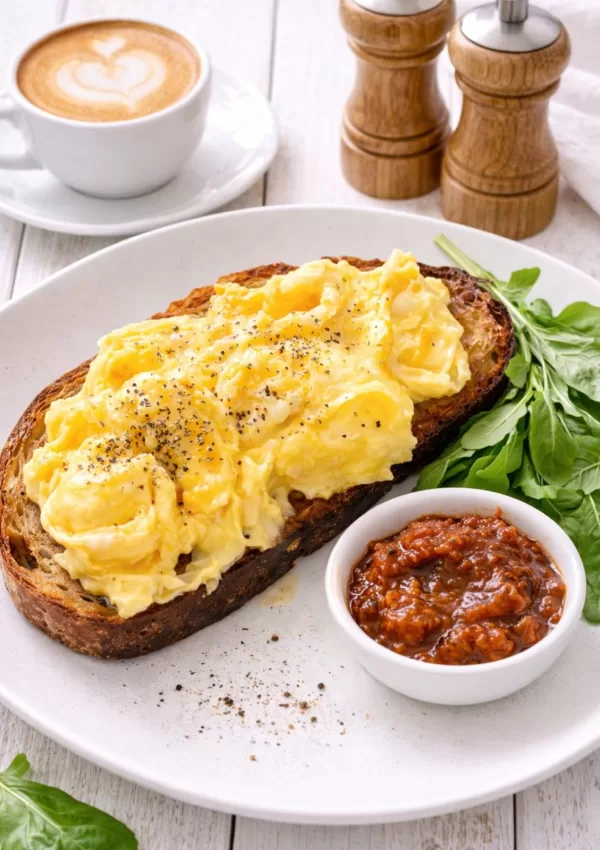
With Eggs and Breakfast
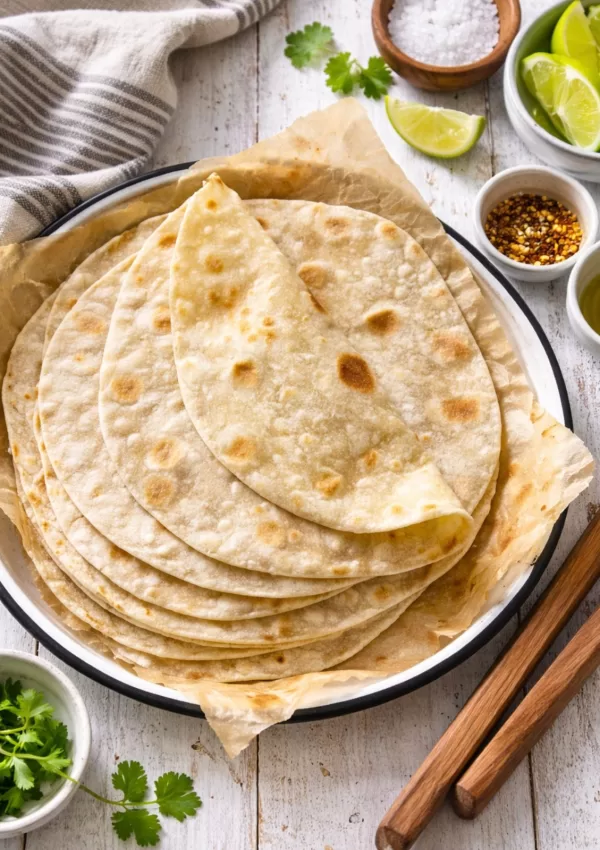
Chilli jam pairs beautifully with fried or scrambled eggs, smashed avocado on toast or breakfast wraps.
If you want something a little less sweet and more savoury, try my Tomato Bacon & Chilli Jam. You might also love my Caramelised Onion Jam with Balsamic Vinegar for a rich twist.
How to Store Homemade Chilli Jam
Properly stored, homemade chilli jam will keep for months.
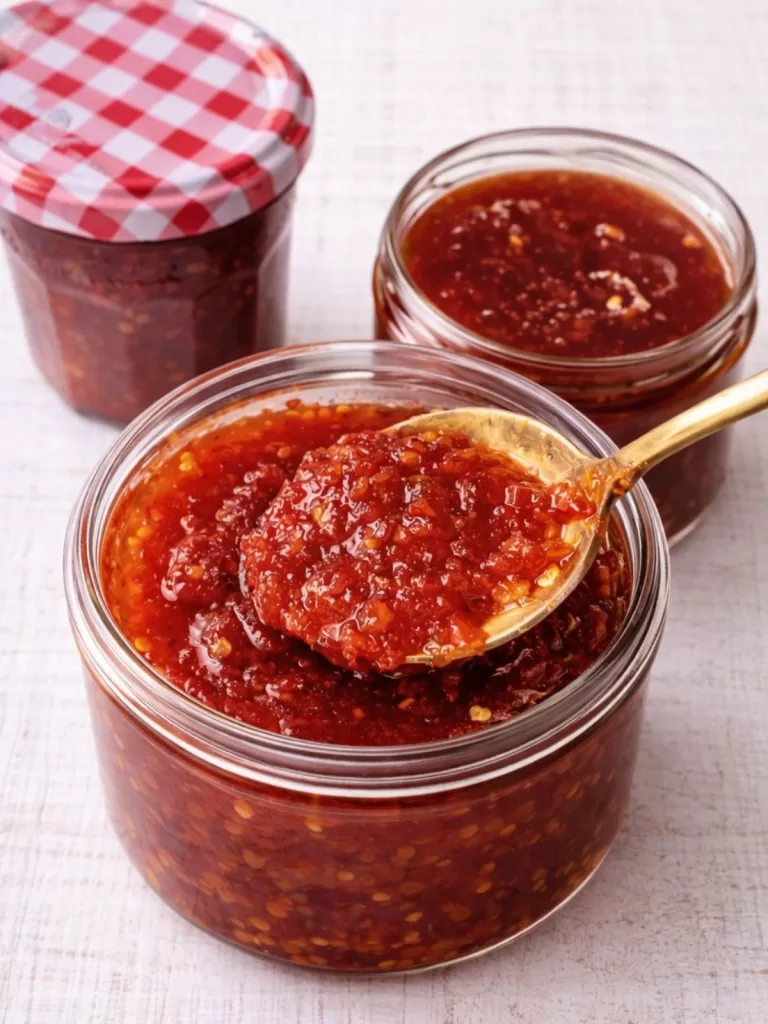
Unopened jars of chilli jam keep in a cool, dark cupboard for up to 6 months if the jars were properly sterilised and sealed while hot.
Once opened, keep the jar in the fridge and use within 2 months. Always use a clean spoon when serving to prevent contamination and extend shelf life.
Chilli jam can also be frozen in airtight containers for up to 3 months if needed. Leave a little space at the top of the container to allow for expansion as it freezes.
How to Use Chilli Jam: Serving Ideas & Recipes
If you have ever made or bought a jar of chilli jam and wondered what to use it on, you are not alone. Chilli jam quickly becomes a fridge favourite once you realise how versatile it is. This guide shows you how to use chilli jam in everyday cooking, from breakfasts and snacks to quick weeknight dinners.
More Homemade Jam and Condiment Recipes You’ll Love
If you love making homemade condiments, here are a few more reader favourites to try next.
- Baked Brie with Chilli Jam
- Tomato Bacon & Chilli Jam
- Caramelised Onion Jam with Balsamic Vinegar
- Chilli Garlic Crisp Oil
- Thai Basil Pesto with Peanuts, Lime and Garlic
- The Best 5-Minute Tomato Sauce for Pizza & Pasta
Chilli Jam Recipe
Equipment
- Food processor or Thermomix
- Large saucepan (if not using a Thermomix)
- Sterilised jars with lids
Ingredients
- 12–15 long red chillies, roughly chopped (see Notes to adjust heat level)
- 1 red onion, roughly chopped
- 4 cloves garlic, peeled
- 2cm piece of fresh ginger, roughly chopped
- 1 ½ cups white sugar
- ⅓ cup white wine vinegar
- 1 tablespoon balsamic vinegar
- 1 teaspoon fish sauce
- 1 lime, juiced
Instructions
- Blend the aromatics: Add the chillies, onion, garlic and ginger to a food processor. Blitz until finely chopped.
- Start the jam: Transfer the mixture to a large saucepan. Add the sugar, white wine vinegar, balsamic vinegar, fish sauce and lime juice.
- Dissolve the sugar: Place over medium heat and stir gently until the sugar has completely dissolved.
- Cook the chilli jam: Increase the heat and bring to a boil. Reduce to medium-low and simmer for 35 to 40 minutes, stirring occasionally, until thick and jammy. The jam should coat the back of a spoon and fall in thick drops. It will continue to thicken as it cools.
- Jar and seal: Spoon the hot jam into hot, sterilised jars. Seal immediately and invert for 2 minutes. Turn upright and allow to cool completely.
- Store: Keep unopened jars in a cool, dark place for up to 6 months. Once opened, refrigerate and use within 2 months.
THERMOMIX METHOD
- Chop the aromatics: Add the chillies, onion, garlic and ginger to the Thermomix bowl. Chop 8 sec / speed 6, then scrape down the sides.
- Start cooking: Add all remaining ingredients to the bowl.
- Cook the chilli jam: Cook 40 mins / 100°C / speed 2 with the MC removed and the simmer basket on top to prevent splatters.
- Jar and seal: Spoon the hot jam into hot, sterilised jars. Seal immediately and invert for 2 minutes. Turn upright and allow to cool completely.Important: Only cook one batch at a time in the Thermomix. Doubling the recipe can cause it to boil over.
Notes
- MEASUREMENTS
We use Australian tablespoons and cups. 1 teaspoon = 5 ml, 1 tablespoon = 20 ml and 1 cup = 250 ml. - CHILLIES
You can adjust the heat to suit your taste. For extra heat, add a few small Thai red chillies along with the long red ones. Always taste a small piece of chilli first, as heat levels can vary. If they are mild, leave the seeds in. If they have more kick, remove some or all of the seeds and membrane to reduce the heat. - FISH SAUCE
Do not skip the fish sauce. You will not taste it in the finished jam, but it adds depth and umami that balances the sweetness. - LIME OR LEMON
You can use lemon juice instead of lime if preferred. Both work well and provide the acidity needed for balance and preservation. - THERMOMIX
Only cook one batch at a time. Doubling the recipe can cause it to boil over. - HOW TO CHECK IF THE CHILLI JAM IS READY
If unsure, place a spoonful of jam on a chilled plate and freeze for 1 minute. Push gently with your finger. If it wrinkles and holds its shape, the jam is ready.
Omg! This chilli jam is an absolute winner! Sweet, spicy, and packed with flavour – it’s has the perfect kick. I have used on so many things – sandwiches, burgers, steak and grilled chicken so far. Im going to add it to a stir-fry next. I’ll definitely be making this again and again and that will be soon since I’ve nearly used it all. Thanks so much for the best chilli jam recipe.
This is really delicious, quick and easy. I used 15 home grown jalapeños. This recipe is a keeper, thank you!
I’m so glad you enjoyed it Heather! Using your own homegrown jalapeños would have made it extra special – I bet the flavour was amazing. Thanks so much for giving the recipe a go and for your lovely feedback! Kate 😊
Hi how long can I store this for and what’s the best way to store?
Hi Steve 👋🏻
The chilli jam keeps best in sterilised jars stored in a cool, dark cupboard for up to 6 months. Once opened, pop it in the fridge and it’ll last for several weeks — or even longer! (I actually found a jar hiding in the back of my fridge after three months and it was still perfectly fine.) Hope that helps, and thanks so much for giving the recipe a go — hope you love it!
Kate 🙂
Loved following this recipe, end result was delicious!!
Thanks so much for the 5 stars! So glad you loved it 😊