
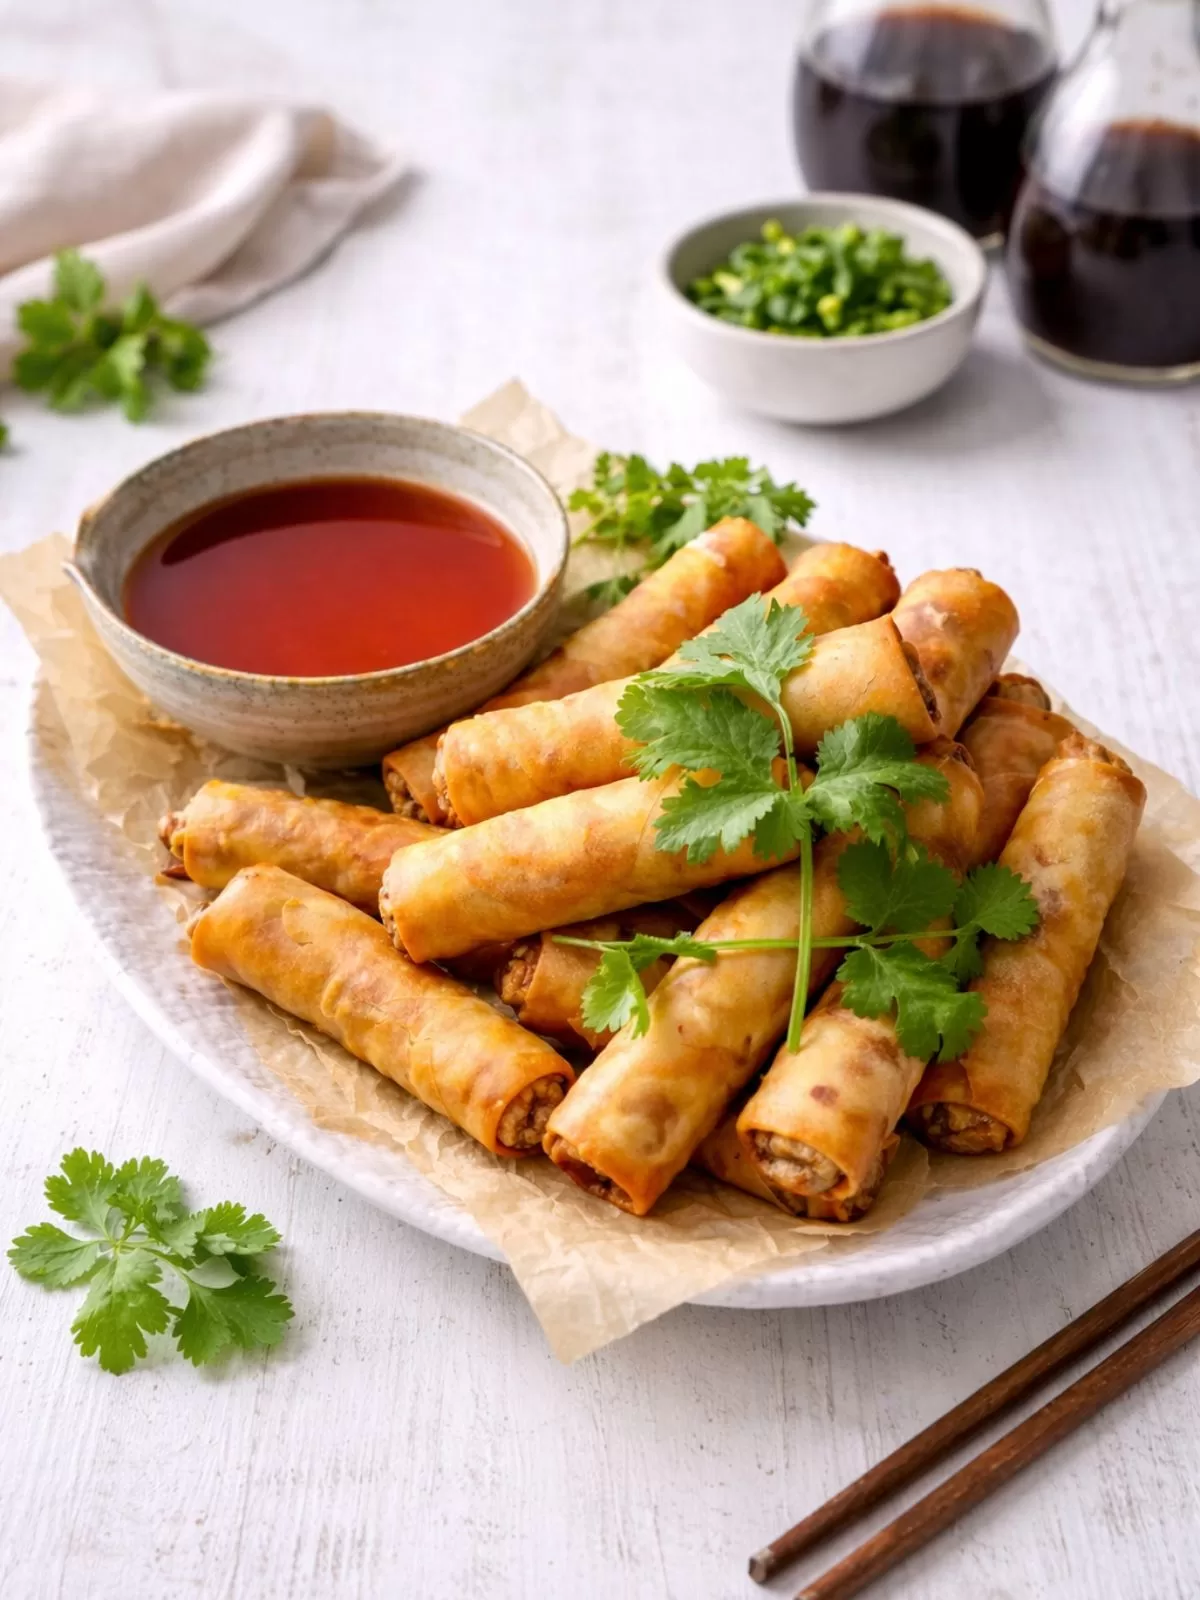
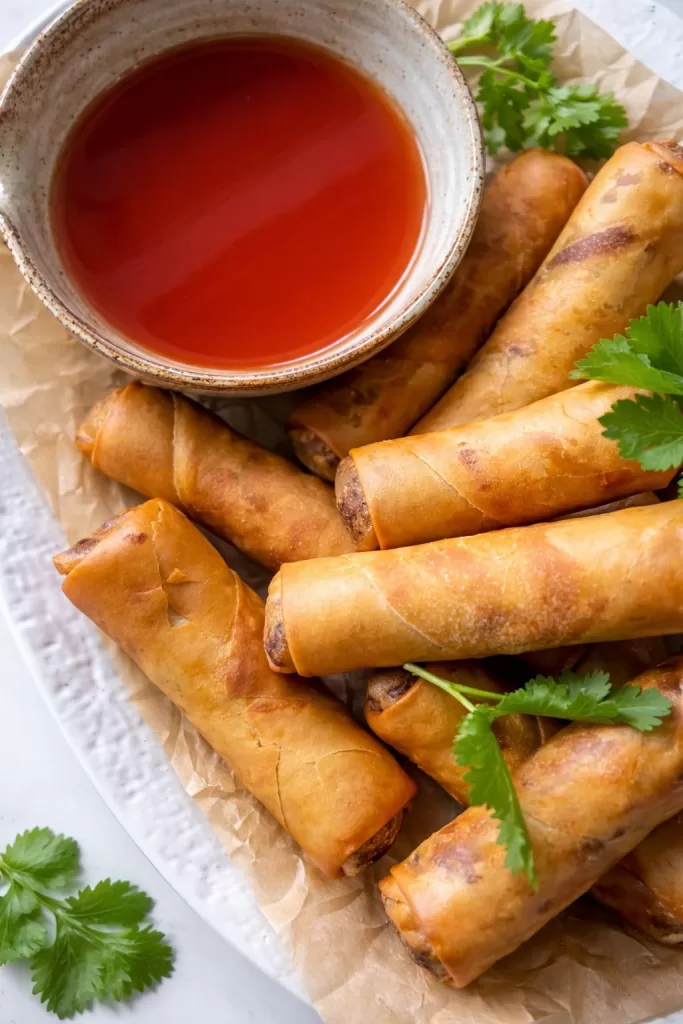
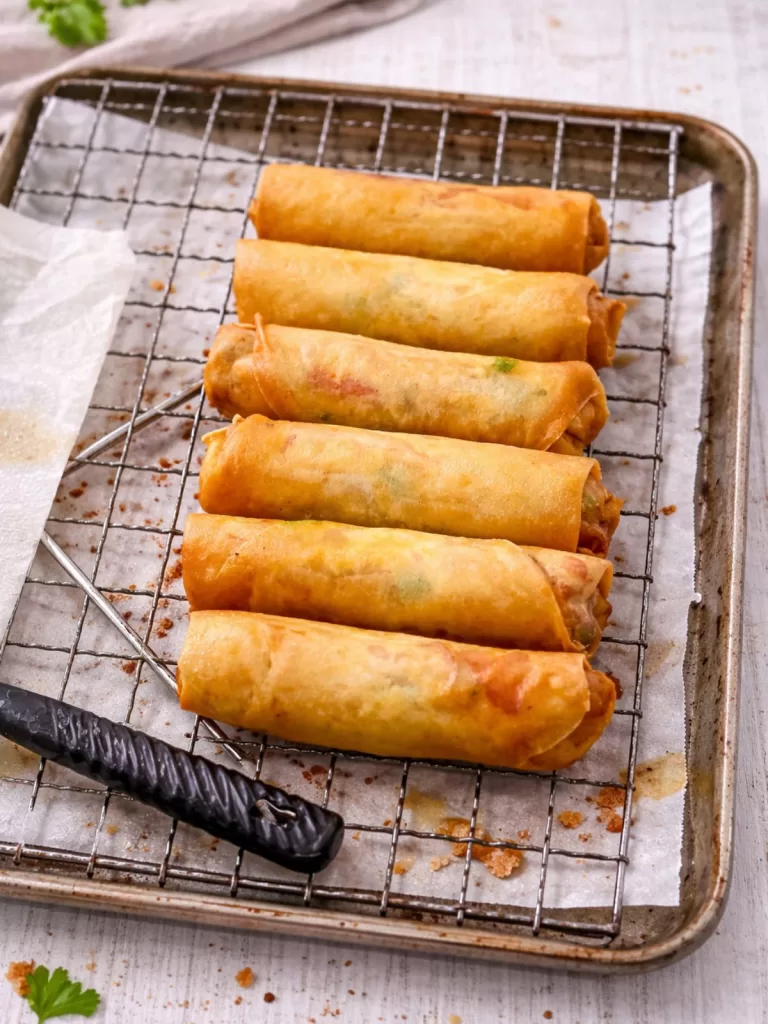
Chinese Ham and Chicken Rolls are crispy Chinese spring rolls filled with tender chicken, smoky ham and spring onions. Wrapped in thin spring roll pastry and fried until golden, they are crunchy on the outside and savoury inside. This cheats version recreates the classic Chinese takeaway ham and chicken rolls everyone remembers.
If you grew up grabbing Chinese Ham and Chicken Rolls from your local takeaway, you’ll know that salty, savoury, crunchy magic they had going on. My family used to buy them by the bag and fight over who got the crispiest one. This cheats version brings those nostalgic flavours back, but with real ingredients, and a seriously satisfying crunchy texture. Every time I make them, they disappear before they even hit the table.
What Are Chinese Ham and Chicken Rolls?
Chinese ham and chicken rolls are a classic Chinese takeaway entrée found on many old school Chinese restaurant menus. Thin slices of chicken, smoky ham and spring onions are rolled together, dipped in a light batter and deep fried until golden and crisp. They are known for their crunchy exterior and savoury filling and are often served with sweet and sour sauce.
This recipe is a simple cheats version of those classic Chinese ham and chicken rolls. Instead of the traditional batter method, the filling is wrapped in spring roll pastry and fried until crisp. It delivers the same savoury flavour and crunchy texture with a much easier method for home cooks.
Why You’ll Love These Ham and Chicken Rolls
This cheats version is designed to deliver everything you love about the takeout classic, but simpler and better. Here’s why it works:
- The Cheats Method: We skip complicated steps. Using thinly sliced raw chicken and fresh ham from the deli means the filling comes together in minutes.
- Restaurant-Style Crispiness: The double-fry method is the secret to that shatteringly crisp, golden pastry that stays crunchy.
- Simple Supermarket Ingredients: Everything you need is easy to find ~ no special trip to an Asian grocer required.
- Perfect for Prepping Ahead: Make and freeze them ahead of time, then fry straight from frozen for instant party food.
- Tastes Better Than Takeout: Fresher ingredients and controlled frying mean more flavour and better texture than your local.
What Makes These Spring Rolls So Good
These Chinese Ham and Chicken Rolls work so well because they use simple ingredients that bring big flavour ~ thinly sliced chicken, smoky ham, fresh spring onions and a few classic sauces that come together in minutes. The filling is quick to prep, the wrappers stay beautifully crisp, and the end result tastes just like the ham and chicken rolls you’d can order from your favourite Chinese restaurant – but way easier and better.
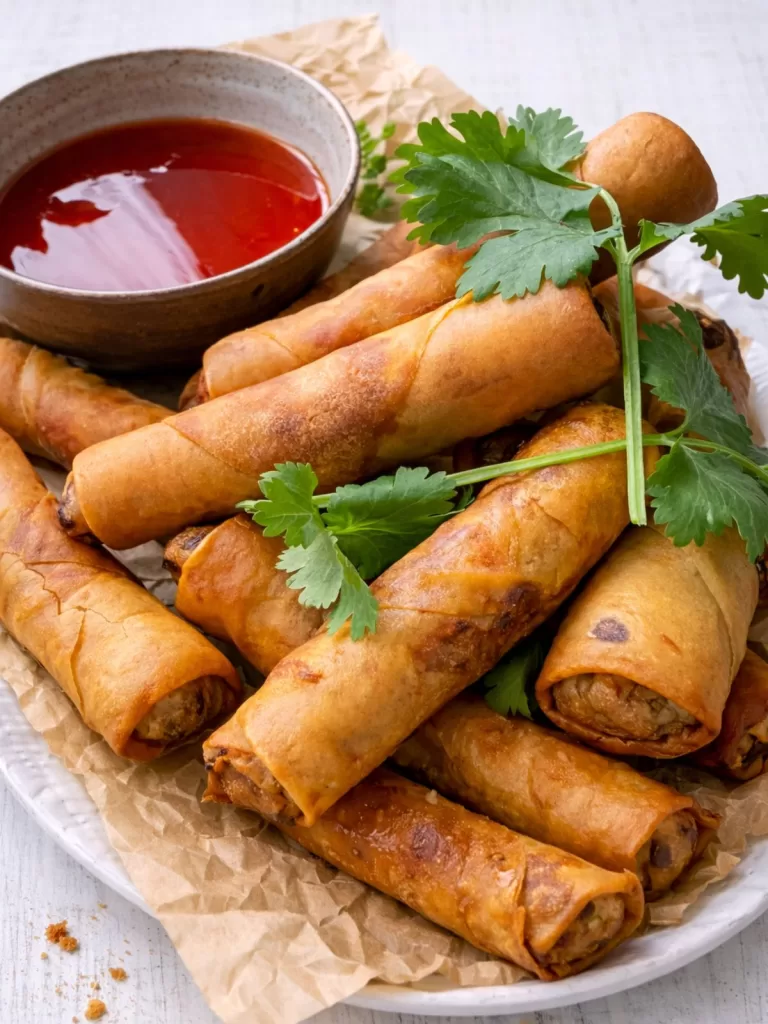
And you must serve them with my Chinese Sweet and Sour Dipping Sauce. It tastes exactly like the classic bright, tangy sauce you get from a local Chinese takeaway, and it’s incredibly quick and easy to make. Crunchy rolls + that sauce = the perfect combo.
Spring Roll Wrapper Notes (The Key to No-Tear Rolling)
The wrapper you choose makes all the difference between a frustrating mess and perfect rolls. Here’s the breakdown:
- Best Choice: Coles Frozen Wrappers. These are the most reliable for home cooks. They separate cleanly with minimal tearing when properly thawed.
- Good Choice: Asian Grocer Brands. Also excellent, but consistency can vary between brands.
- Use With Caution: Woolworths Wrappers. These are much thinner and more prone to sticking and tearing. You will lose a few.
- Pro Thawing Tip: Thaw the packet in the refrigerator for 1 hour, not on the bench. This prevents condensation (sweating) which makes wrappers stick together and tear.
How to Roll & Seal Your Ham and Chicken Rolls
Don’t be intimidated ~ the rolling technique is simple once you get the rhythm. The first one might be clumsy; by the fifth, you’ll be a pro.
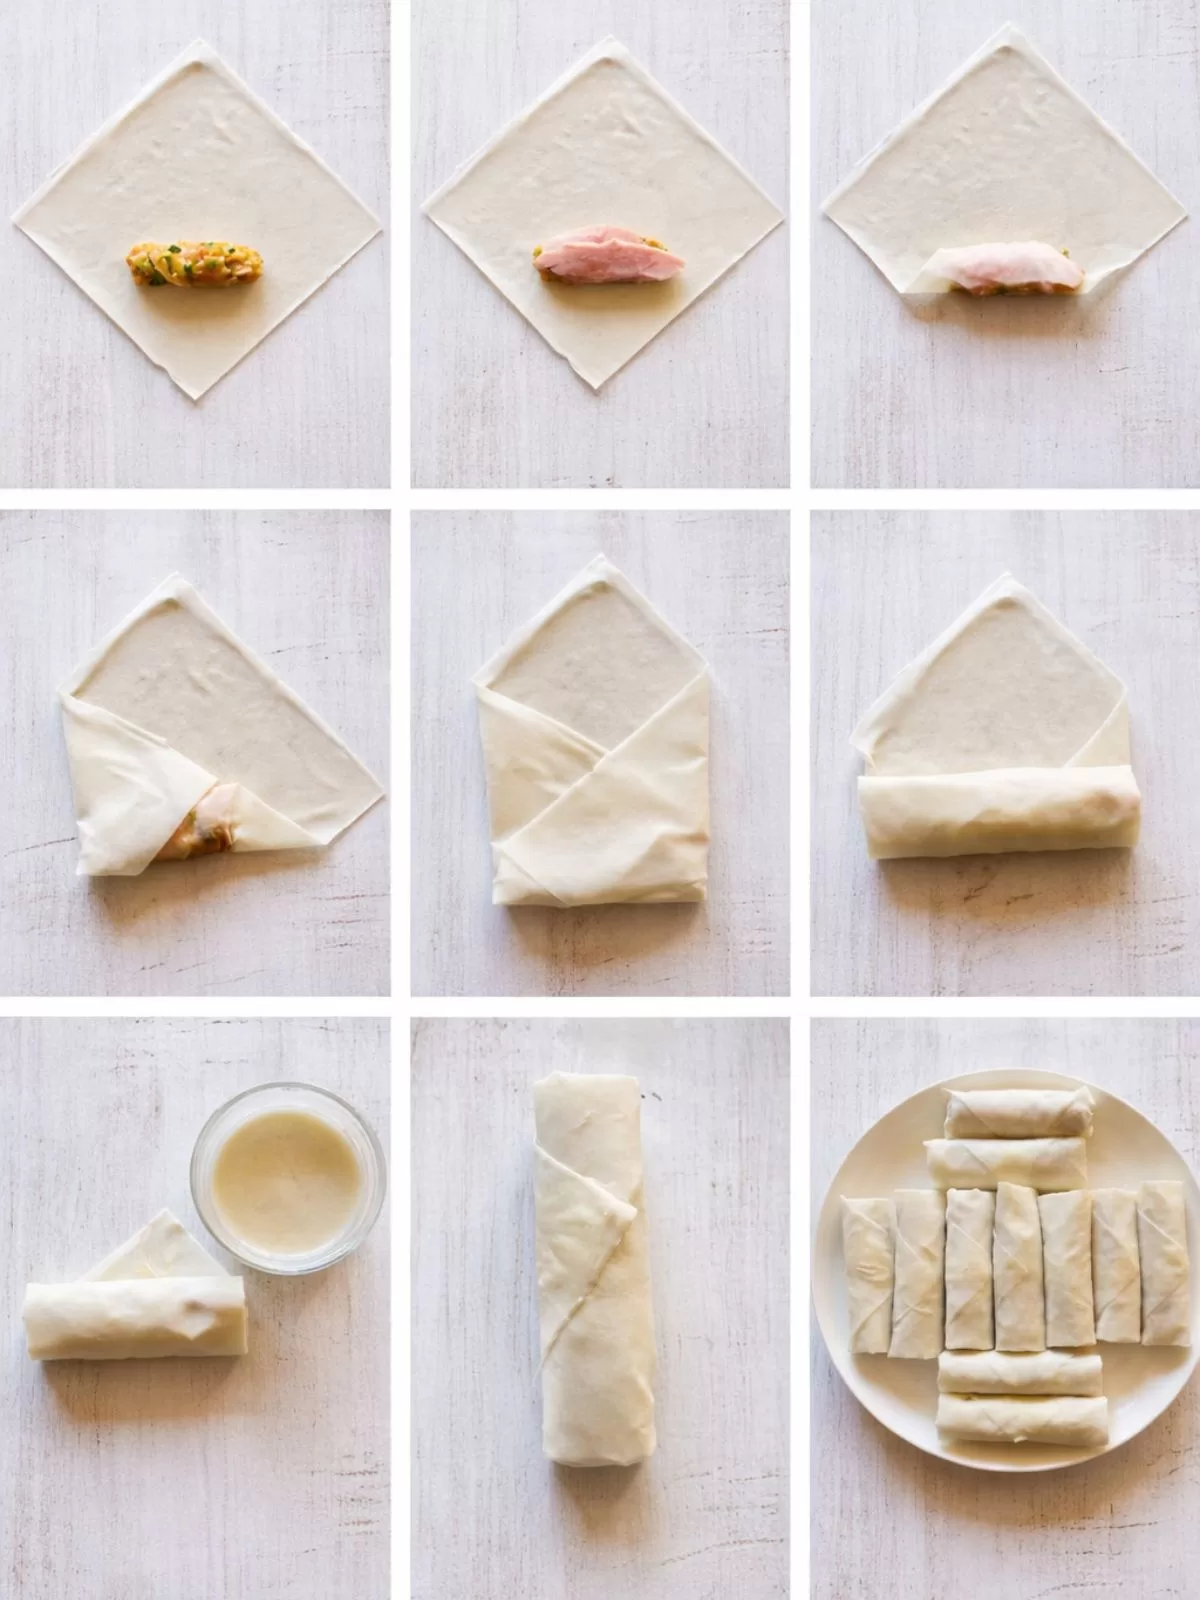
- Position: Place a single wrapper in a diamond shape in front of you, shiny side down.
- Fill: Place a small pile of the marinated chicken and a piece of torn ham on the corner closest to you.
- Fold & Roll: Fold the bottom corner up over the filling. Fold the left and right corners in towards the centre. Roll it away from you tightly.
- Seal: Brush the final top corner with a simple flour-and-water paste before the final roll. This seals it completely and prevents it from opening in the hot oil.
How to Seal Spring Rolls
A simple flour-and-water paste works perfectly. Dab a little on the final corner before rolling it closed ~ it locks everything in and prevents the rolls from opening in the oil.
The Secret: Double Frying for Ultimate Crispiness
This is the non-negotiable restaurant technique that makes these ham and chicken rolls exceptional. Here’s why it works:
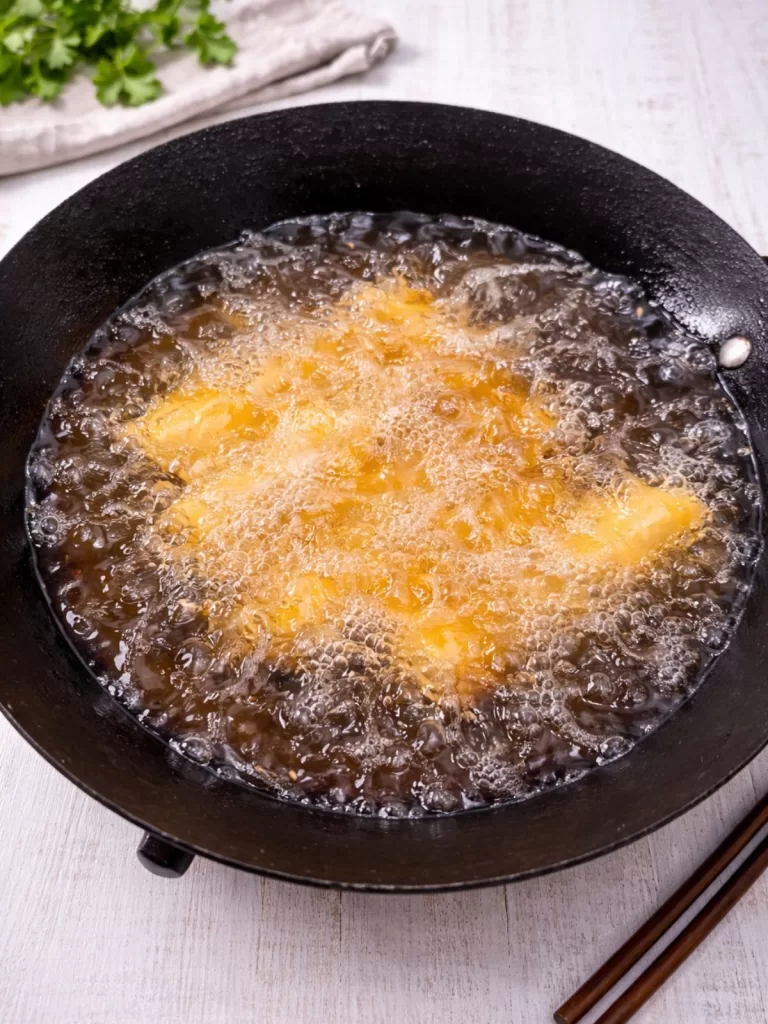
- First Fry (160°C): This gently cooks the raw chicken filling all the way through and sets the pastry, giving it a light golden colour and initial crispness.
- Second Fry (180°C): This high-temperature blast rapidly dehydrates the outer layer of pastry, creating a deep golden, shatteringly crisp, and blistered texture that stays crunchy even after saucing.
- Always Test One: Because the chicken starts raw, always cut open one roll from your first batch to ensure it’s cooked through perfectly before serving.
Make Ahead & Freezing Instructions
This recipe is designed for convenience. Here’s how to plan ahead:
- Fridge (Same Day): Assemble the rolls, place them in a single layer on a tray, cover tightly, and refrigerate for up to 8 hours before frying.
- Freeze (Up to 3 Months): Freeze the uncooked rolls in a single layer on a tray. Once solid, transfer to a zip-lock bag. No need to thaw.
- Cook From Frozen: Fry directly from frozen, adding 2-3 extra minutes to the first fry at 160°C. Proceed with the second fry as directed.
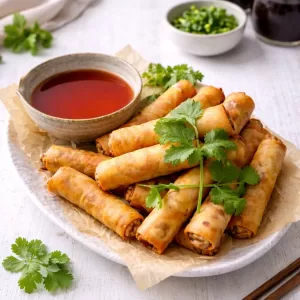
Serving Suggestions
These ham and chicken rolls are the star of any spread. For the full, nostalgic experience, serving them with my homemade 4-Ingredient Chinese Sweet and Sour Sauce is essential ~ it’s the classic pairing. For variety, offer other dipping sauces like soy sauce with chilli, a quick dumpling sauce, or sweet chilli. To turn them into a meal, serve alongside a big bowl of fried rice or noodles and some simple steamed greens like bok choy. They’re perfect for parties, game nights, or as a special weekend appetiser.
Frequently Asked Questions
What are the best spring roll wrappers to use?
For the easiest, most reliable results, use Coles frozen spring roll wrappers. They separate cleanly with minimal tearing. Asian grocer brands are also good. Woolworths wrappers are thinner and much more prone to sticking.
Can I make these ahead of time?
Absolutely. You can assemble and refrigerate them for up to 8 hours before frying. For longer storage, freeze the uncooked rolls on a tray, then bag them. Fry directly from frozen, adding 2-3 minutes to the first fry.
What can I substitute for Shaoxing wine?
A dry sherry is the best substitute. If you don’t have either, you can omit it, but the wine adds a subtle, authentic depth of flavour.
How do I know when the oil is hot enough?
Use a kitchen thermometer for accuracy (160°C for first fry, 180°C for second fry). Without one, test with a bread cube: it should turn golden and crisp in about 20 seconds at 180°C.
What do you seal the spring rolls?
Sealing in my eyes is a crucial, but easy step. A simple flour-and-water paste creates a strong seal that holds during frying and keeps the wrapper neat and prevents them from possibly unravelling in the hot oil.
This Cheats Version of the beloved Chinese Ham and Chicken Rolls proves you can absolutely recreate ~ and even improve upon ~ that beloved takeout favourite in your own kitchen. I hope this recipe brings back all those nostalgic flavours and becomes a regular in your entertaining rotation. Give it a try and let me know in the comments!
More Chinese Recipes to Try:
- 4-Ingredient Chinese Sweet and Sour Sauce
- Crispy Prawn Balls
- Prawn Toast (Shrimp Toast)
- Pork & Prawn Wontons with Snow Peas
- Crunchy Vietnamese Fried Spring Rolls (Cha Gio)
- Crispy Thai Prawn and Pork Spring Rolls
Chinese Ham and Chicken Rolls
Equipment
- Large saucepan, wok or electric deep fryer
Ingredients
- 500g chicken breast fillets, very thinly sliced
- 2-3 spring/green onions, thinly sliced
- 2 teaspoons light soy sauce
- 2 teaspoons oyster sauce
- 2 teaspoons Chinese cooking wine (Shaoxing Wine)
- 1 teaspoon chicken stock powder
- ¼ teaspoon ground white pepper
- 200g shaved double or triple smoked ham (best purchased from the deli counter)
- 1 tablespoon plain flour (for the glue)
- 250g packet (20 sheets) frozen spring roll pastry, thawed (See Notes)
- Vegetable oil, for deep frying
Instructions
- Combine the chicken, spring onions, soy sauce, oyster sauce, Chinese wine, stock powder and white pepper in a bowl. Toss well, cover and refrigerate for at least 20 minutes (or up to 24 hours).
- Tear the ham into roughly 20 pieces and keep chilled. In a small bowl, mix the flour with enough water to make a thick paste. Set aside.
- Working one wrapper at a time, gently separate it and place it in a diamond shape (shiny side out). Add a few slices of chicken and a piece of ham to the bottom corner. Fold the corner over the filling, fold in the sides, then roll tightly. Brush a little flour paste on the final corner to seal. Repeat until you have 20 rolls and keep chilled.
- Heat oil in a wok or deep saucepan to 160°C, filling it about one-third up the sides. (To test the heat, drop in a cube of bread — it should crisp in about 20 seconds.)
- Fry 4–5 rolls at a time for 4–5 minutes, or until lightly golden and crisp. Drain briefly on paper towel, then transfer to a wire rack. Allow the oil to return to temperature between batches.
- Increase the oil temperature to 180°C. Fry the rolls again, in batches, for 1–2 minutes until deep golden and fully cooked. Test one to make sure the chicken is cooked through.
- Enjoy immediately with my Chinese Sweet & Sour Dipping Sauce or your preferred dipping sauces.
Notes
- COOKS NOTES:
Oven Temps: Oven temperatures are for conventional, if using fan-forced (convection), reduce the temperature by 20˚C.
Measurements: We use Australian tablespoons and cups: 1 teaspoon = 5 ml, 1 tablespoon = 20 ml & 1 cup = 250 ml.
Herbs: All herbs are fresh (unless specified) and cups are lightly packed.
Vegetables: All vegetables are medium size and peeled, unless specified.
Eggs: We use extra-large size and eggs are 55-60 g each, unless specified. - SPRING ROLL WRAPPERS
For the best results, use frozen spring roll wrappers from Coles — they separate cleanly and don’t tear easily. Asian grocer brands work well too. Woolworths wrappers can be used, but they’re harder to separate, so expect a few casualties. For easier handling, thaw the wrappers in the fridge for about an hour to reduce condensation and tearing.
I made these for a party last weekend and they where a hit!! I wish I had of made double the quantity as everyone just loved them and they were the first thing to go. The sweet and sour sauce was amazing. Better than any sauce we have had in a restaurant. Definite keeper and can’t wait to make them again.
That’s awesome to hear Sandra! Thank you for your 5 star review and so glad you loved them. 🙂