
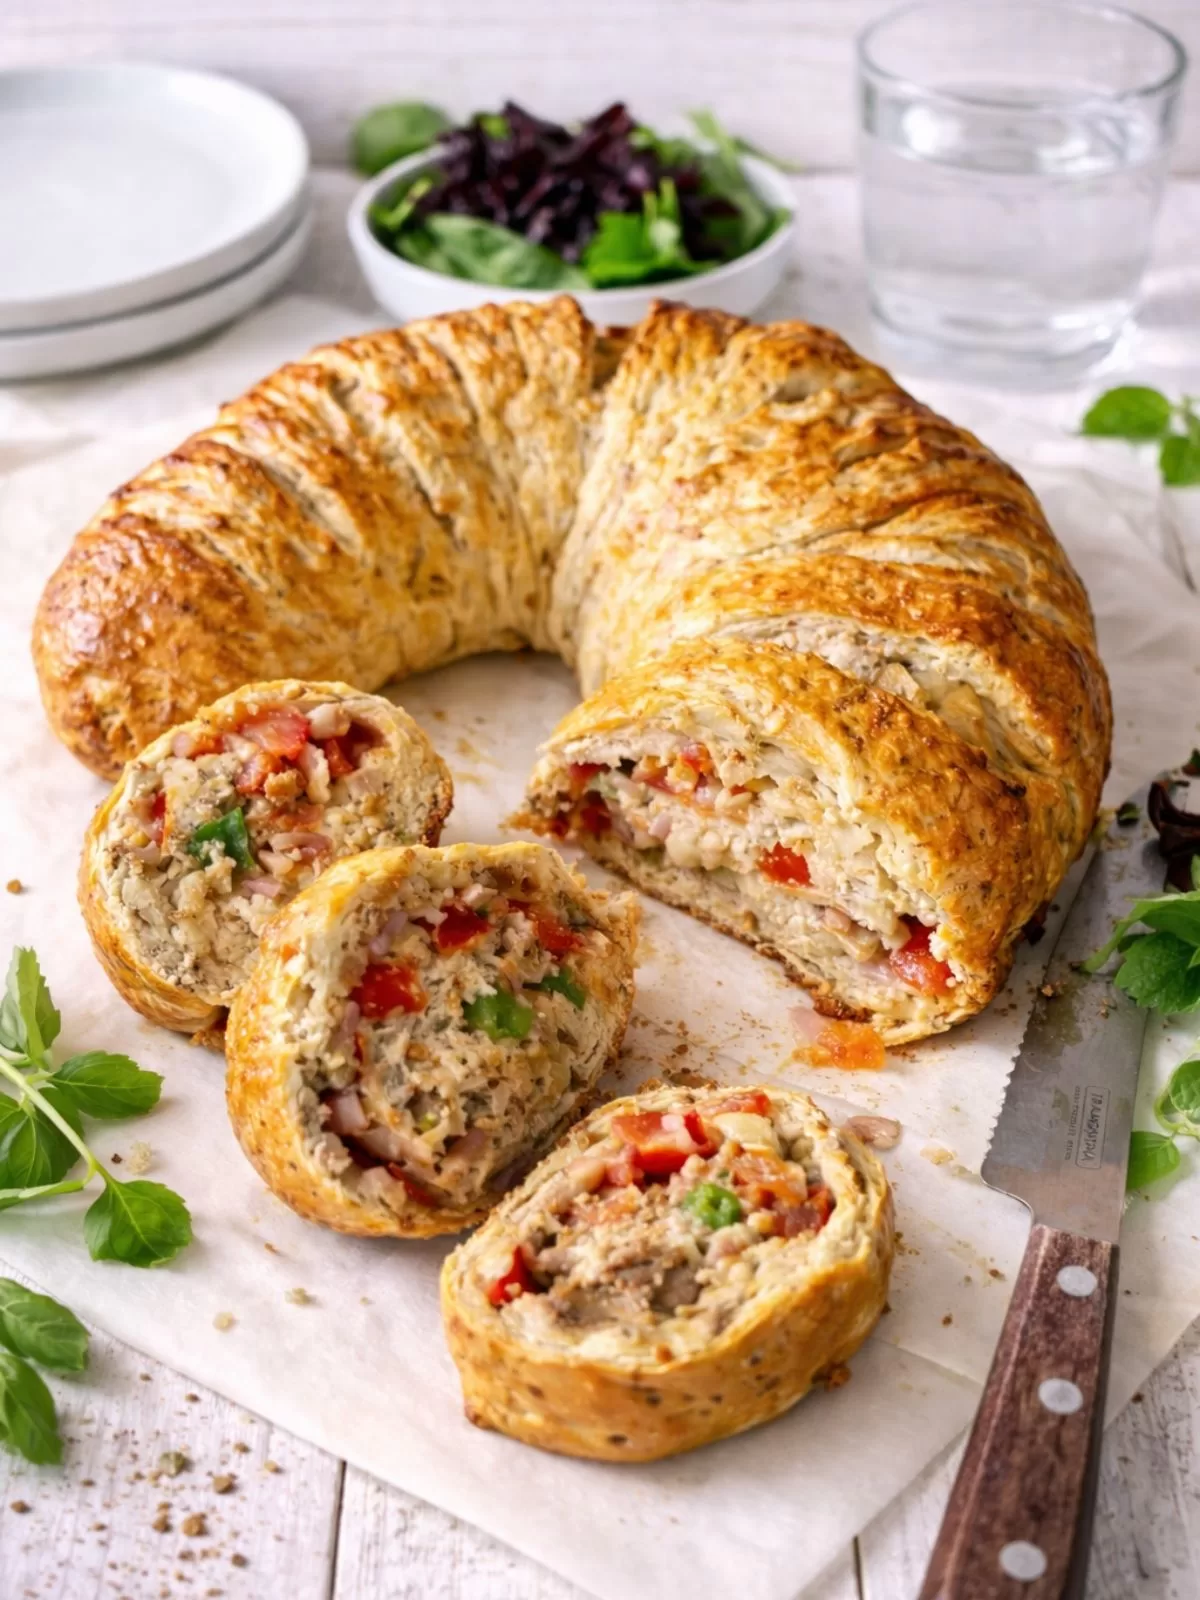
Cheese and Bacon Crescent is a golden savoury bake filled with bacon, cheese and vegetables in a soft scone style dough. The dough is shaped into a crescent, baked until golden, then sliced to reveal fluffy layers packed with flavour. It works well for brunch, picnics, lunchboxes or sharing at morning tea.
This recipe has been in my family for as long as I can remember. It’s the savoury bake my mum would make for gatherings, lunches and picnics – and if you didn’t get in early, you missed out. The dough is enriched with bran, giving it extra texture and flavour, while the filling delivers that classic, crowd-pleasing combination of cheese and bacon with just enough veg to keep things balanced.
I love it best served warm, when the cheese is still slightly melty, but it’s just as good at room temperature, which makes it perfect for entertaining or taking on the go. Simple ingredients, easy method, and the kind of recipe that feels familiar in the best possible way.
Why You’ll Love This Cheese & Bacon Crescent
- Easy savoury bake made with simple pantry staples and no fancy techniques
- Perfect for feeding a crowd, from brunch to picnics
- Classic cheesy bacon flavour with onion, tomato and capsicum
- Soft and fluffy inside with a golden crust
- Tastes great hot, warm or cold
- Make ahead and freezer friendly
- Family friendly and always a hit


Ingredient Notes & Substitutions
This recipe is very forgiving, which makes it ideal for using what you already have on hand.
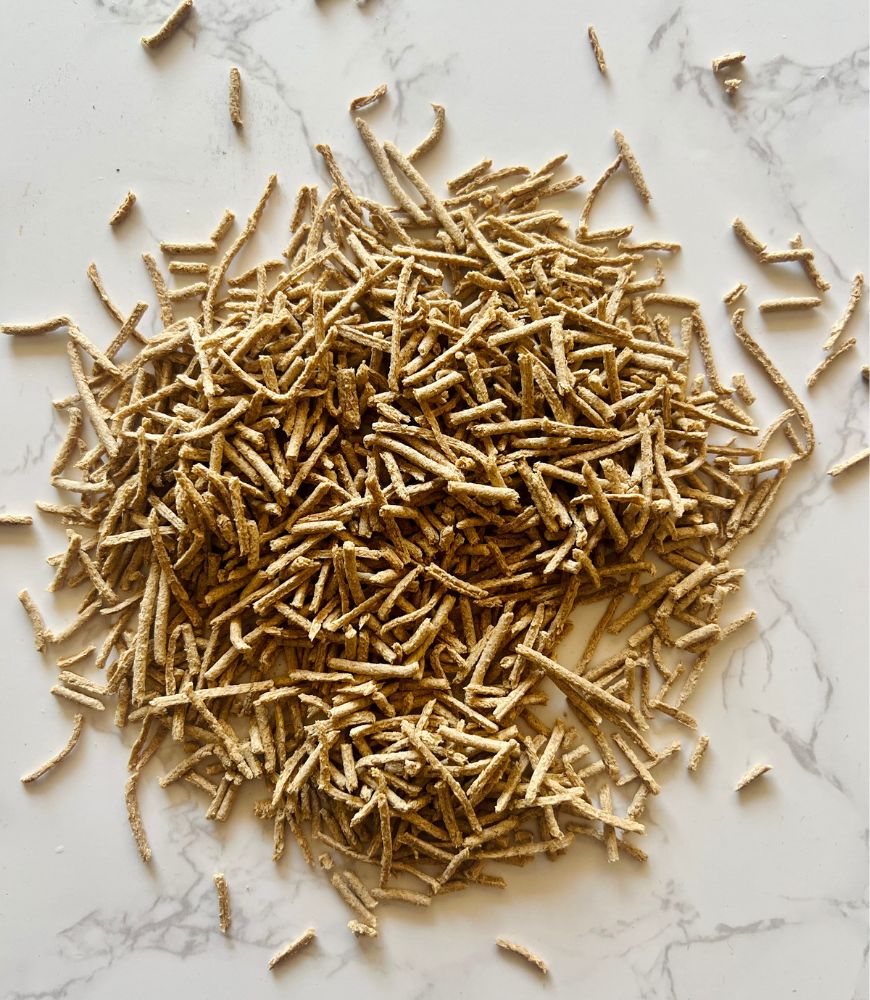
- Bran sticks / All Bran
Bran sticks add texture and a subtle nutty flavour to the dough. All Bran cereal works just as well and can even give a slightly finer crumb. If you don’t have either, you can leave it out, the texture will be closer to a traditional savoury scone. - Self-raising flour
This is essential for the scone-style rise. If using plain flour, substitute with 2½ cups plain flour + 2½ teaspoons baking powder. - Bacon
Shortcut bacon keeps things lean, but middle bacon works just as well if trimmed of excess fat. You can also swap in cooked ham, leftover roast chicken, or leave it out entirely for a vegetarian version. - Cheese
Tasty cheese gives great flavour and melt, but cheddar, Colby or a pizza-style blend all work well. Avoid very soft cheeses, as they can make the filling too wet. - Vegetables
Capsicum adds colour and sweetness, but red capsicum, spring onion, grated zucchini (squeezed dry), or corn kernels are all good swaps.
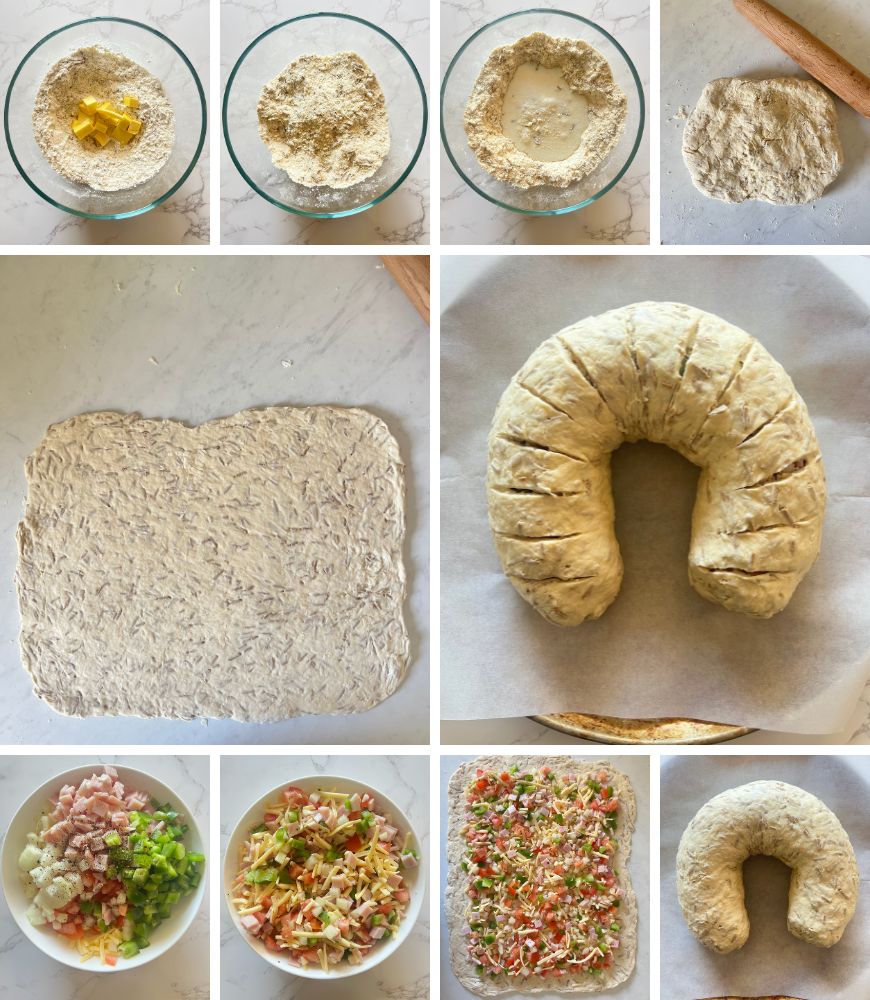
How To Make
Tips for the Best Cheese Crescent
- Handle the dough lightly: Over-kneading will make the crescent dense. Stop as soon as the dough comes together.
- Keep the filling balanced: Too much filling can cause the dough to split. Spread it evenly and leave a clear border so it seals properly.
- Roll from the long side: This gives you more swirls of filling and a nicer slice once baked.
- Use a sharp knife for slits: Shallow cuts allow steam to escape and help the crescent bake evenly.
- Bake hot for best rise: A hot oven gives the dough a quick lift and helps create that golden crust.
- Rest before slicing: Let the crescent sit for 5–10 minutes after baking so the cheese sets slightly and slices hold together.
Serving Suggestions
This Savoury Crescent is incredibly versatile and suits just about any occasion. Serve it warm as part of a relaxed brunch spread alongside fresh fruit, yoghurt and good coffee, or enjoy it slightly warm or at room temperature for morning or afternoon tea. Once cooled, it’s perfect for picnics and packed lunches, as it travels well and doesn’t need reheating. For a light lunch, pair thick slices with a crisp green salad or simple slaw, or cut it into smaller pieces and add it to a grazing board with cheeses, olives and fresh vegetables when entertaining.
Storage & Freezing
This crescent is best enjoyed fresh on the day it’s baked, when it’s soft and the cheese is perfectly melty. Leftovers can be stored in an airtight container in the fridge for up to 2 to 3 days. Reheat gently in the microwave or oven, or enjoy cold.
To freeze, cool completely, wrap individual slices in plastic wrap and foil, then place in a zip lock bag and freeze for up to 1 month. Thaw overnight in the fridge and reheat before serving.
This Savoury Cheese and Bacon Crescent is soft, cheesy and full of flavour, perfect for brunch, picnics or an easy snack to share. It never lasts long. If you make it, I would love to hear what you think, so please leave a comment below the recipe card.
More Recipes:
- Tuna & Corn Jalousie
- Zucchini & Sweetcorn Fritters
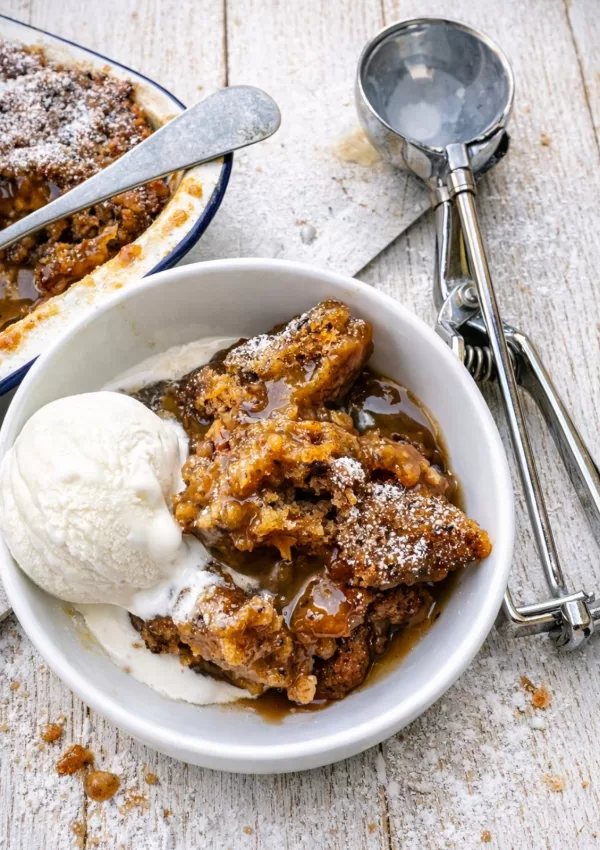
- Chocolate Buttermilk Pancakes with Ganache
- Baked Egg with Spinach & Prosciutto
- Amazing Zucchini & Bacon Slice

Cheese & Bacon Crescent
Ingredients
- 2 ½ cups self-raising flour
- ½ teaspoon salt
- ¾ cup bran sticks or All Bran Cereal
- 40g butter, cubed
- 1 cup milk
- 1 egg, lightly beaten, for glazing (or you can use milk)
FILLING
- 1 small onion, diced
- 3 shortcut bacon rashers, diced (or 2 middle rashers, trimmed of fat)
- 1 tomato, diced
- 1 cup grated tasty cheese
- ½ small green capsicum, diced (or red capsicum)
- Salt & pepper, to taste
Instructions
- Preheat oven to 220℃ (200℃ fan forced). Line a large baking tray with baking paper and set aside.
- Combine self-raising flour, bran and salt in a bowl. Add the butter, then using your fingers, rub the butter into the flour mixture until it resembles fine breadcrumbs (there will still be chunks though due to the bran). Make a well in the centre and pour in the milk. Mix to a soft dough.
- Transfer dough to a lightly floured surface and knead gently until it just comes together. Pat the dough in a rough rectangle shape then using a rolling pin, roll out the dough into a rectangle about 30cm x 40cm and 5mm in thickness.
- Combine all filling ingredients in a bowl and season with a pinch of salt and pepper. Spread the filling evenly over the dough leaving a 2cm boarder all round.
- From the long side, roll the dough up firmly and press the ends close to seal. Transfer to prepared tray, shaping the dough into a horse shoe style shape. Using a sharp knife, makes slits in the top of the dough all round at 2cm intervals. Brush with top with lightly beaten egg or milk.
- Bake in the oven for 25 minutes or until golden brown. Cut into slices to serve. May be served hot, warm or at room temperature.
Notes
- COOKS NOTES:
Oven Temps: Oven temperatures are for conventional, if using fan-forced (convection), reduce the temperature by 20˚C.
Measurements: We use Australian tablespoons and cups: 1 teaspoon = 5 ml, 1 tablespoon = 20 ml & 1 cup = 250 ml.
Herbs: All herbs are fresh (unless specified) and cups are lightly packed.
Vegetables: All vegetables are medium size and peeled, unless specified.
Eggs: We use extra-large size and eggs are 55-60 g each, unless specified. - BRAN STICKS
Bran sticks are very cheap and are available from the cereal isle in Woolworths. Alternately, if you have All Bran Cereal at home this works just the same, if not better. - NUTRITIONAL INFORMATION
The provided nutritional information is intended as a guide only and may not be exact. The information is specific to one slice of Cheese Crescent. Variations in serving sizes, specific brands, and individual ingredient quantities can impact the accuracy of the nutritional values.


Leave a Reply