
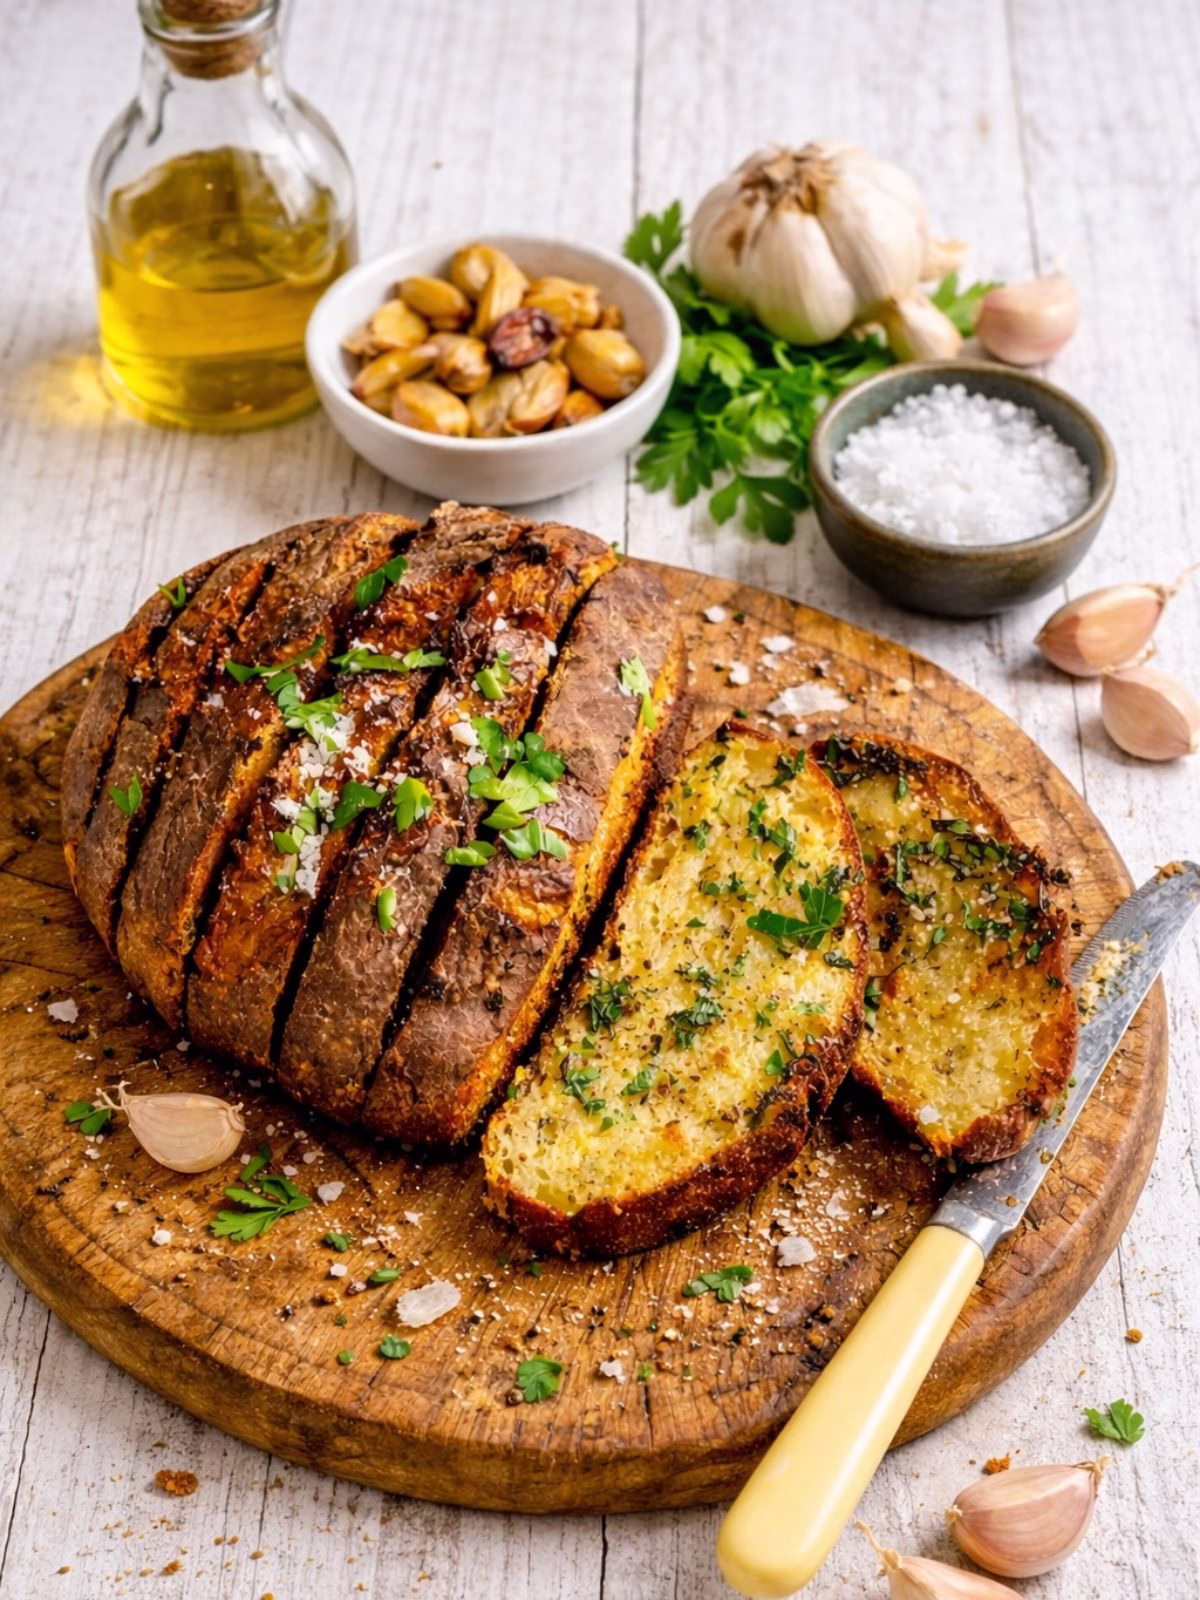
This Garlic Bread with Brown Butter and Roasted Garlic takes a classic and makes it richer and more flavourful. Roasted garlic turns soft and sweet, while the butter browns for a deep nutty flavour. Whipped and spread through a crusty loaf, it bakes until golden and crisp on the outside and soft in the centre. It is simple to prepare and perfect with any meal or as a standout side.
The credit for this obsession goes to a restaurant in Newport called Lovets. Their garlic bread was so insanely good – deeply fragrant, rich, and with this incredible crispy-yet-tender texture that I spent the whole drive home trying to figure out how to recreate it. After a few experiments, I landed on the magic combo: whipping brown butter with roasted garlic into a luxurious spread. This is my homage to that unforgettable loaf. It comes incredibly close, and now I can have that ‘dam good’ bread anytime the craving hits.
Why You’ll Love This Garlic Bread
This recipe isn’t just a side dish; it’s the star of the table. Here’s why it works so well:
- The Ultimate Make-Ahead: You can prepare the flavoured butter or even assemble the entire loaf days in advance, making dinner party prep effortless.
- Restaurant-Quality at Home: It perfectly captures the deep, complex flavour and perfect texture of a top-tier restaurant garlic bread, without the price tag.
- The Flavour Secret: Using brown butter and roasted garlic is the ultimate upgrade. It creates a nutty, sweet, and mellow flavour base that raw garlic and plain butter can’t match.
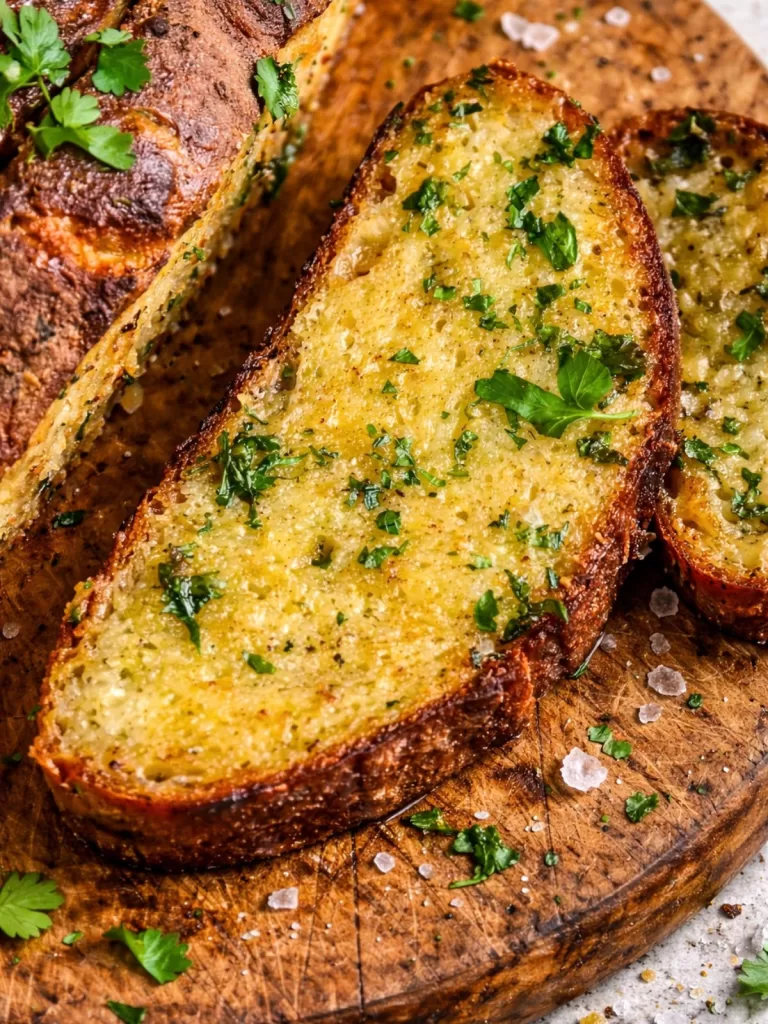
- Perfect Textures: The whipped butter soaks in deeply for a moist, tender crumb, while baking wrapped then uncovered gives you a delightfully crispy, golden crust.
- Surprisingly Simple: While the flavours are gourmet, the process is straightforward: roast, brown, whip, spread, and bake.
Ingredients for the Garlic Bread
To create this flavour powerhouse, you only need a few simple, high-quality ingredients:
- Garlic: Roasting transforms it from pungent to sweet and spreadable.
- Unsalted butter: The base of our incredible compound butter.
- Fresh parsley: Adds a fresh, herbaceous note.
- Sea salt flakes: Enhances all the flavours and adds a delightful crunch.
- Crusty bread: A fresh bakery loaf or a small homemade no-knead bread works perfectly.
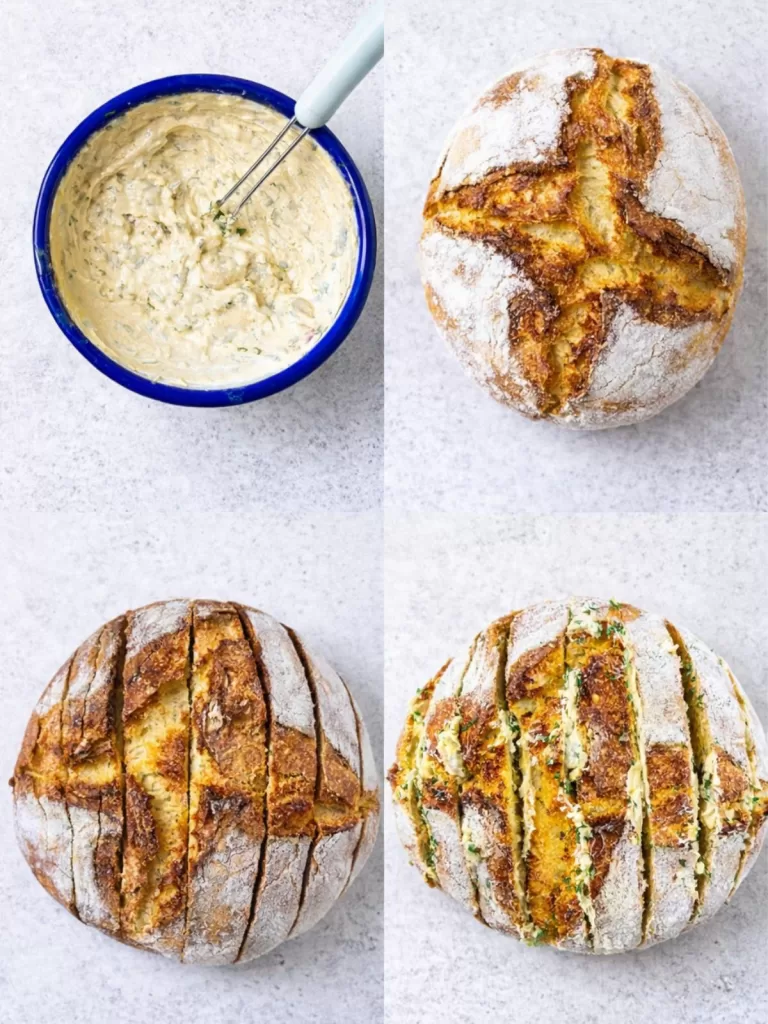
How To Make This Garlic Bread
The magic happens in three simple stages. First, you’ll roast a whole head of garlic until it’s sweet and soft, and brown the butter until it’s nutty and fragrant. Once both have cooled slightly, you’ll whip them together into a light, creamy, spreadable butter and stir through the parsley and salt. Then, take a crusty loaf, slice it almost all the way through, and generously slather the butter into every crack. Wrap it in foil for the first part of baking to steam and become tender, then open the foil to let the top turn golden and crispy. The hardest part is waiting five minutes before tearing into it!
What to Serve With Your Garlic Bread
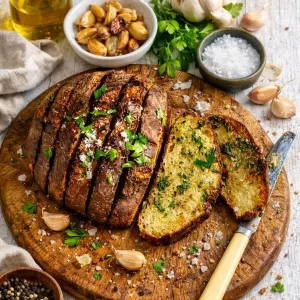
This garlic bread is the ultimate team player. Of course, it’s a non-negotiable side for pasta night—think spaghetti bolognese, a creamy fettuccine Alfredo, or a hearty lasagne. It also makes a soup or salad truly special; try it with a classic tomato soup or a robust Caesar salad. For a next-level appetiser, serve the whole loaf on a board for everyone to pull apart while you finish grilling steaks or roasting a chicken. Honestly, it’s so good it hardly needs an excuse – just slice, serve, and watch it disappear.
Storage & Reheating
Fridge: Store any leftover bread, once completely cooled, wrapped tightly in foil or plastic wrap. It will keep well in the refrigerator for up to 2 days.
To Reheat: For the best results, reheat the foil-wrapped loaf in a 160°C oven until warmed through. This will restore its warmth and texture far better than a microwave.
Freezer – The Best Make-Ahead Trick: You can assemble the entire loaf with the butter, wrap it tightly in foil, and freeze it for up to 3 months. Bake it straight from frozen, adding an extra 8-10 minutes to the initial foil-wrapped baking time before uncovering to brown.
Frequently Asked Questions
Can I use regular butter instead of browning it?
You can, but you’ll miss the deep, nutty flavour that makes this bread special. Browning the butter is a simple step that adds a huge amount of complexity.
What if I don’t have fresh parsley?
You can use 2 teaspoons of dried parsley, or substitute with another soft fresh herb like chives or basil. Avoid woody herbs like rosemary or thyme here.
Do I have to roast the garlic? Can I use raw?
Roasting is essential. It transforms the garlic’s pungent bite into a sweet, mellow, spreadable paste that blends seamlessly into the butter. Raw garlic would be too harsh and could burn.
Can I use a different type of bread?
A rustic, crusty loaf like a ciabatta, sourdough boule, or a French baguette works best. Avoid soft, pre-sliced sandwich bread, as it won’t hold up to the butter or achieve the right texture.
Why whip the butter?
Whipping incorporates air, making the butter light, creamy, and incredibly easy to spread into every nook of the bread. It also helps it soak in better during baking.
Once you experience the incredible depth of flavour that brown butter and roasted garlic bring, there’s simply no going back to ordinary garlic bread. I hope this recipe brings a little bit of that Newport restaurant magic to your table. Give it a try for your next special meal and let me know in the comments what you think!
More Bread Recipes:
- The Easiest Garlic Naan Bread Ever
- 4-Ingredient Flatbreads (Foolproof, Soft and Quick)
- Pita Bread (Pocket Bread)
brown butter and roasted garlic bread
Garlic Bread with Brown Butter and Roasted Garlic
Ingredients
- 1 head garlic, halved horizontally through the middle
- 1 teaspoon olive oil
- 125g unsalted butter
- 2 tablespoons chopped fresh parsley
- 1 ½ teaspoons sea salt flakes
- 1 small loaf crusty fresh bread (See Note 2)
Instructions
roast garlic
- Preheat oven to 200°C (180°C fan). Slice top off a garlic head, drizzle with oil, wrap in foil, and roast for 30-40 mins until soft and golden. Cool.
brown butter
- Melt butter in a pan over medium heat. Cook, stirring, until foamy and the milk solids turn a deep golden brown. Pour into a bowl to stop cooking. Cool slightly.
whip butter
- Squeeze roasted garlic cloves from their skins into the browned butter. Use a whisk to whip for 2-3 minutes until light and creamy. Stir in parsley and sea salt.
assemble
- Increase oven to 220°C (200°C fan). Slice a loaf of crusty bread at 1cm intervals, without cutting through the base. Generously spread butter mixture into every slit. Wrap loaf in foil.
bake
- Bake for 15 minutes. Open foil to expose the top and bake for a further 3-5 minutes until golden and crispy. Rest for 5 minutes before serving.
Notes
- COOKS NOTES:
Oven Temps: Oven temperatures are for conventional, if using fan-forced (convection), reduce the temperature by 20˚C.
Measurements: We use Australian tablespoons and cups: 1 teaspoon = 5 ml, 1 tablespoon = 20 ml & 1 cup = 250 ml.
Herbs: All herbs are fresh (unless specified) and cups are lightly packed.
Vegetables: All vegetables are medium size and peeled, unless specified.
Eggs: We use extra-large size and eggs are 55-60 g each, unless specified. -
Bread Choice:
A small, crusty bakery loaf (like a ciabatta or sourdough boule) is ideal. Supermarkets often sell perfect “mini loaves” in their bakery section. For a larger loaf, double the butter mixture. -
The Browning Step:
Use a light-coloured saucepan (stainless steel is best) so you can clearly see the butter change colour. It goes from golden to burnt quickly, so stay nearby and stir often. -
Garlic Prep:
Roasting a whole head is key for a sweet, mellow flavour. If you’re short on time, you can roast pre-peeled garlic cloves in a foil packet with a little oil for 20-25 minutes. -
Make-Ahead:
The flavoured butter can be made and refrigerated up to 5 days in advance, or frozen for 3 months. You can also assemble the entire loaf, wrap it tightly, and freeze it unbaked for up to 3 months—bake from frozen, adding 8-10 minutes to the foil-wrapped time. -
Serving Tip:
Let the baked bread rest for 5 minutes before tearing in. This allows the butter to settle slightly, making it less messy to pull apart.


Leave a Reply