
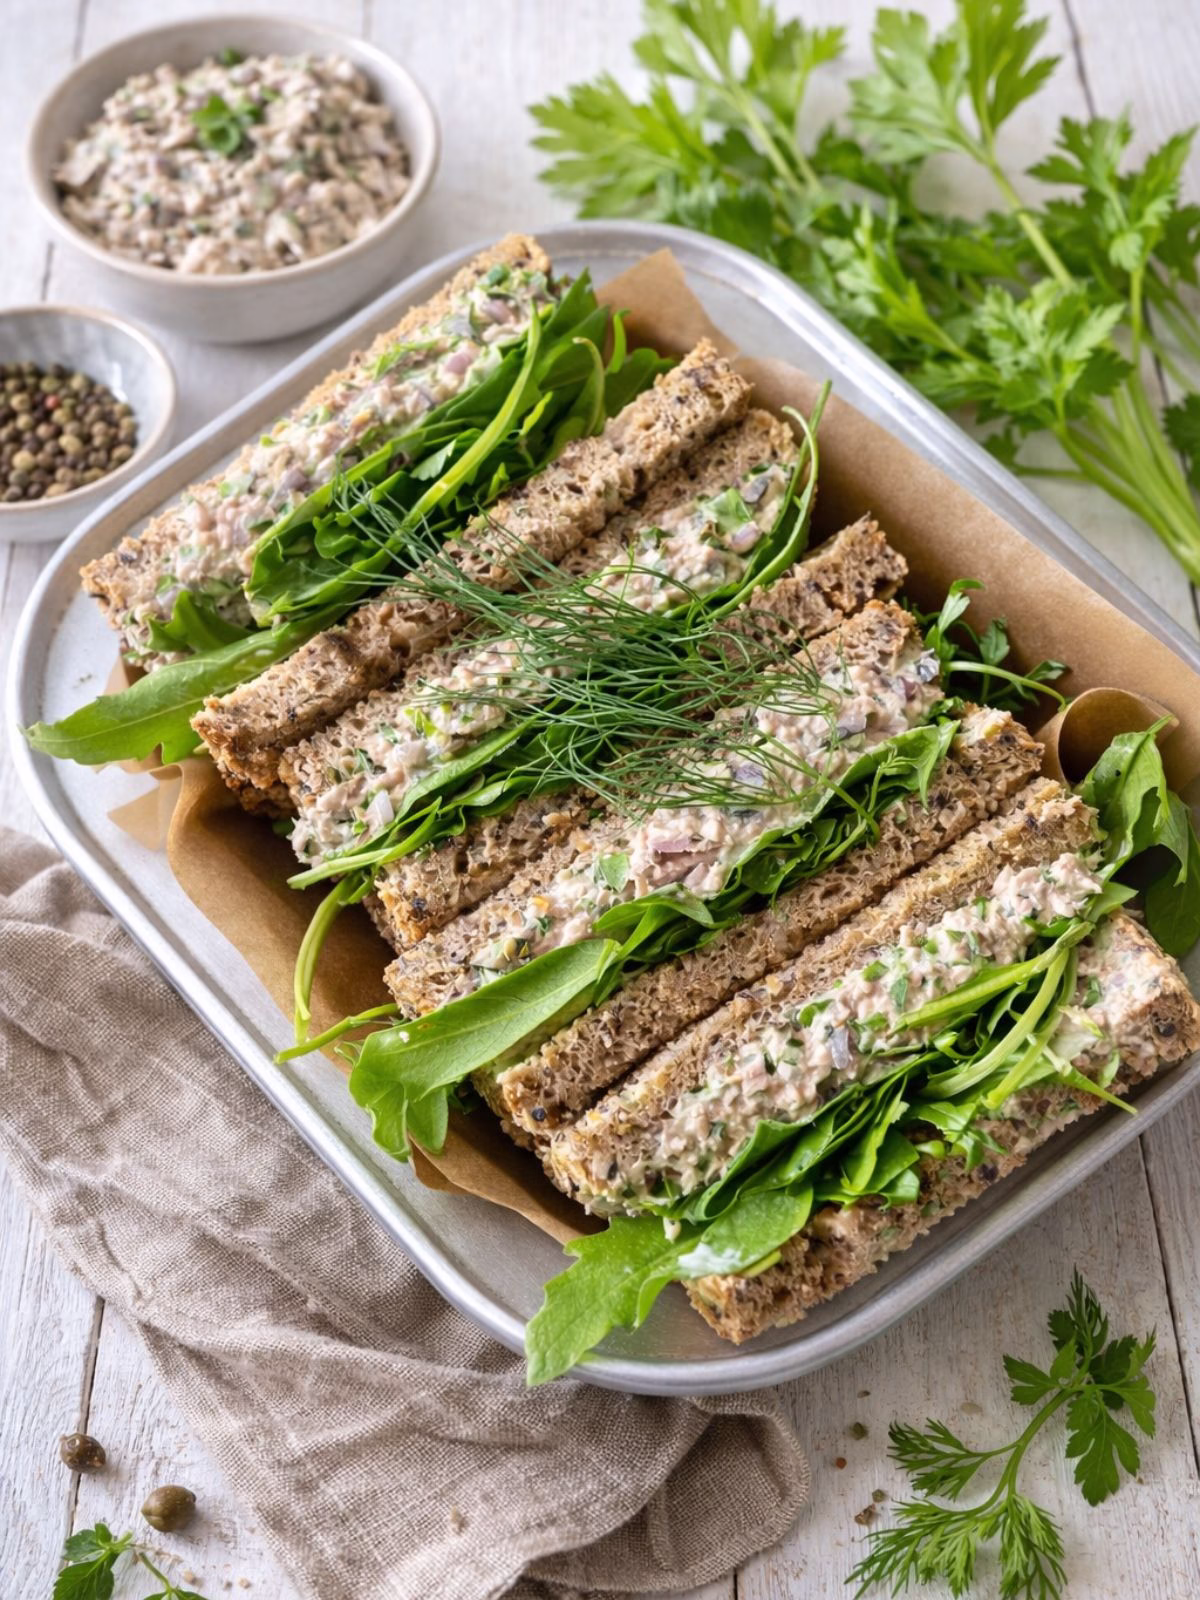
Creamy, crunchy, and packed with flavour, this is the tuna sandwich you’ll actually crave.
This Best Tuna Sandwich Recipe is not just a quick mix of tuna and mayo; it’s a carefully balanced, flavour-packed filling with crunchy celery, punchy red onion, and the secret weapon -briny little capers. Perfect for a work-from-home treat or packing for a picnic, this version turns a simple classic into something you’ll genuinely look forward to.
Why You’ll Love This Tuna Sandwich Recipe
This is the tuna sandwich that converts sceptics. Here’s why it works:
- 10 Minutes, Zero Cook: From pantry to plate in no time. It’s the ultimate fast, satisfying lunch.
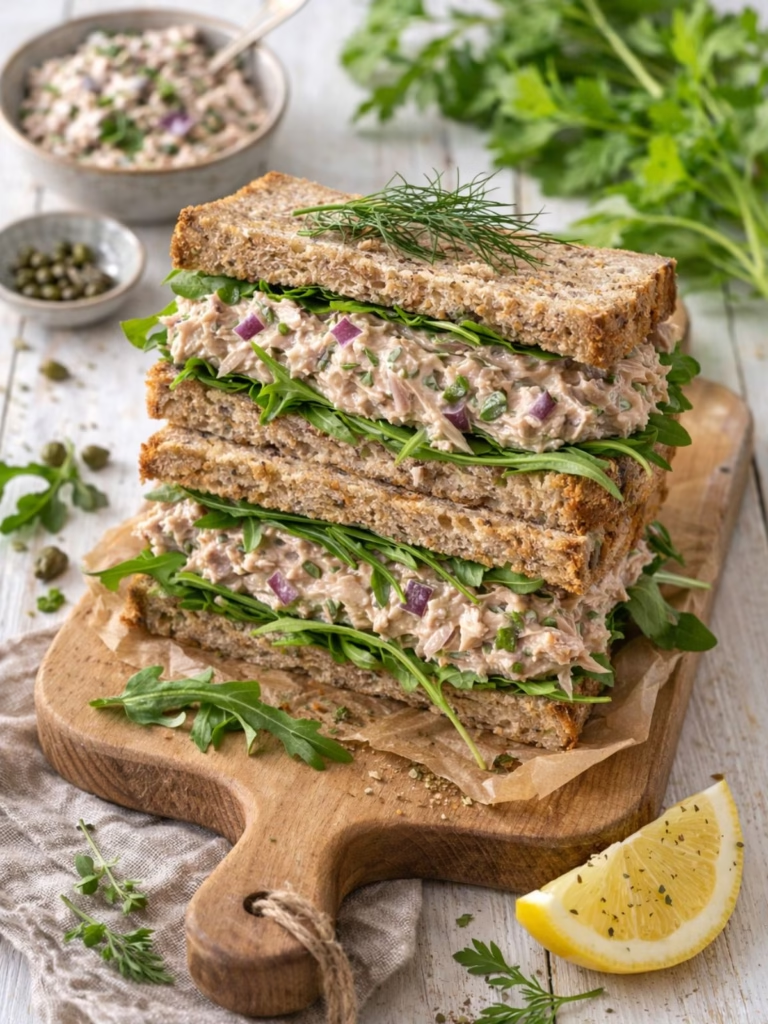
- Clever, Punchy Flavours: It goes beyond basic with crunchy celery, sharp red onion, and those all-important capers that cut through the richness.
- Meal Prep Hero: The tuna salad keeps beautifully in the fridge for days, ready to be scooped onto fresh bread whenever hunger strikes.
- Endlessly Adaptable: Love it on wholemeal, in a baguette, on crackers, or in lettuce cups. It’s your canvas.
Key Ingredients & Tips for Success
A few smart choices make all the difference between good and great.
- The Tuna: Tuna in olive oil (well-drained) is my pick for a richer, more flavourful result than springwater. A good-quality brand like Safcol really shines.
- The Mayo: A creamy whole-egg mayonnaise is the classic base. For a tangy, umami kick, Kewpie mayonnaise is a brilliant swap.
- The Flavour Boosters: Capers are the non-negotiable secret weapon. Their salty, briny pop brightens the whole mix. Fresh dill adds a lovely herbaceous note, but chives or parsley work too.
- The Crunch: Finely diced celery and red onion provide essential fresh texture and bite.
Pro Tip: Let the mixed tuna salad chill for at least an hour before making your sandwich. This rest allows the flavours to meld beautifully and taste even better.
Serving Suggestions
This easy tuna salad is incredibly versatile and goes far beyond the classic tuna sandwich or tuna baguette. Make a comforting tuna melt by piling the filling onto your favourite bread and melting cheddar or Swiss over the top. For an easy lunch, roll it into a soft tortilla or tuck it into a pita pocket. It’s also great spooned onto crackers for a high-protein snack, or served in crisp lettuce cups if you want a lighter, low-carb option. And when you’re craving something a bit more indulgent, load your tuna salad onto a toasted bagel or a buttery croissant – absolutely irresistible.
Storage
To keep your tuna mix fresh, store the tuna filling in an airtight container in the fridge, where it will last for up to three days. It’s always best to assemble your tuna sandwiches or tuna baguettes right before serving so the bread stays soft and never goes soggy. If you need to prep ahead, butter the bread to create a moisture barrier and eat within 24 hours for the best texture and flavour.
Frequently Asked Questions
Can I use tuna in springwater?
Yes, absolutely. Tuna in olive oil provides more flavour, but springwater tuna works perfectly well. Just ensure it’s well-drained.
What can I use instead of capers?
If you don’t have capers, a tablespoon of finely chopped cornichons or gherkins can provide a similar tangy, salty note.
Is fresh dill essential?
No, it’s optional but recommended. You can swap it for fresh chives, parsley, or even a pinch of dried dill weed in a pinch.
Can I make this recipe gluten-free?
Easily! Just use your favourite gluten-free bread, crackers, or serve it in lettuce cups for a completely gluten-free meal.
This Best Tuna Sandwich Recipe proves that a little attention to detail can transform a humble lunch staple into something truly special. I hope it becomes your new go-to. If you give it a try, I’d love to hear how you enjoyed it – leave a comment below and let me know!
More Recipes You May Love
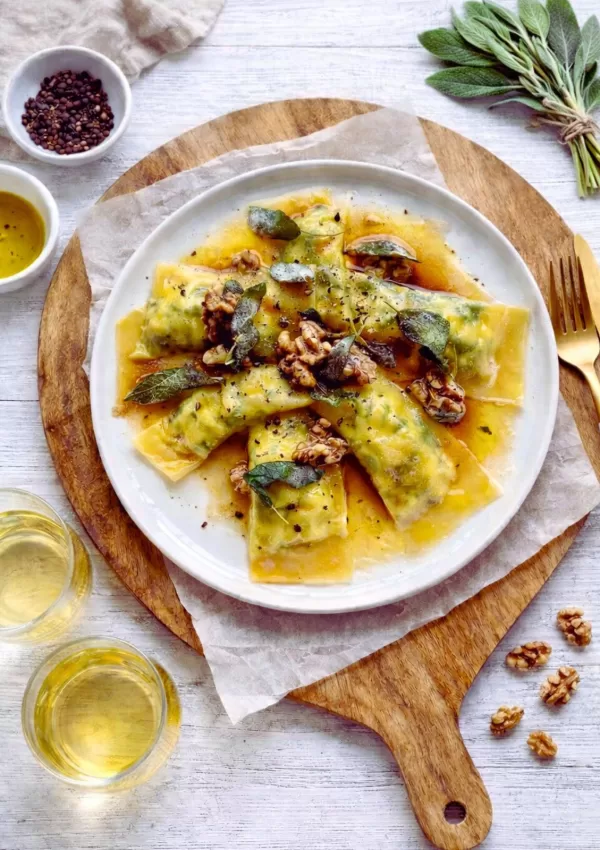
- Creamy Tuna and Sweet Corn Puff Pastry Jalousie
- Salmon & Potato Cakes with Lemon Aioli Mayonnaise
- Crispy Pork Belly Bahn Mi
- Portuguese Chicken Burgers
- Wholesome Spinach & Feta Quiche (with a Flaky Wholemeal Crust)
- Amazing Zucchini and Bacon Slice
The Best Tuna Sandwich Recipe
Ingredients
TUNA SANDWICH FILLING
- 185g can tuna in olive oil, well drained
- ¼ cup whole egg mayonnaise
- ½ small red onion, finely diced
- 2 tablespoons finely diced celery
- 2 teaspoons capers, drained well and finely chopped (optional)
- 1 tablespoon roughly chopped dill
- Sea salt & pepper, to taste
MAKE THE SANDWICH
- 4 slices of your favourite bread
- Butter, to spread
- Rocket or salad leaves
Instructions
Tuna Sandwich Filling
- Combine all ingredients in a bowl and mix until well combined. Cover and chill for 1 hour or until required. (Chilling is optional, but I prefer a nice chilled filling)
To Make Sandwiches
- Lay bread out flat on a clean work surface then spread with butter (make sure to go right to the edges!)
- Divide tuna filling between 2 of the slices of bread and spread to the edges, then top with rocket (or salad) leaves. Sandwich together with remaining bread slices and cut each in half or quarters to serve. Enjoy!
Notes
- Measurements: We use Australian tablespoons and cups: 1 teaspoon = 5 ml, 1 tablespoon = 20 ml & 1 cup = 250 ml.
Herbs: All herbs are fresh (unless specified) and cups are lightly packed. - Tuna: Tuna in olive oil is recommended for richer flavour, but well-drained springwater tuna works too. Quality varies by brand; a premium option like Safcol yields the best result.
- Mayonnaise: Whole egg mayonnaise is classic and creamy. Kewpie mayo can be used for a tangier, umami flavour.
- Make Ahead: The tuna filling can be made and stored in an airtight container in the fridge for up to 3 days. Flavours improve over time.
- For a Non-Soggy Sandwich: Spread butter to the edges of the bread to create a moisture barrier if assembling ahead. Consume within 24 hours.
- Dill: You could also use parsley or chives.

Leave a Reply