
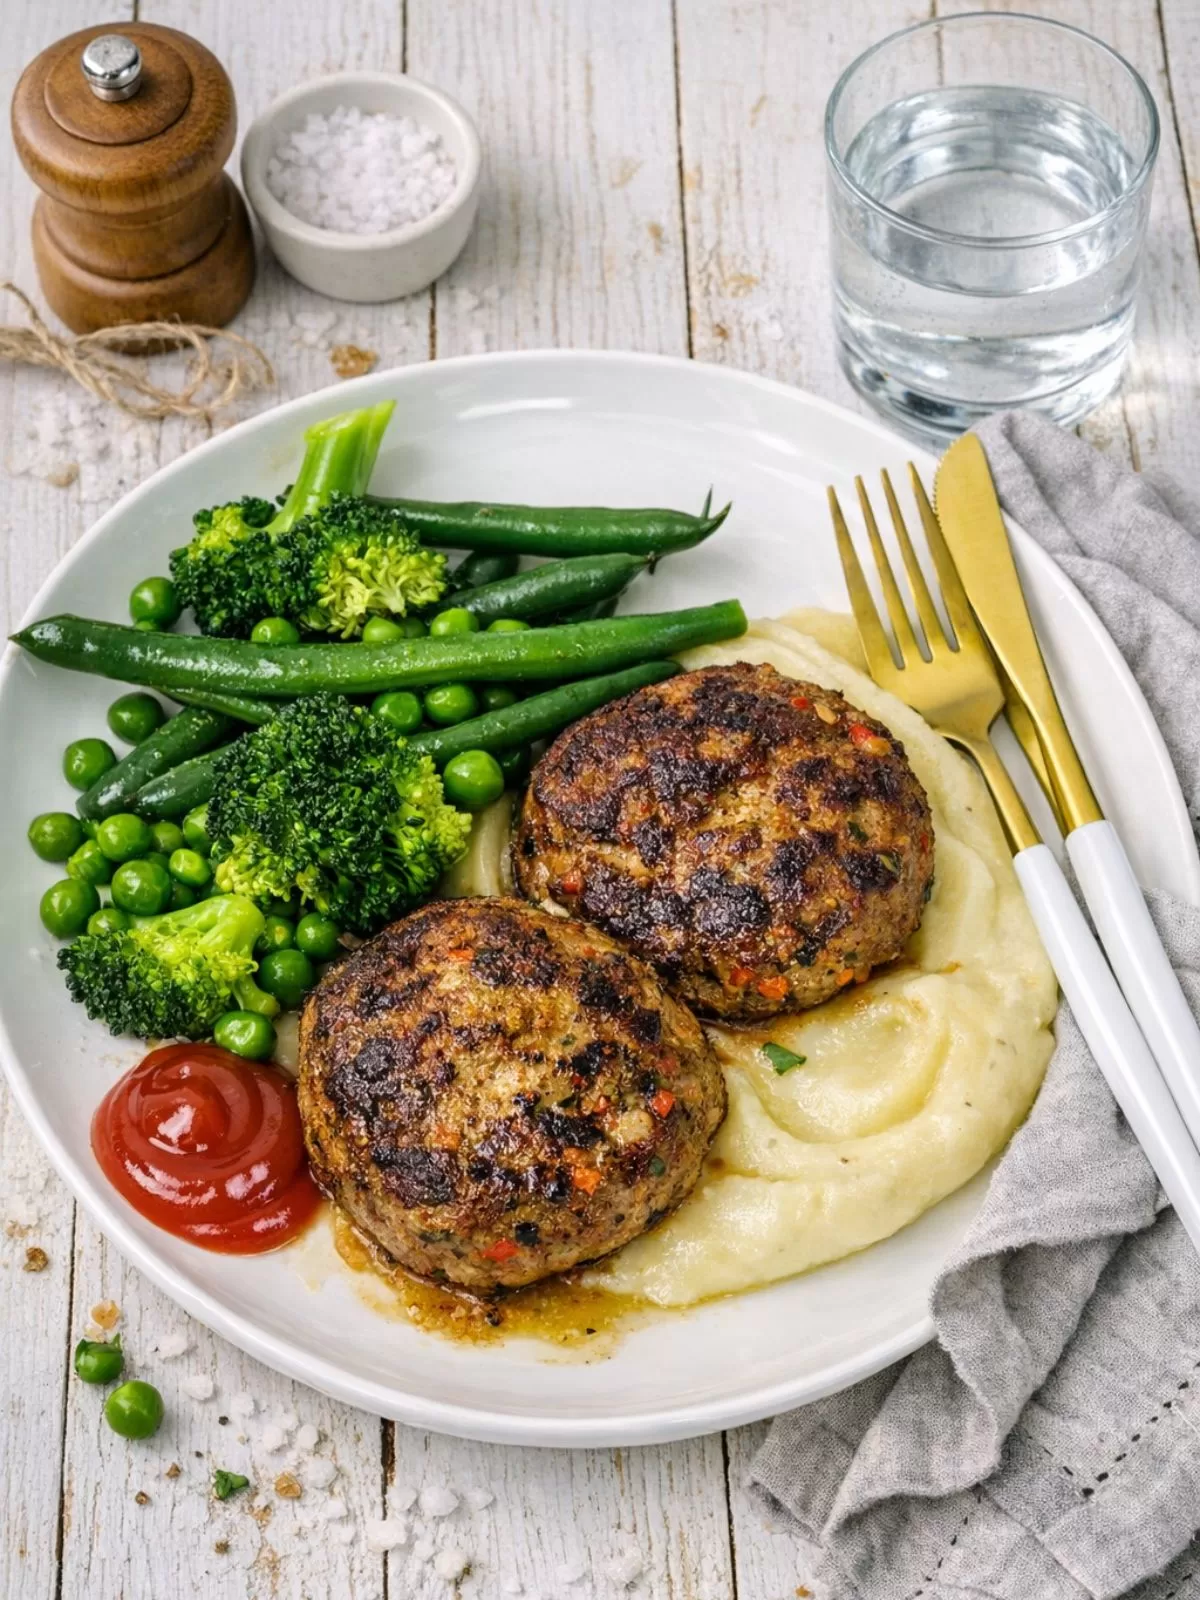
A classic family favourite made even better with hidden veg!
These Beef and Veggie Rissoles are an Australian classic – juicy, tender and packed with flavour. Made with beef mince, hidden vegetables and everyday pantry staples, they’re quick to prepare, budget-friendly and guaranteed to be a dinner everyone loves. Serve them with mash and gravy, chips and salad, or turn them into burgers for the ultimate easy meal.
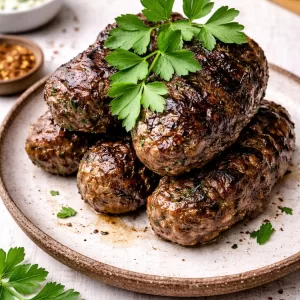
Rissoles were a total staple in my house growing up, the kind of dinner Mum could rely on when she needed something filling, fast and universally loved. Now I make my own version, loaded with a few sneaky veggies for extra goodness. The result is exactly what you want in a rissole: juicy, plump and packed with that nostalgic Aussie flavour.
Why You’ll Love these Rissoles
- Juicy, tender rissoles every single time
- Packed with hidden veg for extra nutrition
- One-bowl recipe ~ ready in around 30 minutes
- Budget-friendly and perfect for families
- Ideal for barbecues, weeknight dinners or lunchboxes
- Freeze beautifully, raw or cooked
A Proper Aussie Classic
Beef rissoles are one of those dinners that feel instantly familiar. They’re the kind of meal that’s been passed down through generations – cooked on the stove, the barbecue or even baked in the oven when life got busy. This version keeps everything we love about classic rissoles but sneaks in a bit of extra goodness, making them perfect for feeding families without any fuss.
I especially love how forgiving this recipe is. You don’t need fancy ingredients, exact measurements or special equipment – just one bowl and whatever vegetables you’ve got hanging around in the fridge. It’s the sort of recipe you can make on autopilot once you’ve cooked it a couple of times.
Tips for the best beef and veggie rissoles
- Use panko breadcrumbs for a lighter, softer texture
- Mix gently to keep them tender, don’t compact the mince too much
- Coarsely grate the veg so they add moisture, not mush
- Chill the mixture if you have time, it helps with shaping
- Cook over medium heat to avoid burning while keeping the centre juicy
- Swap the mince for lamb, pork, chicken or turkey if you like
- Bake in the oven at 220°C/200°C fan for an easy, hands-off option
Hidden Veg
One of the best things about these beef and veggie rissoles is how well the vegetables disappear into the mixture. When grated coarsely, they melt into the beef as the rissoles cook, adding moisture and flavour rather than standing out.
This makes them ideal for kids (or adults!) who are a little suspicious of vegetables. The carrot adds natural sweetness, the pumpkin gives softness, and the zucchini keeps everything juicy. Even veggie-sceptics rarely notice they’re there -they just taste like a really good rissole.
Serving Suggestions
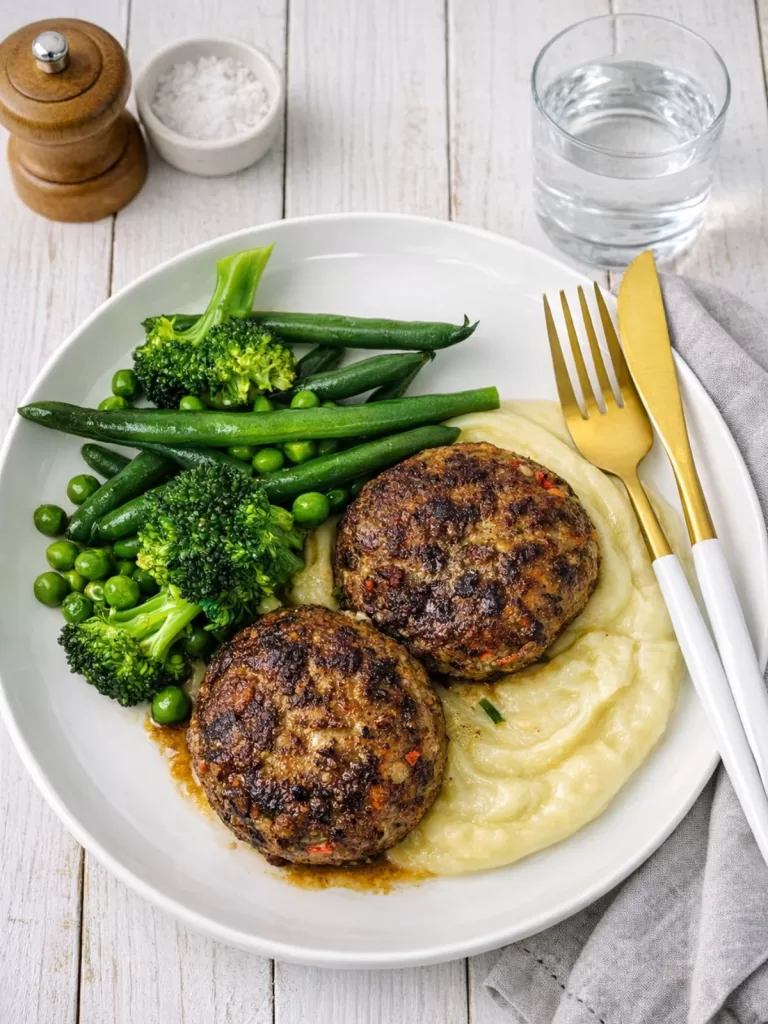
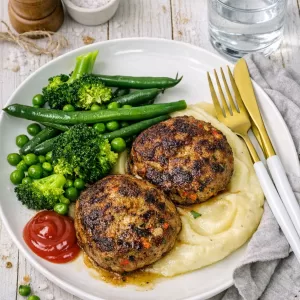
These rissoles are incredibly versatile and pair well with just about anything. For the traditional Aussie-style plate, serve them with creamy mashed potato, steamed vegetables and a drizzle of gravy – or simply add a generous squeeze of tomato sauce. They’re also delicious as rissole burgers in a soft bun with cheese, lettuce and your favourite condiments.
If you want something lighter, try them with homemade coleslaw, grilled corn, crispy oven-baked chips or a fresh garden salad.
Make-Ahead & Freezer Friendly
These rissoles are perfect for meal prep. You can mix and shape them ahead of time, then store them covered in the fridge until you’re ready to cook. They’re also brilliant for stocking the freezer, freeze them raw for quick dinners, or freeze them cooked for easy lunches.
If freezing raw, lay them in a single layer on a tray until firm, then transfer to freezer bags. Cook straight from frozen, adding a few extra minutes to the cooking time. They’re a lifesaver on nights when you don’t feel like starting from scratch.
Storage
Store leftover rissoles in an airtight container in the fridge for up to 3 days or freeze them, cooked or raw, for up to 3 months. Thaw overnight in the fridge before reheating until hot, or enjoy them cold in sandwiches the next day – a classic Aussie leftover win.
FAQ’s
Can I make these rissoles gluten-free?
Yes. Swap the panko breadcrumbs for gluten-free breadcrumbs and check that your sauces are gluten-free.
Can I cook these in the oven only?
Absolutely. Baking is a great hands-off option. They won’t be quite as golden as pan-fried, but they’re still juicy and delicious.
Can I make them smaller for kids or lunchboxes?
Yes. Shape them into mini rissoles and reduce the cooking time slightly. They’re perfect for lunchboxes or snacks
Do I need to chill the mixture first?
Not essential, but chilling for 20–30 minutes helps the rissoles hold their shape and makes them easier to handle.
These Beef and Veggie Rissoles are everything a good family recipe should be — simple, comforting and endlessly versatile. Whether you serve them with mash and gravy, turn them into burgers, or eat them cold in a sandwich the next day, they’re the kind of meal that always delivers. They freeze beautifully, use everyday ingredients and are easy to adapt, making them a reliable recipe you’ll come back to again and again. A true Aussie classic, made even better.
More recipes you may enjoy:
- Lamb Kofta
- 20 Minute Crunchy Asian Beef Bowls
- Salmon & Potato Cakes with Lemon Aioli Mayonnaise
- Kate’s Spaghetti Bolognese
- Easy Spaghetti & Meatballs
Beef and Veggie Rissoles
Ingredients
- 500g beef mince
- 1 red onion, finely chopped or grated
- ½ cup each coarsely grated carrot, pumpkin and zucchini
- ½ cup panko breadcrumbs
- 1 large clove garlic, grated
- 1 egg
- 1 tablespoon chopped parsley
- 1 tablespoon each tomato and barbecue sauce
- 1 teaspoon salt
- ¼ teaspoon cracked black pepper
TO COOK
- 1 tablespoon Neutral cooking oil (canola, vegetable, rice bran etc)
TO SERVE
- Mashed potato or oven baked chips
- Steamed vegetables or salad
- Tomato sauce or gravy (or Ketchup)
Instructions
- Place the beef mince, onion, grated vegetables, panko breadcrumbs, garlic, egg, parsley, tomato sauce, barbecue sauce, salt and pepper into a large bowl. Using clean hands or a spoon, mix gently until just combined — avoid over-mixing, as this can make the rissoles tough.
- Divide the mixture into 8 equal portions and shape into rissoles about 2–3 cm thick. Place on a tray, cover and refrigerate if not cooking straight away (chilling helps them hold their shape).
- Heat the oil in a large frying pan over medium heat. Working in batches, cook the rissoles for 5–6 minutes per side, or until golden brown and cooked through. Adjust the heat as needed to prevent burning. (For an easier option, cook the rissoles until just golden on each side then transfer the partially cooked rissoles to a lined oven tray and finish cooking in a 200°C (180°C fan) oven for 15-20 minutes)
- Transfer cooked rissoles to a plate and repeat with the remaining mixture. Serve hot with mashed potato or oven-baked chips, steamed vegetables or salad, and tomato sauce or gravy.
Notes
- COOKS NOTES:
Oven Temps: Oven temperatures are for conventional, if using fan-forced (convection), reduce the temperature by 20˚C.
Measurements: We use Australian tablespoons and cups: 1 teaspoon = 5 ml, 1 tablespoon = 20 ml & 1 cup = 250 ml.
Herbs: All herbs are fresh (unless specified) and cups are lightly packed.
Vegetables: All vegetables are medium size and peeled, unless specified.
Eggs: We use extra-large size and eggs are 55-60 g each, unless specified. - MINCE
Beef mince gives the best flavour and classic rissole texture, but this recipe is very adaptable. You can swap in lamb, pork, chicken or turkey mince if you prefer. If using chicken mince, increase the panko breadcrumbs to ¾–1 cup, as chicken is softer and wetter — the extra crumbs help the rissoles hold their shape. - VEGETABLES
Use whatever veg you’ve got on hand or stick to just one if you prefer. Zucchini adds moisture and tenderness, so leaving it out may slightly change the texture, but the recipe will still work well. - OVEN BAKED
Pan-frying will always give the best colour and flavour, but baking is a great hands-off option. Place the rissoles on a lined tray and bake at 220°C (200°C fan) for 18–20 minutes, flipping halfway, until cooked through. Another method I love is to pan-fry the rissoles just until browned on both sides, then transfer them to the oven to finish cooking — you get the best of both worlds: great colour and perfectly cooked centres. - LEFTOVERS
These rissoles make top-tier leftovers and are brilliant cold in sandwiches. Butter some fresh bread, slice a rissole, add a good smear of tomato sauce and you’re sorted — the ultimate next-day lunch.


Leave a Reply