
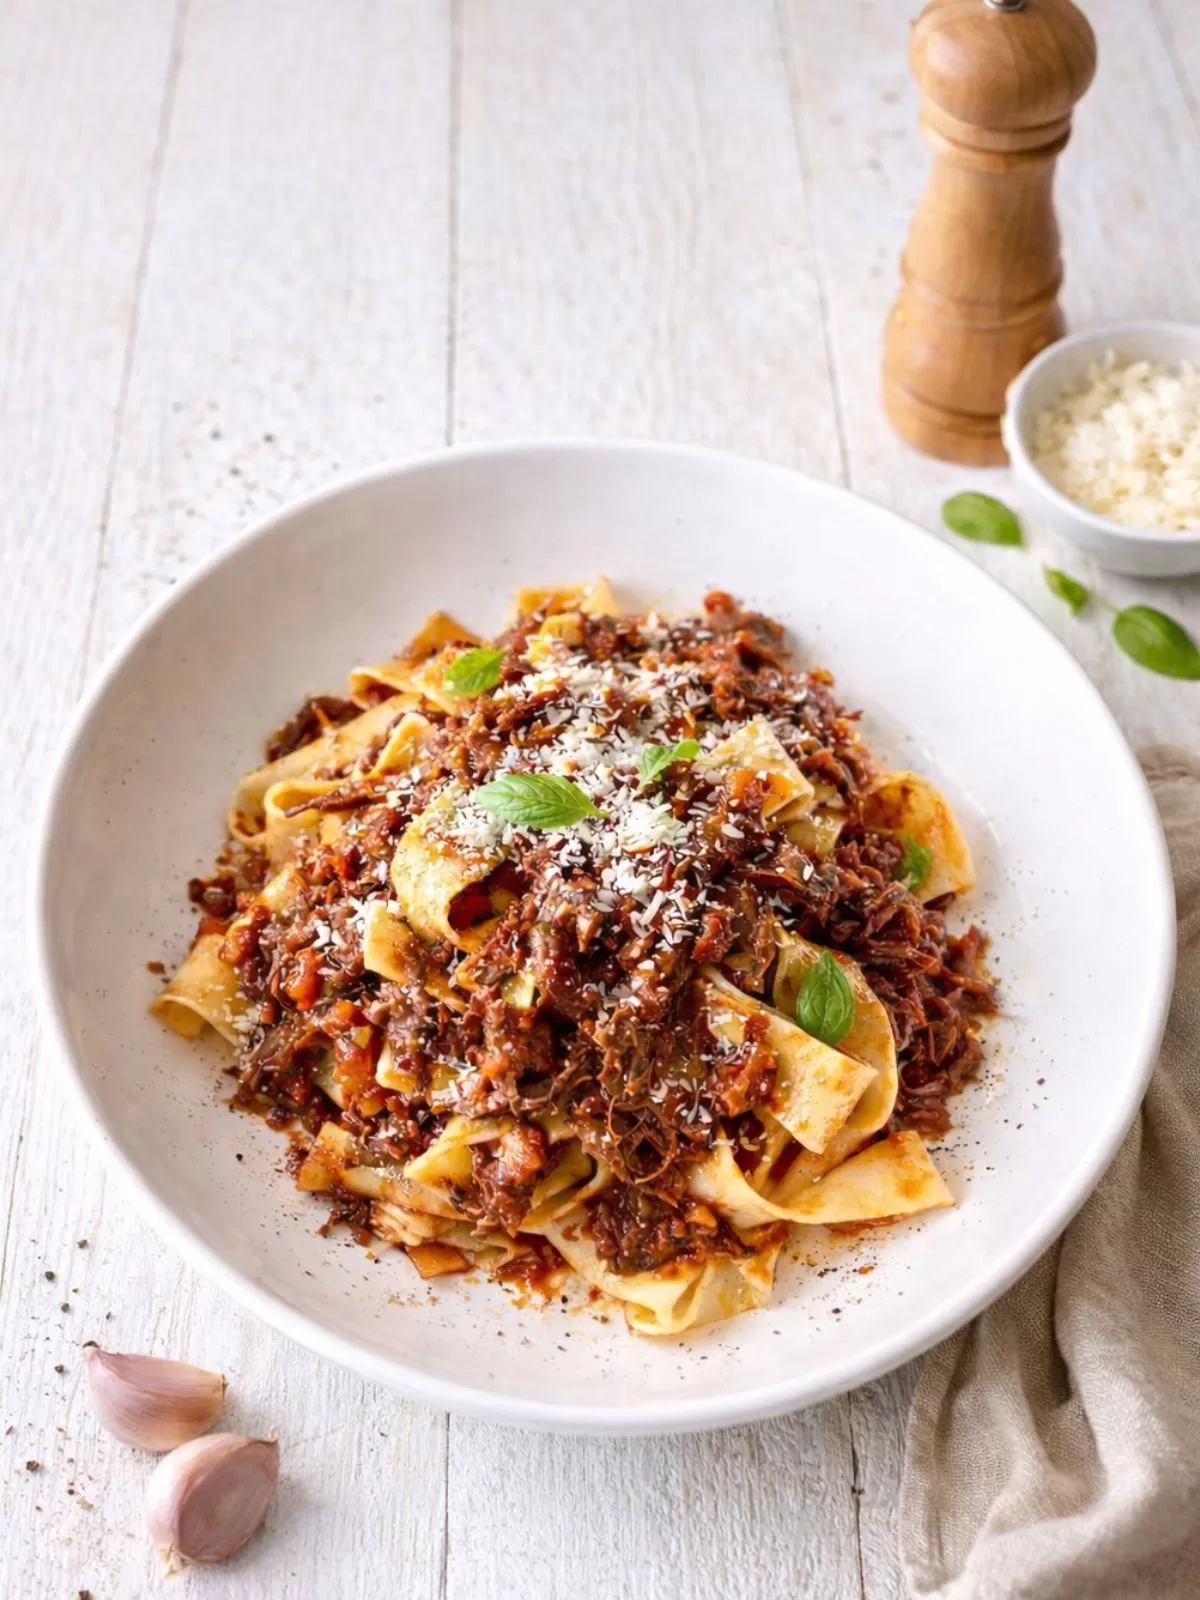
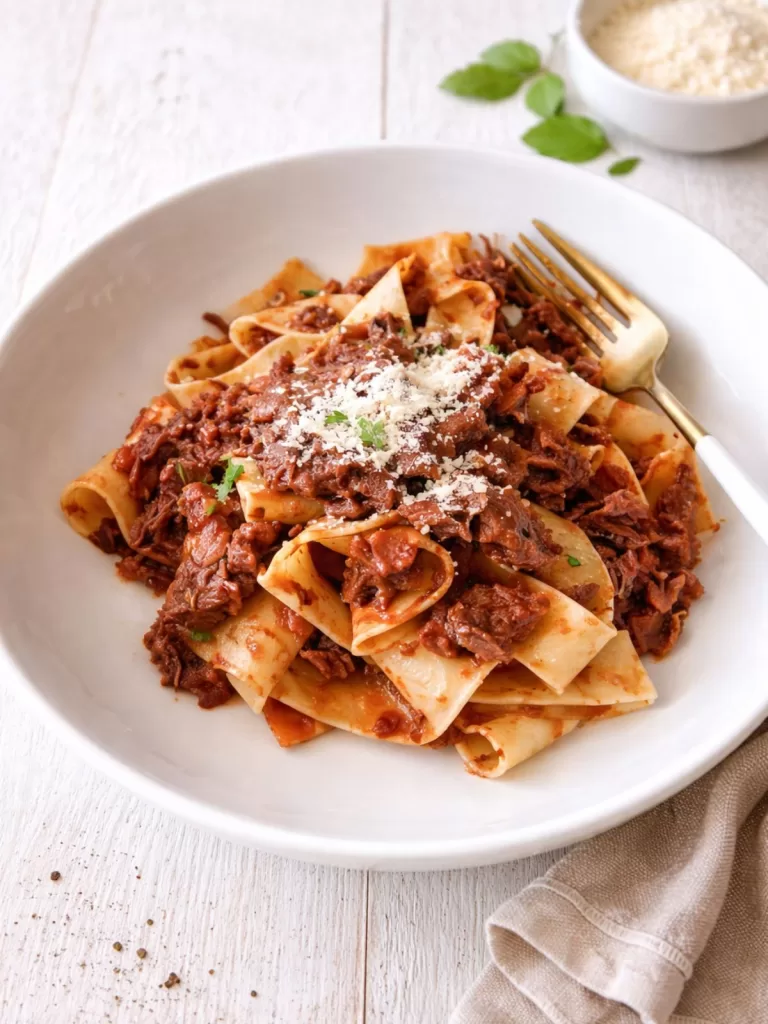
Fall-Apart Beef Shin Ragu with Pappardelle is the ultimate labor of love, rewarding your patience with incredible flavour. Tough beef shin transforms during hours of slow cooking, becoming unbelievably tender and enriching a robust sauce of tomatoes, red wine, and herbs. Tossed with wide, ribbon-like pappardelle pasta, it’s a hearty, comforting dish that feels both rustic and deeply satisfying.
There’s something almost meditative about making a true ragu. It asks for your time and attention upfront -browning the beef properly, softening the vegetables, letting the wine reduce – and then gives you the gift of a few quiet hours while the oven works its magic. I first made this dish for a milestone birthday dinner at home, wanting something that felt celebratory but didn’t require last-minute fuss. The moment I pulled the pot from the oven and saw the beef literally falling apart, I knew it was a keeper. It’s become my go-to for making a Tuesday feel like a Friday, or for feeding a table full of my favourite people.
Why You’ll Love This Beef Shin Ragu Recipe
- Unbeatable Texture: The beef shin becomes meltingly tender, shredding into the sauce and making every bite succulent.
- Depth of Flavour: Building the sauce by searing the meat and deglazing with red wine creates a rich, complex base that tastes like it simmered all day (because it did!).
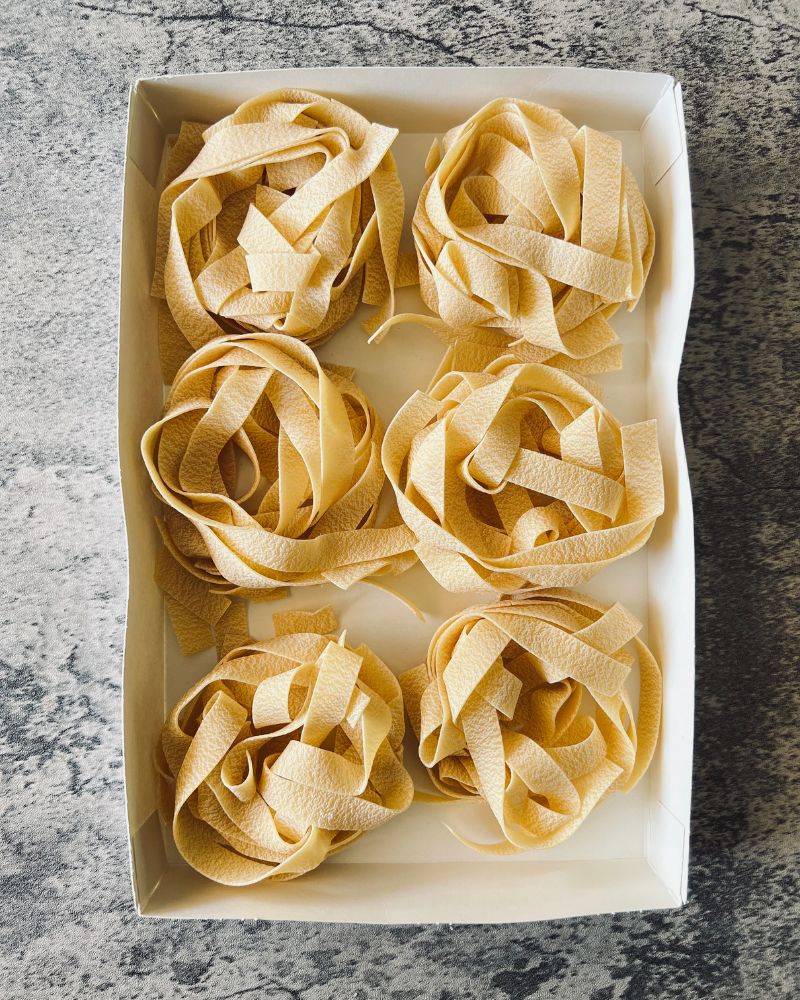
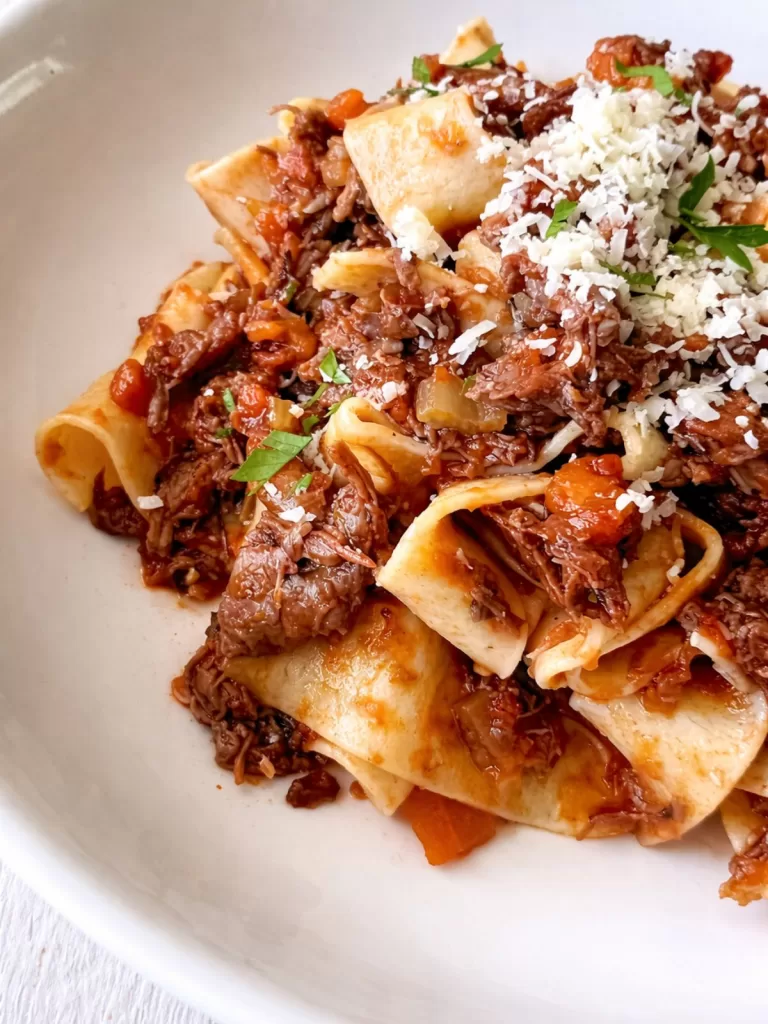
- The Perfect Pasta Pairing: Wide pappardelle noodles are ideal for clinging to every bit of the chunky, luxurious sauce.
- Make-Ahead & Freezer Hero: This ragu tastes even better the next day and freezes beautifully, making it a brilliant staple for easy, impressive meals.
- Ideal for Special Dinners: It feels restaurant-worthy with minimal active effort, making it perfect for dates, family gatherings, or when you just want to treat yourself.
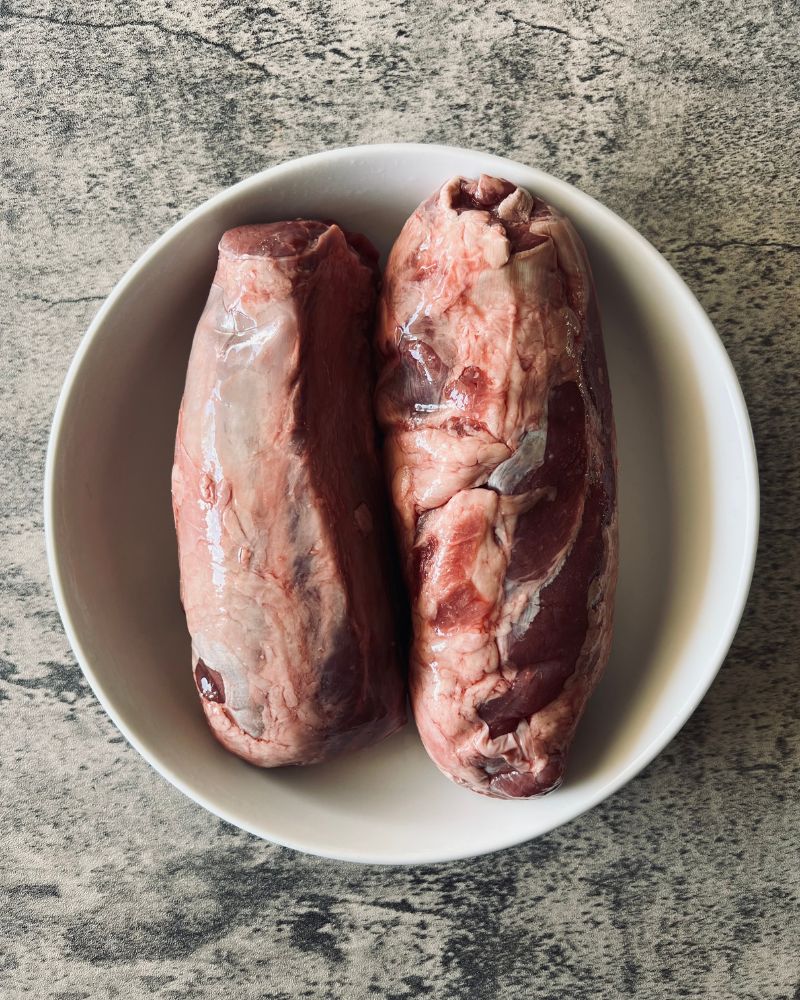
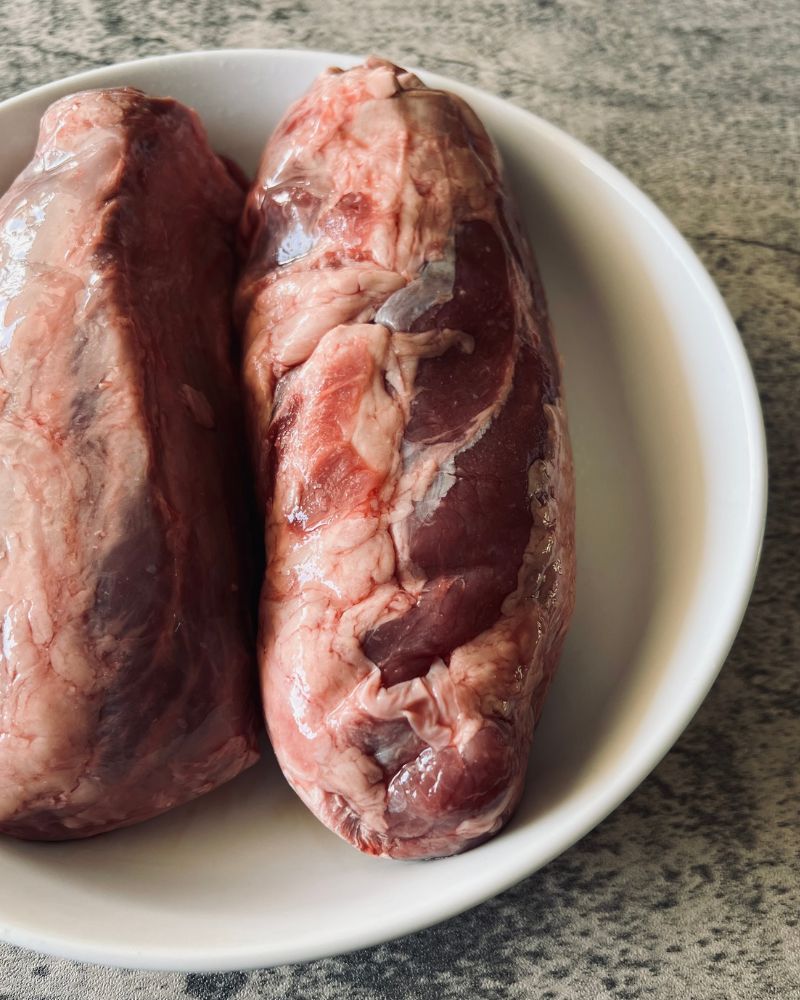
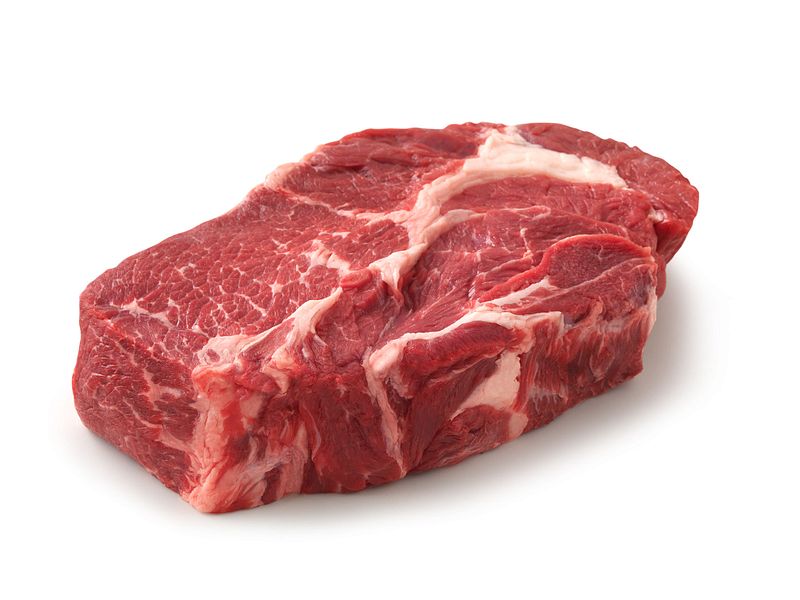
What is Beef Shin?
Beef shin (or shank) is a cut from the cow’s leg. It’s known for being tough because it’s a hard-working muscle, but that’s exactly what makes it perfect for slow cooking. It’s packed with collagen and connective tissue, which break down over hours of gentle heat, transforming the meat into something incredibly tender and enriching the sauce with body and a silky texture. You can find it as “gravy beef whole shin” at Coles or ask your butcher.
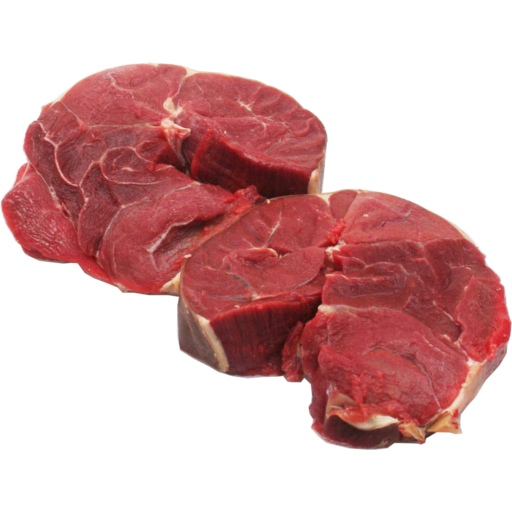
No beef shin? No problem. Excellent substitutes include gravy beef, chuck steak, or bone-in osso buco. The method remains the same, though cooking times may vary slightly.

How to Make Beef Shin Ragu
The process is all about building layers of flavour, then letting time do the hard work.
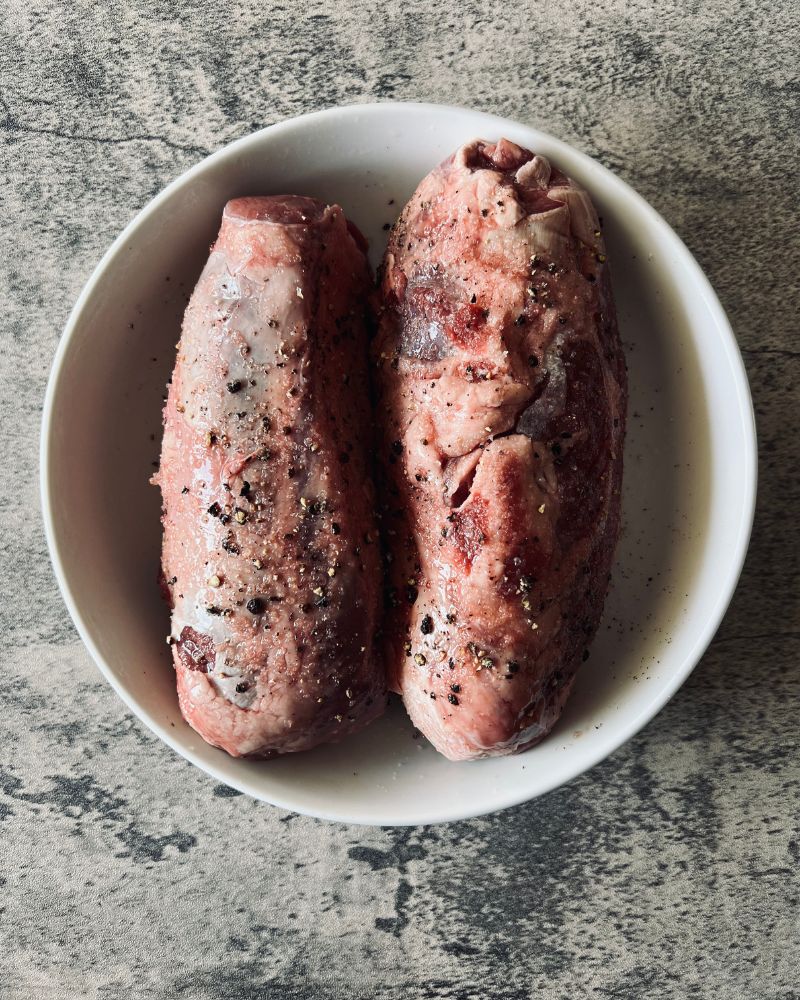
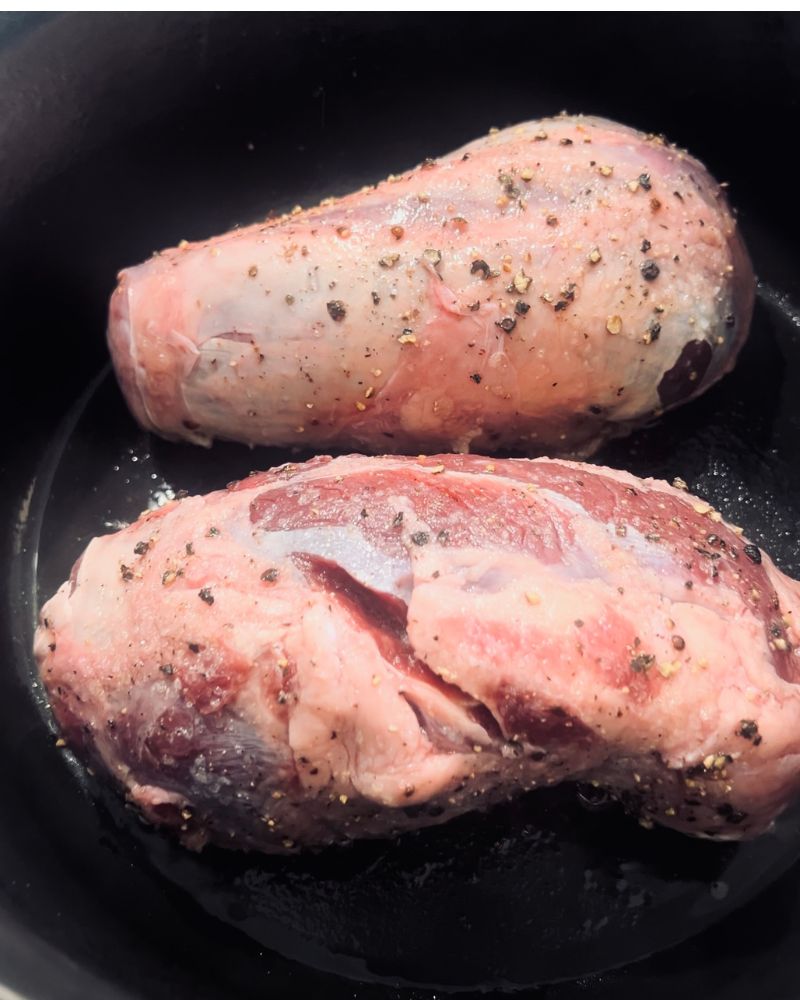
- Sear the Beef: Brown the seasoned beef shin well in a Dutch oven to create a deep, savoury foundation.
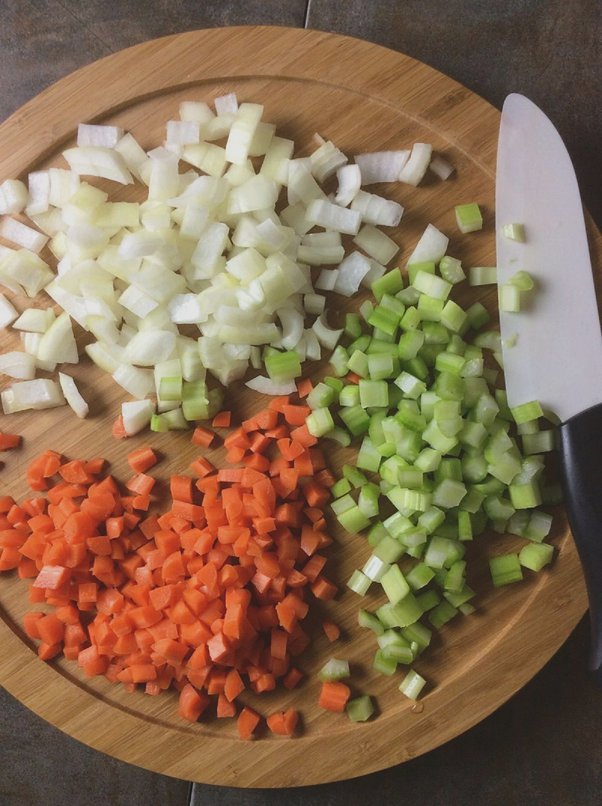
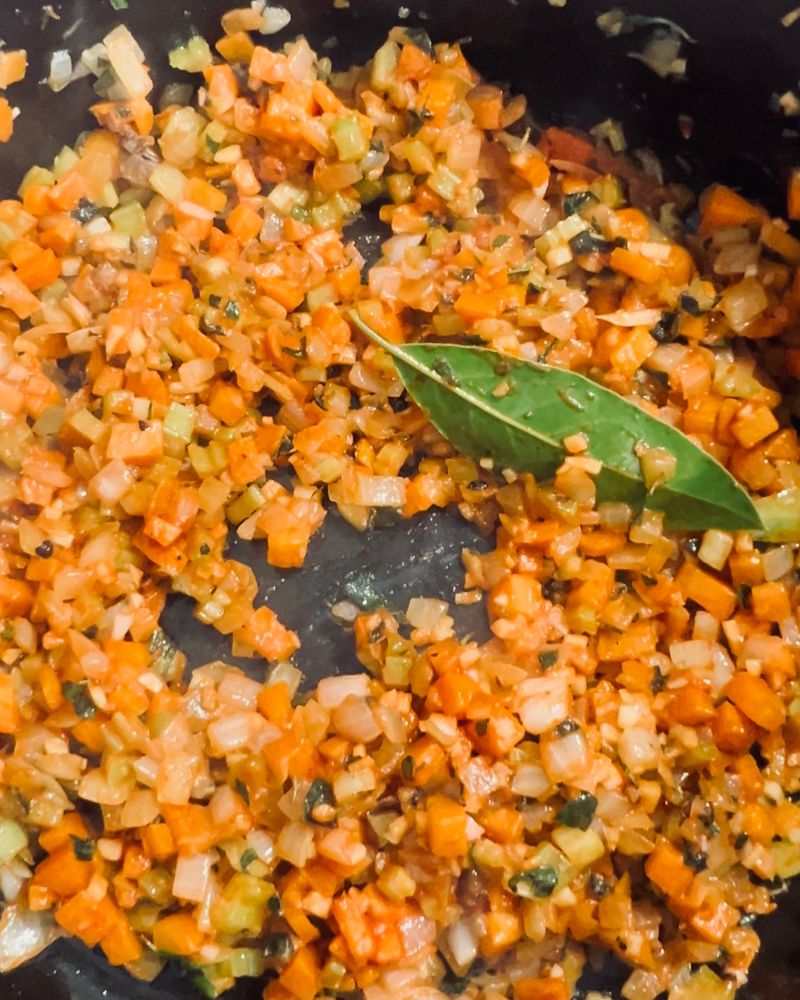
- Cook the Vegetables: Soften onion, celery, and carrot (a soffritto) in the same pot until sweet and fragrant.
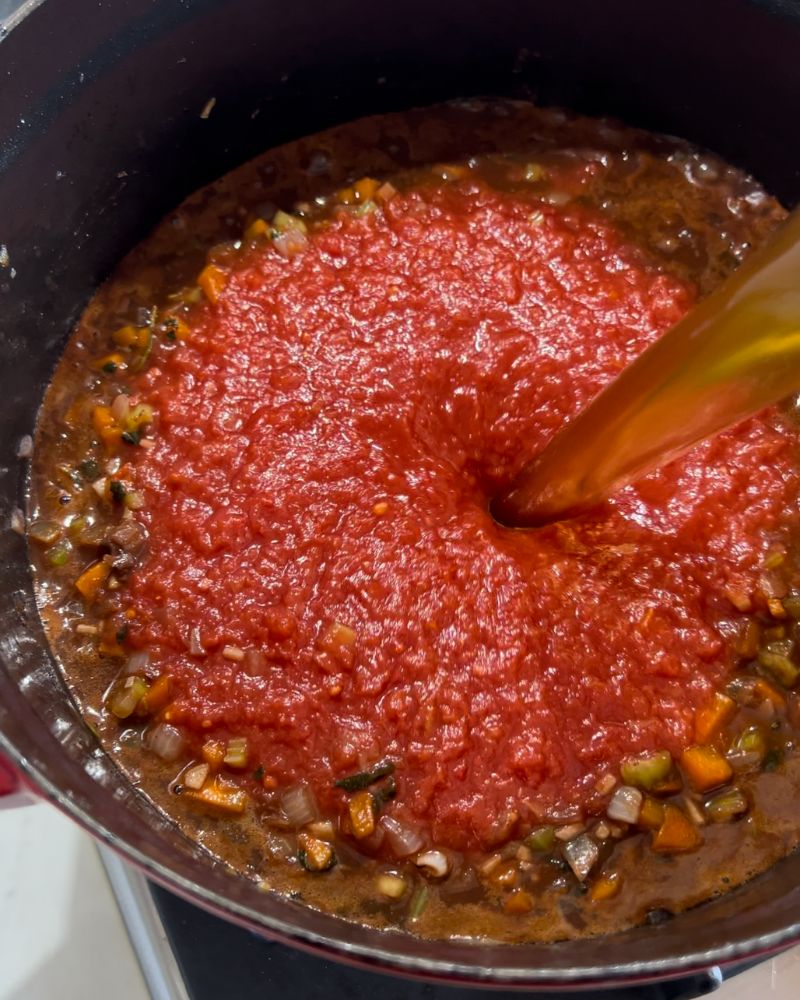
- Build the Sauce: Add garlic, herbs, tomato paste, and a splash of red wine to deglaze the pan, lifting all the tasty browned bits.
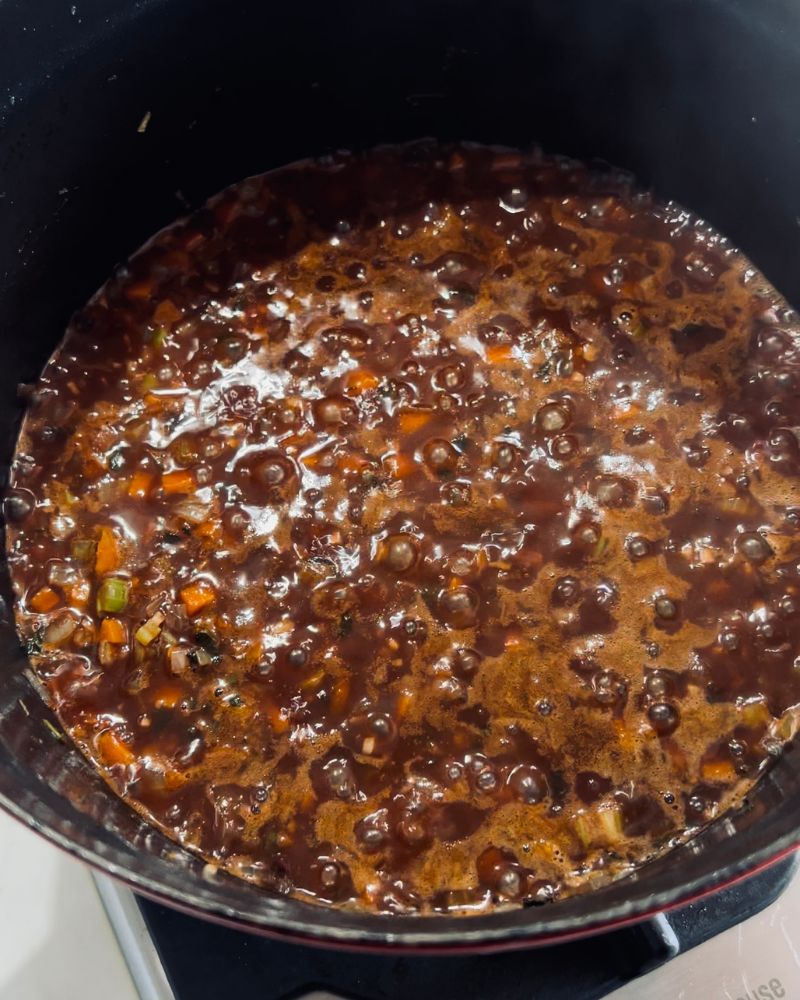
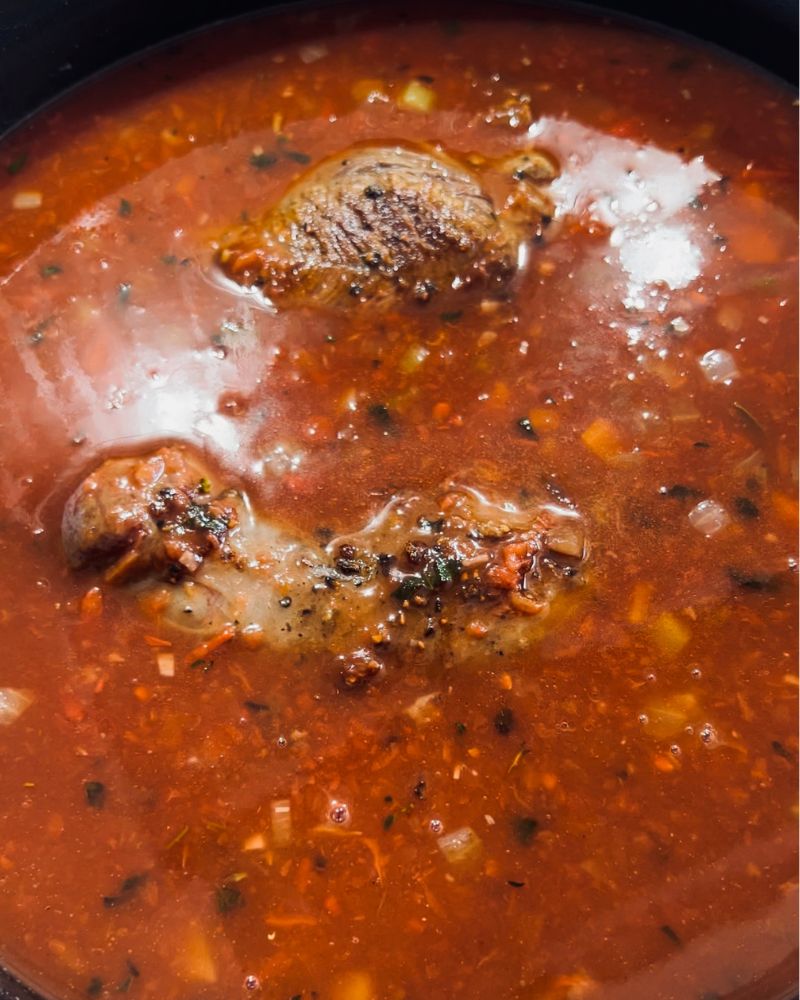
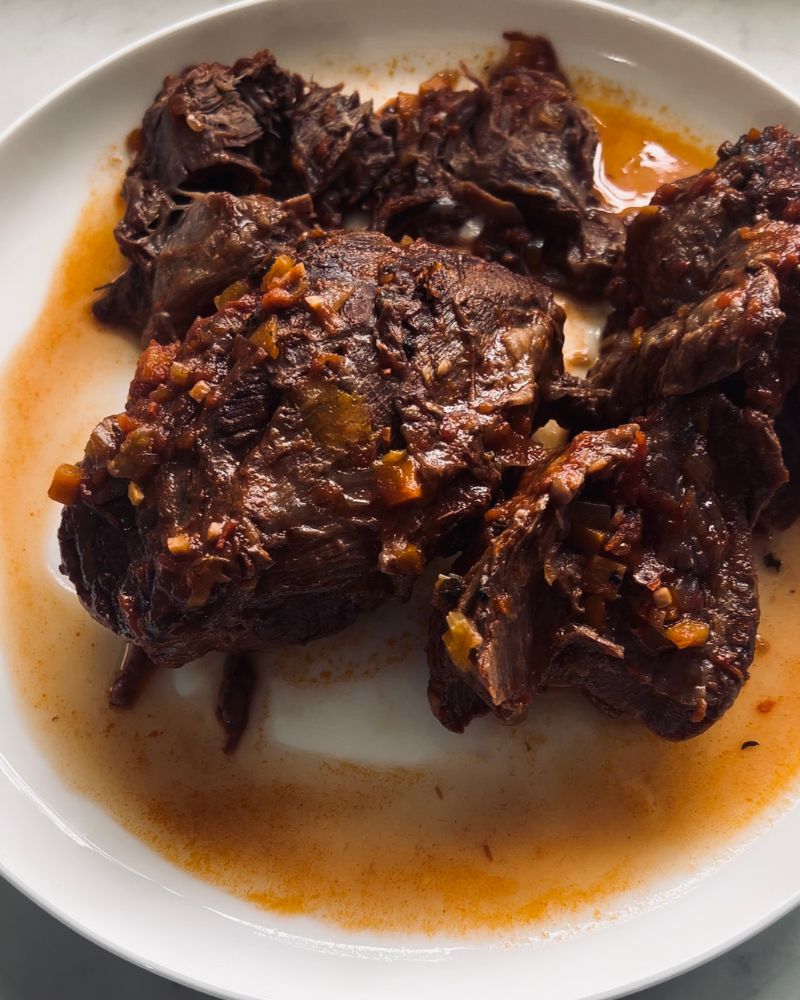
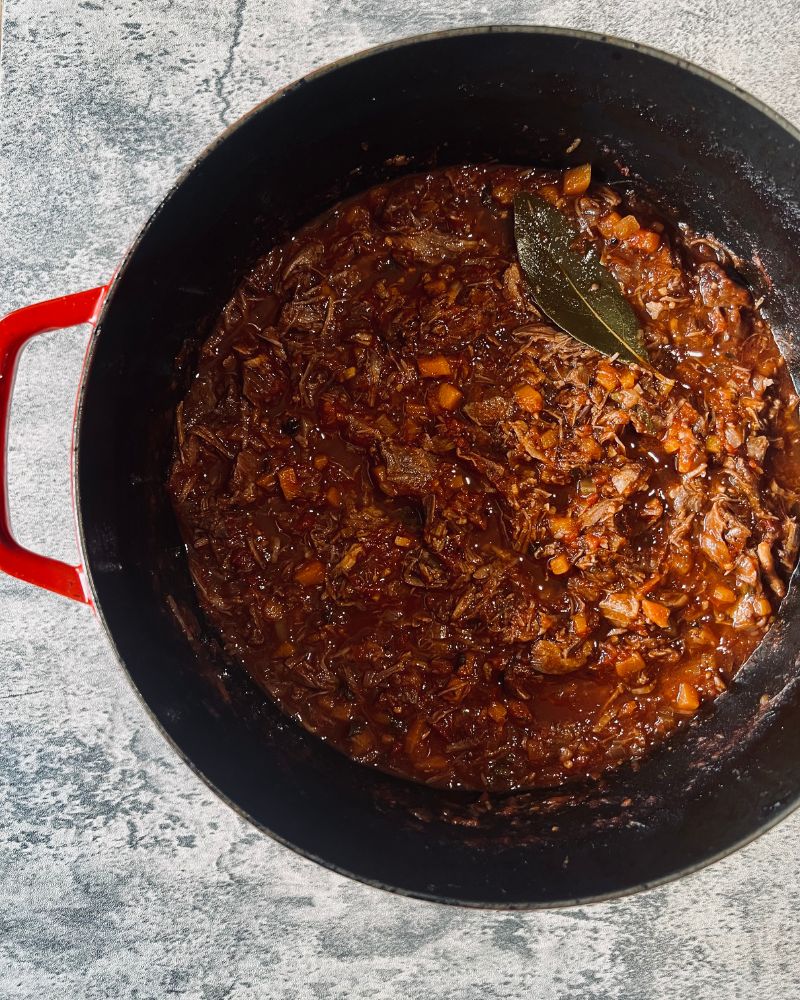
- Slow Cook: Return the beef to the pot with diced tomatoes and stock. Cover and let it braise in a low oven for 3-4 hours until the beef is fall-apart tender.
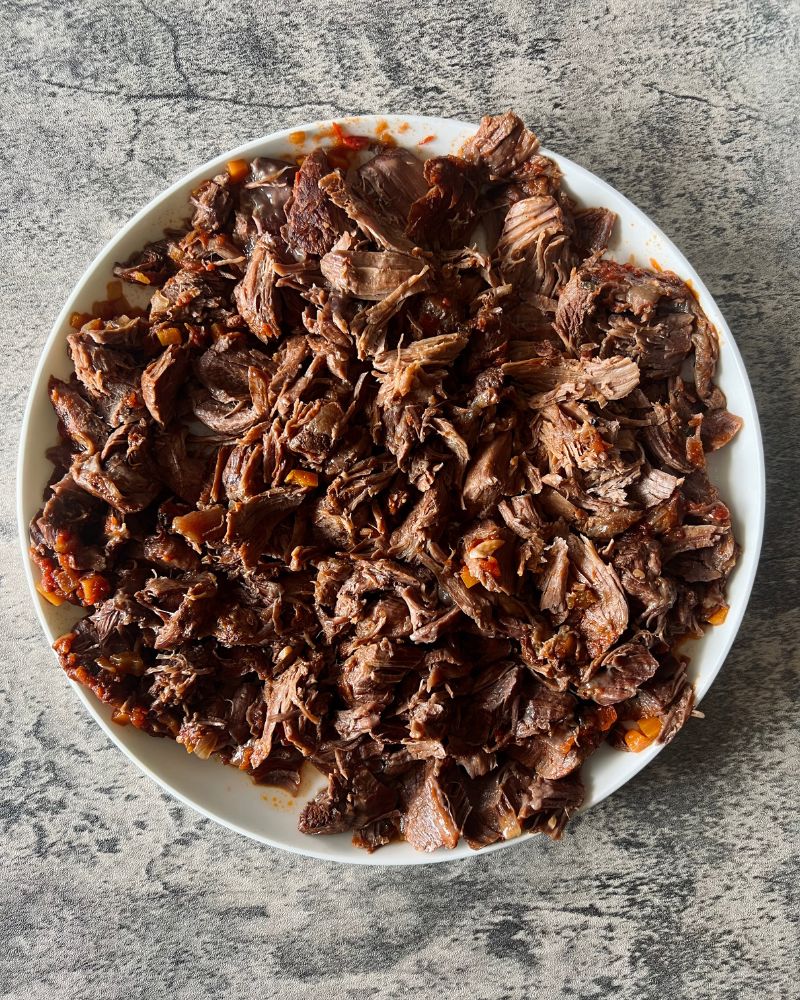
- Shred & Reduce: Shred the beef, then simmer the sauce on the stovetop to thicken it into a rich, glossy consistency.
- Serve: Toss the sauce and shredded beef with freshly cooked pappardelle pasta until every ribbon is perfectly coated.


My Tips for the Best Ragu
Follow these simple pointers for a flawless ragu every time:
- Sear for Flavour: Take your time browning the beef shin. A deep, dark sear is non-negotiable for building the sauce’s rich base.
- Low & Slow is Key: Patience is your secret ingredient. The long, gentle braise is what transforms tough shin into melt-in-your-mouth tenderness.
- Taste & Balance: Always taste your sauce before serving. A pinch of sugar can beautifully balance the acidity of the tomatoes, especially with budget-friendly brands.
- Shred, Don’t Chop: Once cooked, use two forks to shred the beef. It integrates into the sauce perfectly, creating the ideal texture.
- Toss Pasta in the Sauce: For the best result, cook your pappardelle until just al dente, then finish it by tossing it directly in the ragu sauce for a minute before serving. This helps the sauce cling to every strand.
What to Serve With Your Beef Shin Ragu
This ragu is a complete meal on its own, but a few simple sides can turn it into a real feast. A big bowl of creamy polenta makes a fantastic, cozy alternative to pasta or instead try my Garlic Butter Rice – it’s the prefect mathc. To balance the richness, my Easy Rocket & Parmesan Salad is perfect. And of course, you can’t go wrong with a side of garlic bread – my Brown Butter Garlic Bread is the ultimate gourmet version for mopping up every last drop of sauce. For a true Italian experience, pour a glass of robust Chianti or Sangiovese red wine.
Storage & Reheating
Fridge: Store the cooled ragu (without pasta) in an airtight container for up to 4 days.
Freezer: Portion and freeze the ragu for up to 3 months. Thaw overnight in the fridge.
Reheating: Gently reheat the ragu in a saucepan over low heat or in the microwave until piping hot. For best results, always cook fresh pasta when ready to serve and toss it with the hot sauce.
Frequently Asked Questions
What can I use if I can’t find beef shin?
Gravy beef, chuck steak, or osso buco are all excellent substitutes. Chuck steak may need to be cut into chunks, and cooking times may be slightly shorter—start checking for tenderness around the 2-hour mark.
Do I have to use anchovies?
They add a fantastic depth of umami flavour and melt right in. If you’re hesitant, you can omit them or use a dash of Worcestershire sauce instead.
Can I make this in a slow cooker?
Yes. After browning the beef and vegetables in a pan, transfer everything to a slow cooker and cook on LOW for 7-8 hours. You will need to reduce the sauce on the stovetop afterwards to thicken it.
What kind of red wine is best?
A dry, medium-bodied red like a Merlot or Cabernet Sauvignon works perfectly. Avoid anything too sweet or overly tannic.
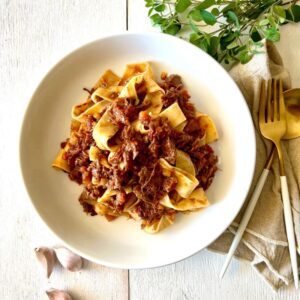
beef shin ragu
This Fall-Apart Beef Shin Ragu is more than just dinner – it’s a rewarding project that fills your home with incredible aromas and ends with the most satisfying, comforting meal. It’s the kind of recipe that makes people ask for seconds and request the recipe. I hope it becomes a special-occasion favourite in your home too. Give it a try and let me know how it goes in the comments!
More Comfort Food Recipes
- Easy Spaghetti & Meatballs
- Kate’s Spaghetti Bolognese
- Hearty Red Wine Beef Stew with Carrots & Potatoes
- The Ultimate Brown Butter and Roasted Garlic Bread
- Garlic Butter Rice | Easy One Pot Garlic Rice
Fall-Apart Beef Shin Ragu with Pappardelle
Equipment
- Dutch Oven (for beef)
- Large saucepan (for pasta)
Ingredients
BEEF RAGU
- 2 tablespoons olive oil, divided
- 1kg gravy beef whole shin
- 30g butter
- 1 onion, finely diced
- 2 stalks celery, finely diced
- 2 carrots, finely diced
- 4 cloves garlic, finely diced
- 2 tablespoons chopped fresh oregano leaves
- 1 bay leaf
- 2 anchovies in oil, drained
- 2 tablespoons tomato paste
- 1 cup red wine
- 800g can finely diced tomatoes
- 3 cups prepared beef stock
- 1-2 teaspoons caster sugar
- 500g dried pappardelle pasta
TO SERVE (Optional)
- Grated parmesan cheese
- Fresh parsley or basil leaves, to garnish
Instructions
sear the beef
- Preheat oven to 150°C (130°C fan). Generously season the beef shin with salt and pepper. Heat oil in a Dutch oven and brown the beef well on all sides. Set aside.
cook the soffritto
- In the same pot, melt butter with more oil. Add diced onion, celery, and carrot with a pinch of salt. Cook for 7-10 mins until soft.
build the base
- Stir in garlic, oregano, and bay leaf. Add anchovies and tomato paste, cooking for 2 mins. Pour in red wine to deglaze, scraping up browned bits.
braise
- Return the beef to the pot (along with any juices). Add diced tomatoes and beef stock. Bring to a simmer, cover, and transfer to the oven. Braise for 3-3.5 hours, stirring once or twice, until beef is fork-tender.
shred and reduce
- Remove beef and allow to cool slightly. Shred with forks, and set aside. Meanwhile, simmer the sauce on the stovetop for 10-15 mins to reduce and thicken slightly.
finish
- Return shredded beef to the sauce. Season with salt, pepper, and sugar to taste.
serve
- Cook pappardelle according to package directions (saving a little of the pasta water to thin the sauce if required). Toss pasta directly into the ragu sauce until well coated. Serve with Parmesan and fresh herbs.
Notes
- COOKS NOTES:
Oven Temps: Oven temperatures are for conventional, if using fan-forced (convection), reduce the temperature by 20˚C.
Measurements: We use Australian tablespoons and cups: 1 teaspoon = 5 ml, 1 tablespoon = 20 ml & 1 cup = 250 ml.
Herbs: All herbs are fresh (unless specified) and cups are lightly packed.
Vegetables: All vegetables are medium size and peeled, unless specified.
Eggs: We use extra-large size and eggs are 55-60 g each, unless specified. - Beef Cuts:
Beef shin (whole gravy beef shin) is ideal. Chuck steak (cut into chunks) or osso buco are great substitutes; check for tenderness after 2 hours. - Anchovies:
They melt in and add incredible umami depth. If omitting, a dash of Worcestershire sauce is a good substitute. - Wine:
Use a dry red like Merlot or Cabernet Sauvignon. - Tomatoes & Sugar:
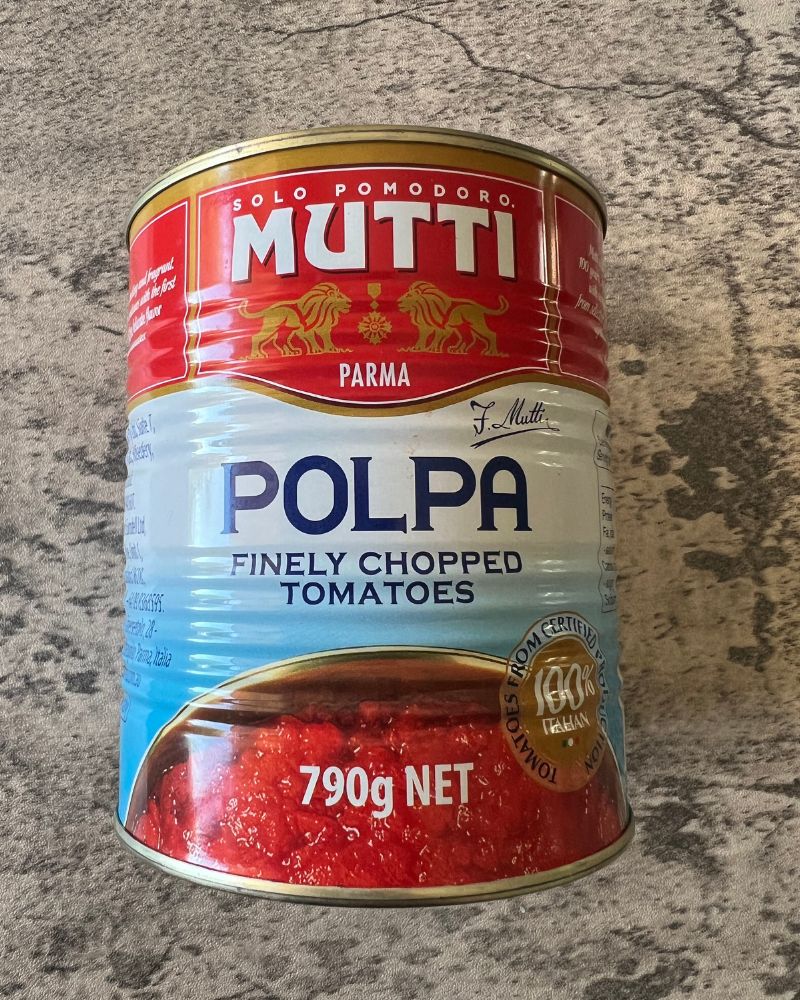
Quality diced tomatoes (like Mutti) are less acidic. Cheaper brands may need an extra teaspoon of sugar to balance the sauce. - Make Ahead & Freeze:
The ragu tastes even better the next day. Cool completely and store in the fridge for up to 4 days or freeze for 3 months.

Leave a Reply