
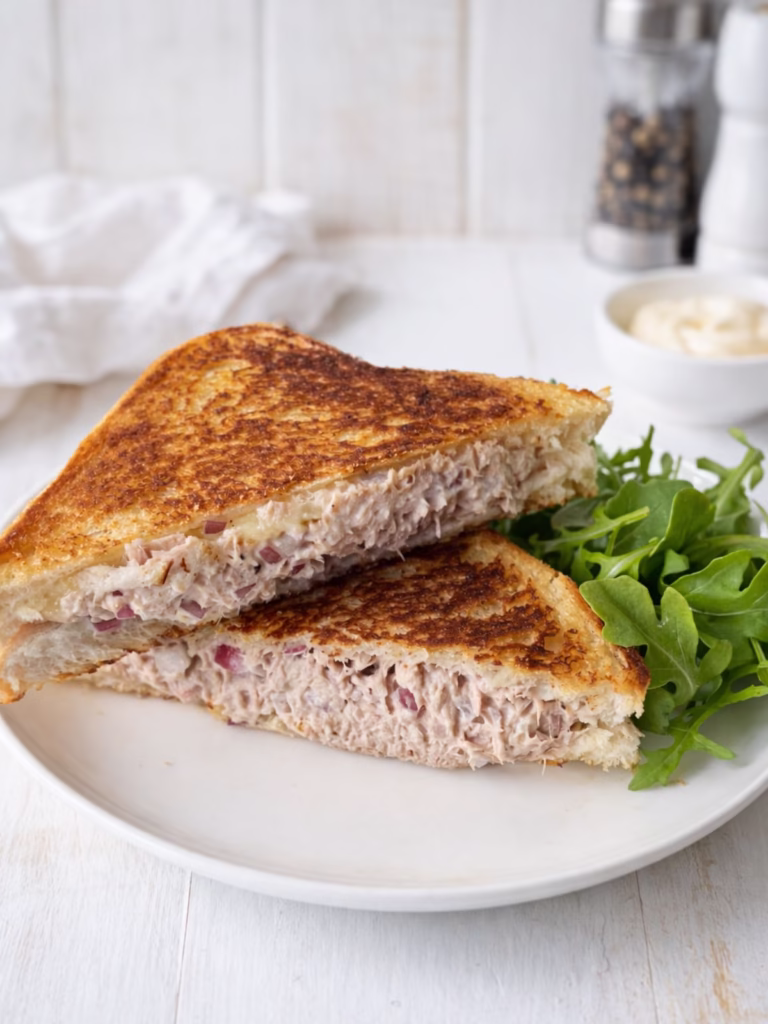
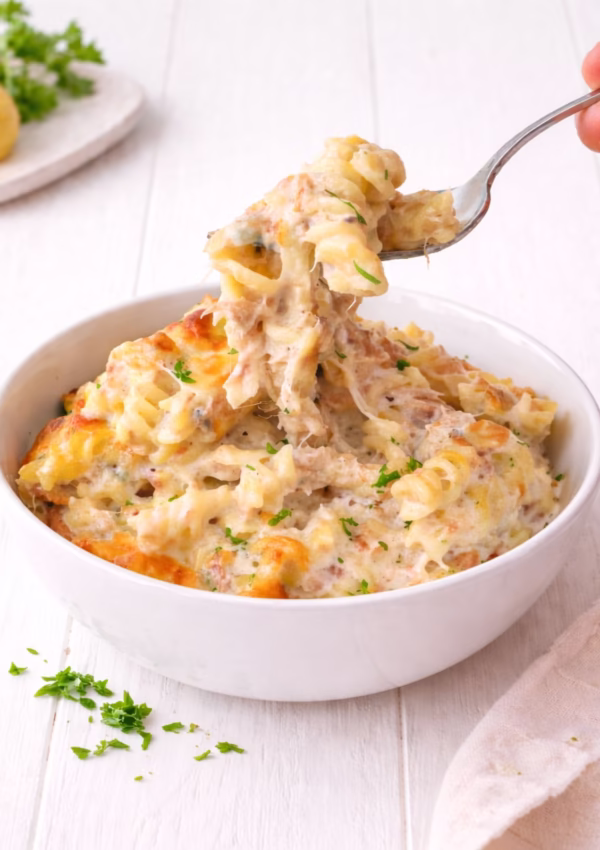
These budget tuna melt toasties are cheap, quick, and perfect for an easy lunch or light dinner. Made with simple pantry staples and ready in minutes, they’re crispy on the outside, cheesy in the middle, and full of flavour. If you’re after another budget meal, try this creamy tuna pasta bake.
What are tuna melt toasties
Tuna melt toasties are a quick sandwich made with tinned tuna mixed with a simple filling, topped with cheese, and toasted until golden and crisp. The cheese melts into the tuna, creating a warm, rich filling with a crunchy outside.
They’re a budget friendly meal that uses pantry staples to make something fast and satisfying.
Why you’ll love these tuna melt toasties
- Uses cheap, simple ingredients
- Ready in under 15 minutes
- Crispy outside, cheesy inside
- Great for lunch or a quick dinner
- Easy to customise with what you have
Ingredients for tuna melt toasties
- Bread – Any sliced bread works. White, wholemeal, or whatever you have.
- Canned tuna – Cheap and convenient. Drain well before using.
- Mayonnaise – Adds creaminess and helps bind the filling.
- Cheese – Melts over the top and gives that classic tuna melt finish.
- Onion – Adds flavour and a bit of crunch. Finely dice for best texture. Red is my favourite.
You will also need:
- Butter or oil, for toasting
- Salt and pepper, to taste
- TIP: A squeeze of lemon or a little mustard adds extra flavour if you have it.
How to make tuna melt toasties
- In a bowl, add the drained tuna, mayonnaise, and finely diced onion. Mix well until combined. Season lightly with salt and pepper if needed.
- Lay out the bread slices. Spoon the tuna mixture evenly over half of the slices, then top with grated or sliced cheese. Place the remaining bread on top to form sandwiches.
- Heat a pan over medium heat and add a little butter or oil. Place the sandwiches in the pan and cook for 3 to 4 minutes on each side, pressing down lightly, until golden and crisp.
- Flip carefully and cook the other side until the bread is toasted and the cheese has melted. Adjust the heat if needed so the bread doesn’t burn before the cheese melts.
- Remove from the pan, let rest for a minute, then slice and serve warm.
Tips
- Drain the tuna well. This stops the filling from becoming watery.
- Dice the onion finely. It mixes better and gives a nicer texture.
- Don’t overfill the sandwich. It makes flipping easier and helps it cook evenly.
- Cook on medium heat. Too high and the bread will burn before the cheese melts.
- Press lightly while cooking. Helps the sandwich crisp up and hold together.
- Let it rest before cutting. The filling sets slightly and won’t spill out.
Serving suggestions
Serve with a simple side salad or some chips for an easy meal. A pickle or relish on the side works well to cut through the richness.
Ideas to bulk it out
- Add sliced tomato for extra freshness
- Mix in corn or capsicum with the tuna
- Add extra cheese for a more filling toastie
- Serve with a bowl of vegetable soup for a bigger meal
Storage
Fridge: Best eaten fresh, but you can store leftovers in an airtight container for up to 2 days.
Reheat: Reheat in a pan over medium heat or in a sandwich press to crisp it back up. Avoid the microwave as it can make the bread soft.
Freezer: Not recommended. The texture won’t hold up well after thawing.
Quick, cheap, and perfect any time of day. If you make these, leave a comment and tell me what you added to yours.
Looking for more cheap dinners that still taste good?
Head over to my 10 Budget Meals That Actually Taste Good collection for easy, low cost recipes made with simple ingredients. Perfect for busy weeknights, tight grocery budgets and feeding the family without boring dinners.
More budget recipes
- Creamy Tuna Pasta Bake
- 4 Ingredient Garlic Butter Pasta
- Budget Fried Rice with Frozen Vegetables
- 5 Ingredient Bean Chilli

Budget Tuna Melt Toasties
Ingredients
- 185g can tuna, drained and flaked
- 2 tablespoons mayonnaise
- ½ small onion, finely diced
- 4 slices bread of choice
- ⅔ cup grated cheese or 2 cheese slices
you will also need
- Butter or oil, for cooking
- Salt and pepper, to taste
Instructions
- In a bowl, add the drained tuna, mayonnaise, and finely diced onion. Mix well until fully combined. Season lightly with salt and pepper if needed. The mixture should be creamy but not too wet.
- Lay out the bread slices on a flat surface. Spoon the tuna mixture evenly over two slices, spreading it right to the edges. Top with grated or sliced cheese, then place the remaining slices of bread on top to form sandwiches.
- Heat a pan over medium heat and add a small amount of butter or oil. Once hot, place the sandwiches in the pan. Cook for 3 to 4 minutes, pressing down lightly with a spatula, until the underside is golden and crisp.
- Flip carefully and cook the other side for another 2 to 3 minutes until golden and the cheese has melted. Lower the heat slightly if the bread is browning too quickly before the cheese melts.
- Remove from the pan and let rest for 1 minute before slicing. This helps the filling set and makes it easier to cut. Serve warm.
Notes
- Measurements: We use Australian tablespoons and cups: 1 teaspoon = 5 ml, 1 tablespoon = 20 ml & 1 cup = 250 ml.
- Drain the tuna well: Press out as much liquid as you can so the filling stays creamy, not watery.
- Use the right heat: Medium heat works best. Too high and the bread burns before the cheese melts.
- Choose a good melting cheese: Tasty, cheddar, or a blend all melt well and give the best texture.
- Add extra flavour if you have it: A squeeze of lemon, a little mustard, or some chopped herbs lifts the filling.
- Make it your own: Add corn, capsicum, or even a little chilli if you want more flavour and texture.


Leave a Reply